Easy Crochet Wristlet Keychain
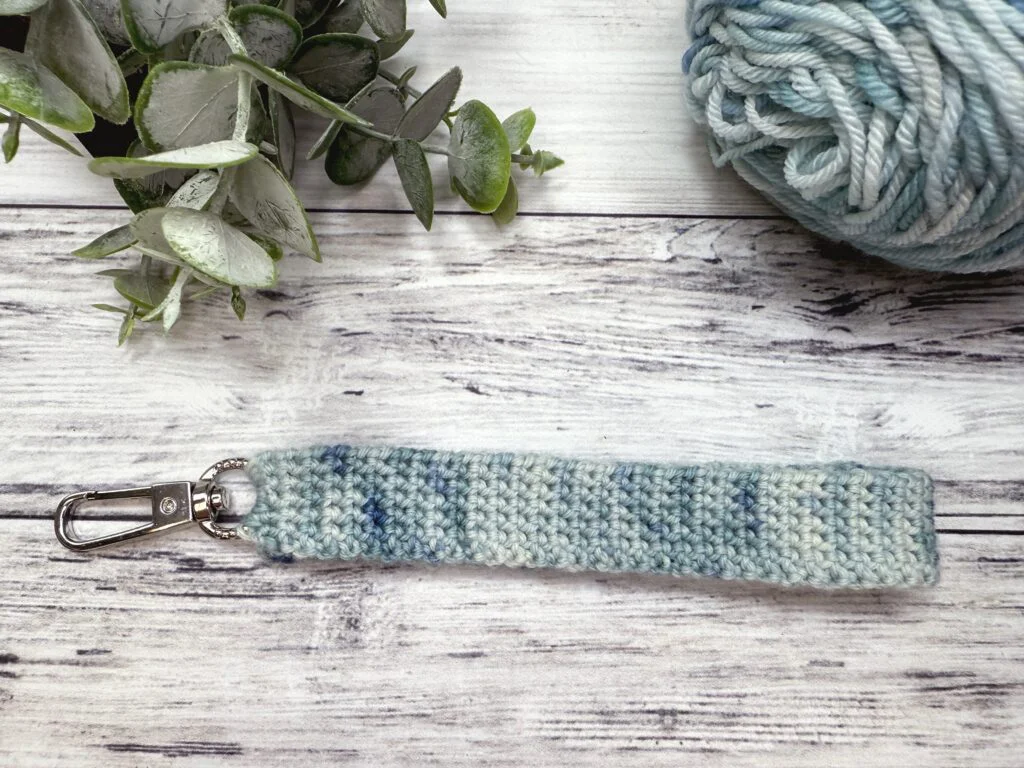
Welcome back to another delightful crochet project! Today, we have an absolutely charming and wonderfully practical pattern for you: the Easy Crochet Wristlet Keychain! If you love crafting quick, stylish accessories that help you keep track of your keys while adding a pop of handmade personality to your everyday carry, this beautiful and totally unique wristlet is going to be your next favorite make.
This pattern is wonderfully adaptable and perfect for market prep or quick handmade gifts, allowing you to whip up beautiful and functional accessories in record time. While the instructions are tailored for their classic, comfortable size, you can easily adjust the color variations depending on the cotton yarn used—swap out neutral tones for vibrant, bright hues to make your keychain easy to spot in any bag! Grab your hooks, settle into your favorite crafting spot, and let’s dive into making this beautiful wristlet keychain creation!
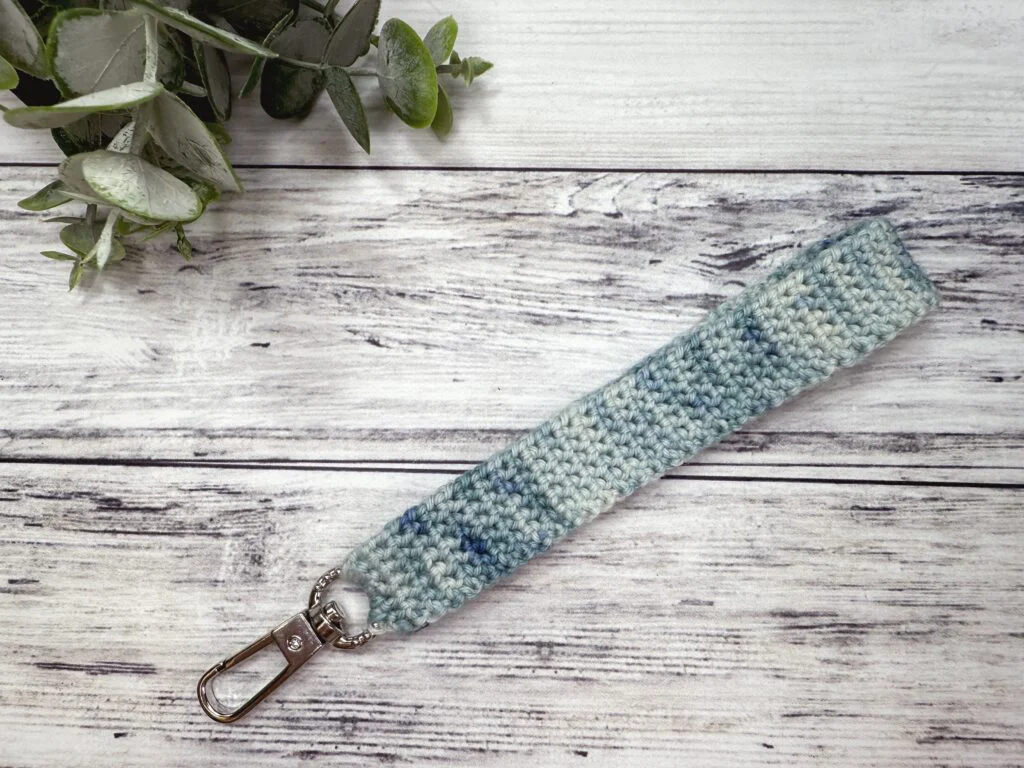
Gauge: Not crucial for this project
Finished Size: Approx. 7″ long (including clasp) after both ends attached to swivel clasp
Stitch Abbreviations
Chain (ch)
Single Crochet (sc)
Video Tutorial for the Easy Crochet Wristlet

Crochet Wristlet Keychain Pattern
To work first round, you will start with a slip knot on your hook and work around the ring of the swivel clasp by placing your hook inside the ring. Please see video tutorial if you need help.
Row 1: Working around the ring of the swivel clasp, sc 6; turn.
Row 2: Ch 1, sc back loop only of each st; turn.
Row 3: Ch 1, *insert hook into back loop only of first st and into missed front loop two rows below, work a regular sc into these loops; repeat from * for each st; turn.
Repeat row 3 until piece is desired length. I did 11.5″ but you can make it any length you want – even turn it into a crochet lanyard by working until it is 33-34″ or longer. You can easily check length by folding in half.
Final Row: Ch 1, *insert hook into first st and into missed front loop two rows below, work a regular sc into these loops, repeat from * for each st; turn.
I would recommend blocking before finishing. I pinned my wristlet onto a blocking board, sprayed it with water and let it dry. It was curling a bit before blocking, and none at all after. Then, move on to the finishing.
Finishing
Fold wristlet in half, bringing the last row to the ring of the swivel clasp. Pull yarn through last stitch and use a yarn needle to sew last row to swivel clasp. Please see video tutorial if you need help.
Weave in ends.