Best Easy Crochet Bunny Tail Appliqué Free Crochet Pattern
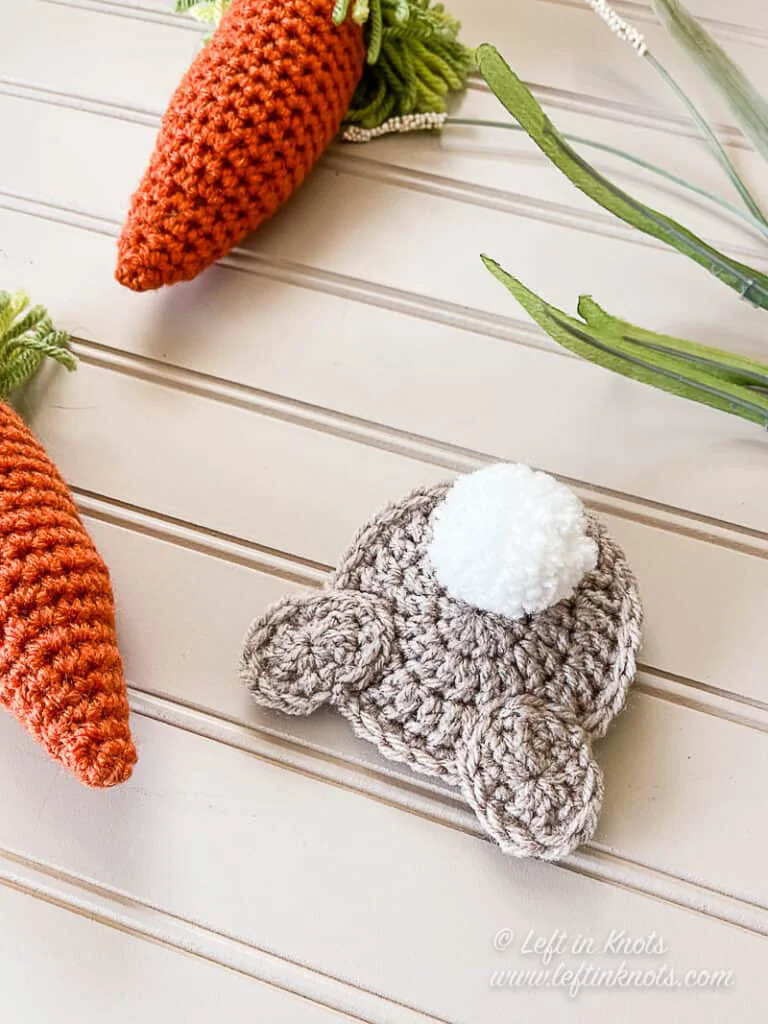
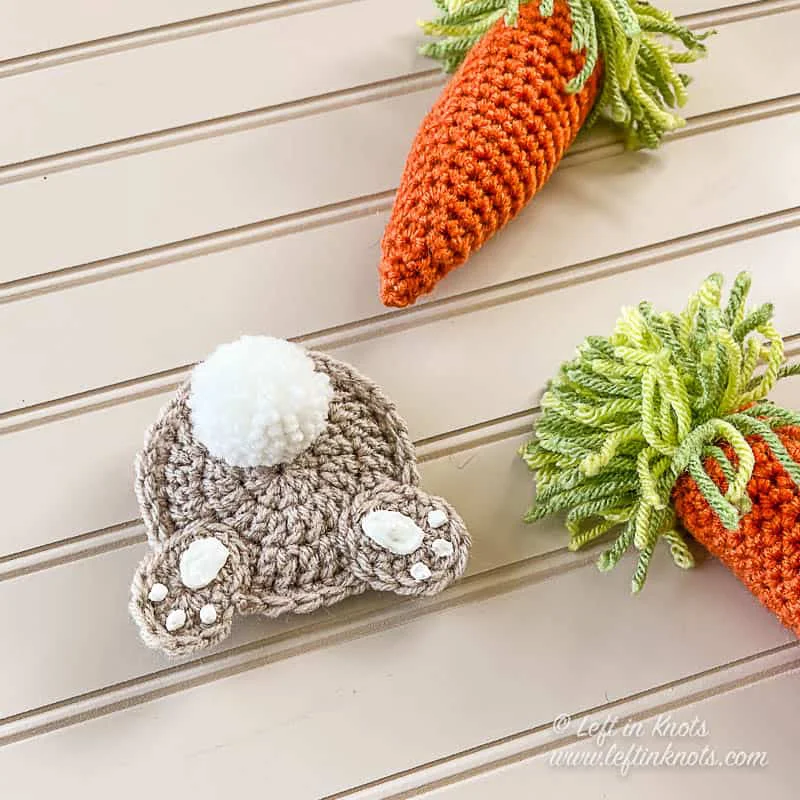
Are you looking for the absolute best free pattern for a crochet bunny tail appliqué? You have come to the perfect place! We have found this top-rated, incredibly easy crochet design that is guaranteed to be a huge hit. Whether you want a quick weekend project or a beautiful handmade gift, this pattern is fun, straightforward, and looks absolutely stunning when finished. Grab your softest yarn and let’s get started on your new favorite project!
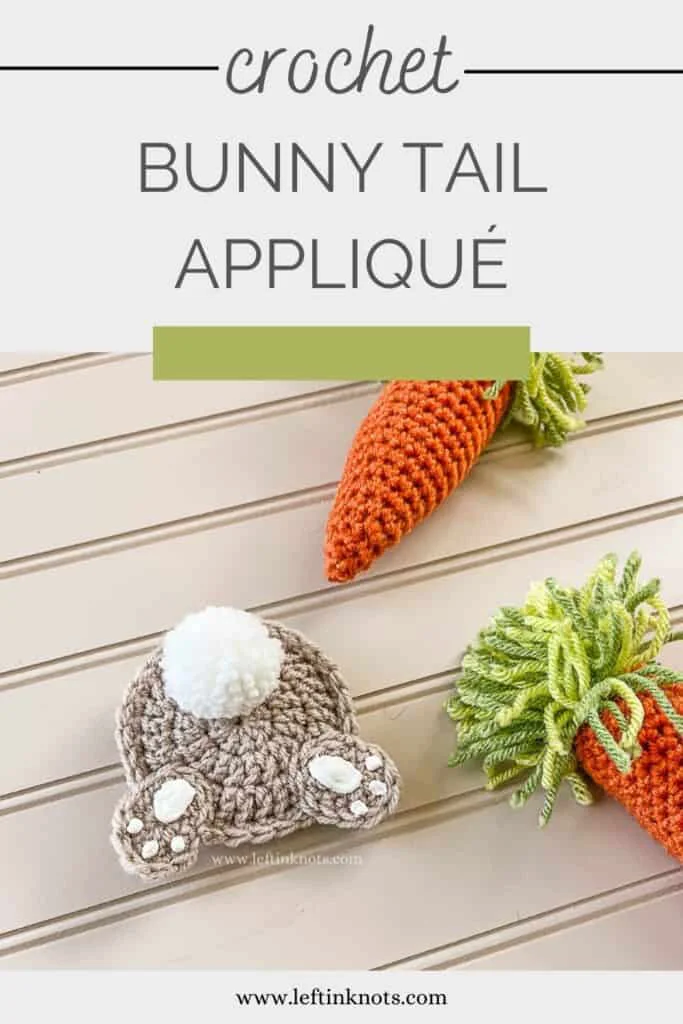

Supplies:
- Yarn of any weight (the sample is made in worsted weight acrylic)
- 5.0mm Crochet Hook (I LOVE Clover Amour)
- Scissors – I always keep these travel scissors in my hook case
- Yarn needle
- Small pom pom maker
- (optional) Fabric puff paint
Abbreviations (written in U.S. terms):
- ch: chain
- st/sts: stitch/stitches
- sl st: slip stitch
- SC: single crochet
- DC: double crochet
Video Tutorial
How to Crochet the Magic Cirlce – the right handed video loads with the page
Find the left handed tutorial here
Pattern Notes
- The end of each round is attached to the first st of the round with a slip stitch.
Instructions
Body (make 2)
Start with magic circle
Round 1: ch 2, work 10 DC into the magic circle and pull tight (10)
Round 2: ch 2, 2 DC sts in each st around (20)
Round 3: ch 2, *2 DC, DC, repeat from * around (30)
Feet (make 2)
Start with magic circle
Round 1: ch 1, SC, 3 DC, 2 SC, 3 DC, SC into the magic circle. Pull tight (10)
Round 2: ch 1, SC in 2 sts, 2 SC, SC in 4 sts, 2 SC, SC in 2 sts (12)
Assembly
Lay the two body circles on top of one another and SC around the edge through both layers.
Place the ovals near the bottom of the circle, about 3-4 stitches apart. Use a yarn needle and long tail to sew the feet in place.