Best Easy Crochet Holly Berry Appliqué Free Crochet Pattern
Are you looking for the absolute best free pattern for a crochet holly berry appliqué? You have come to the perfect place! We have found this top-rated, incredibly easy crochet design that is guaranteed to be a huge hit. Whether you want a quick weekend project or a beautiful handmade gift, this pattern is fun, straightforward, and looks absolutely stunning when finished. Grab your softest yarn and let’s get started on your new favorite project!
Welcome back to another delightful crochet project! Today, we have an absolutely adorable and wonderfully festive pattern for you: the Crochet Holly Berry Applique! If you love crafting delicate, heartwarming holiday accents that perfectly capture the spirit of the season while adding a touch of handmade sweetness to your Christmas sweaters, blankets, or gift wrapping, this beautiful and totally unique little applique is going to be your next favorite make.
This pattern is wonderfully adaptable and perfect for quick handmade embellishments or beautiful package toppers, allowing you to whip up stunning seasonal decorations in record time. While the instructions are tailored for their classic, cheery red and green appeal, you can easily adjust the color variations depending on the worsted weight yarn used—swap out traditional greens for frosty winter blues or vibrant jewel hues to match any winter wonderland theme! Grab your hooks, settle into your favorite crafting spot, and let’s dive into making these beautiful holly berry creations!
Materials
- Red Heart Super Saver yarn in Green – leaves
- Red Heart Super Saver yarn in Red – berries
- Size H (5.0 mm) crochet hook
- Tapestry needle
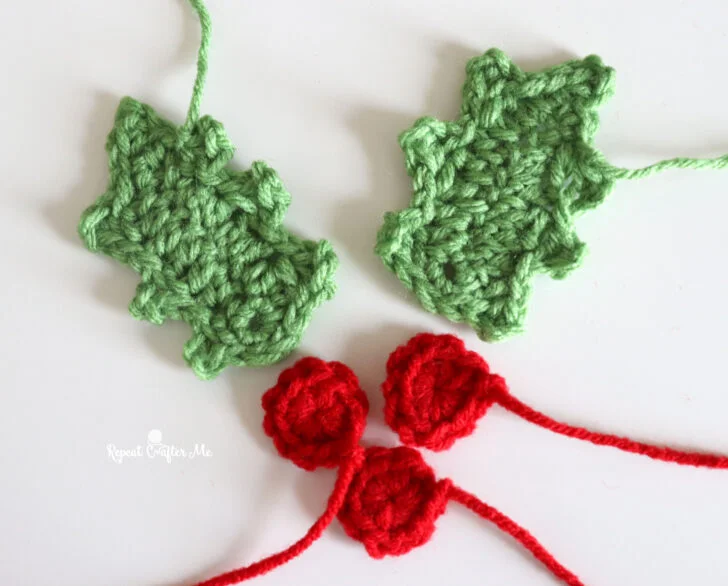
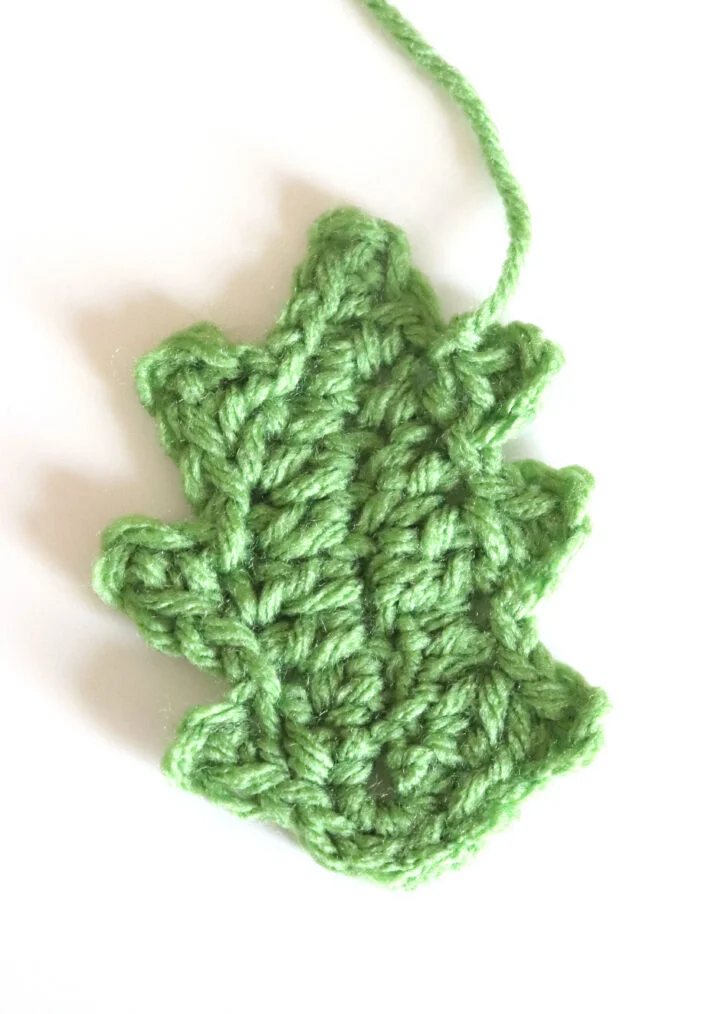
Holly Leaf (Make 2):
With green yarn:
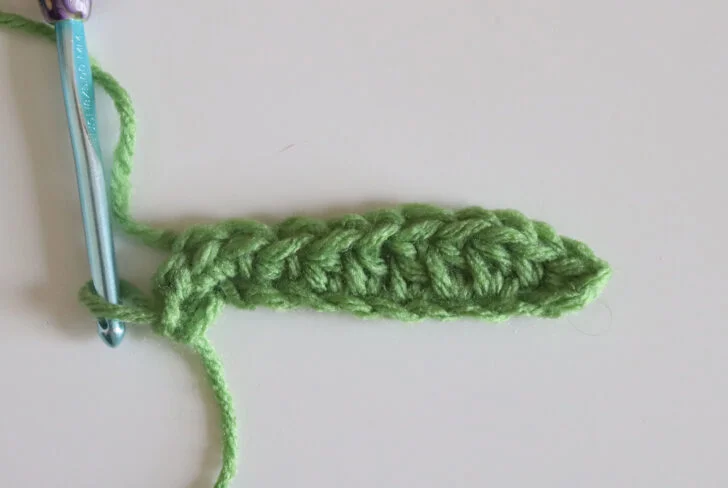
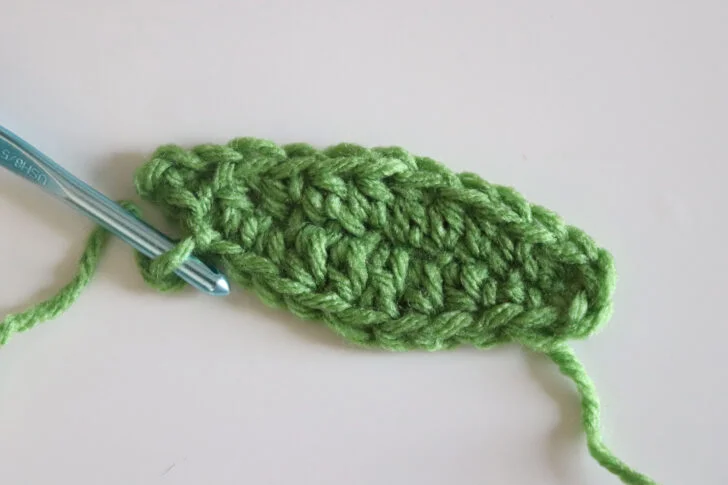
Round 1: Chain 10. SC in second chain from hook, SC in next, HDC in next 2, DC in next, HDC in next 2, SC in next chain. Work 4 SC in the last chain to curve around the end of the foundation chain.
Continue working along the opposite side of the foundation chain: SC in next stitch, HDC in next 2, DC in next, HDC in next 2, SC in last 2 stitches. Chain 3, SC in first chain made. Join with a slip stitch to the first SC of the round. This creates the first pointed tip of the holly leaf.
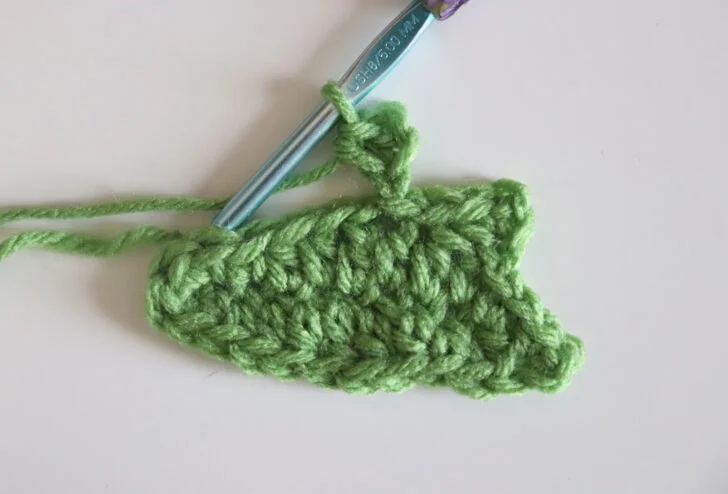
Round 2 (the leaf points): slip stitch into the next stitch. *Chain 3, SC in first chain made, skip one stitch, slip stitch inot the next stitch join, slip stitch into next stitch.*
Repeat from * to * 2 more times to create 3 points along the first side of the leaf.
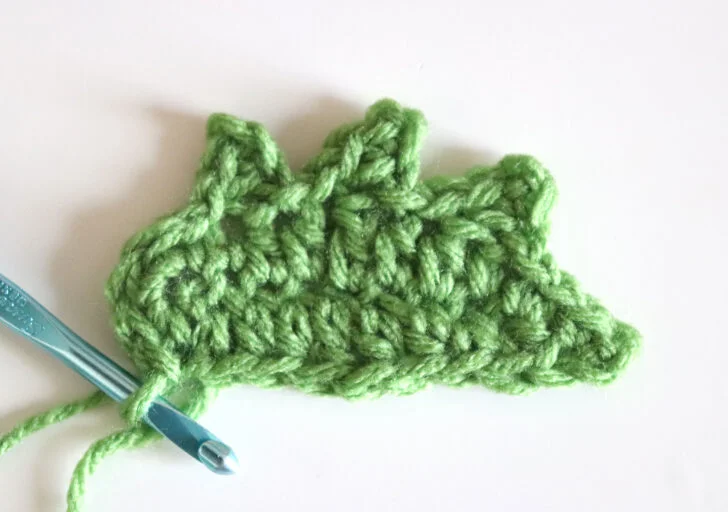
Slips stitch around the curved end of the leaf until you reach the opposite side (about 4 slip stitches).
Create 3 more points along the second side by repeating round 2. After completing the third point on the second side, join with a slip stitch at the base of the top point.
Fasten off, leaving a long tail for sewing.
Holly Berries – Make 3
With red yarn:
Make a Magic Ring, chain 1, work 10 SC into the ring. Join with a slip stitch to the first SC.Fasten off, leaving a long tail for sewing.
Assembly
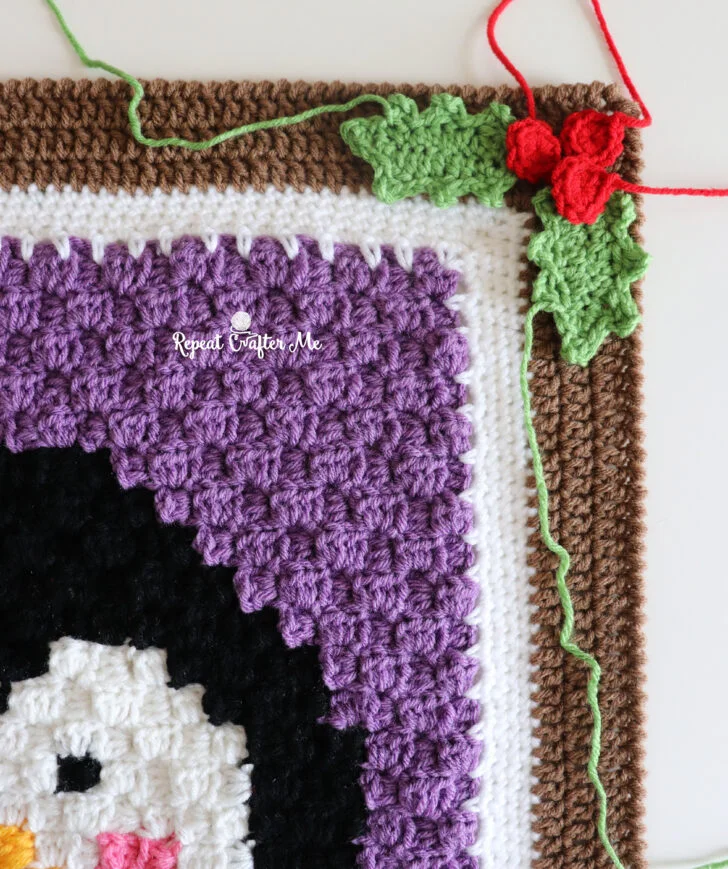
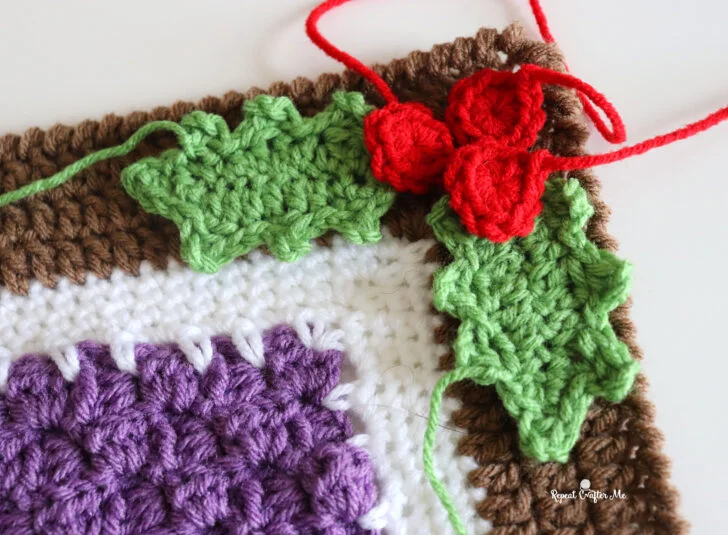
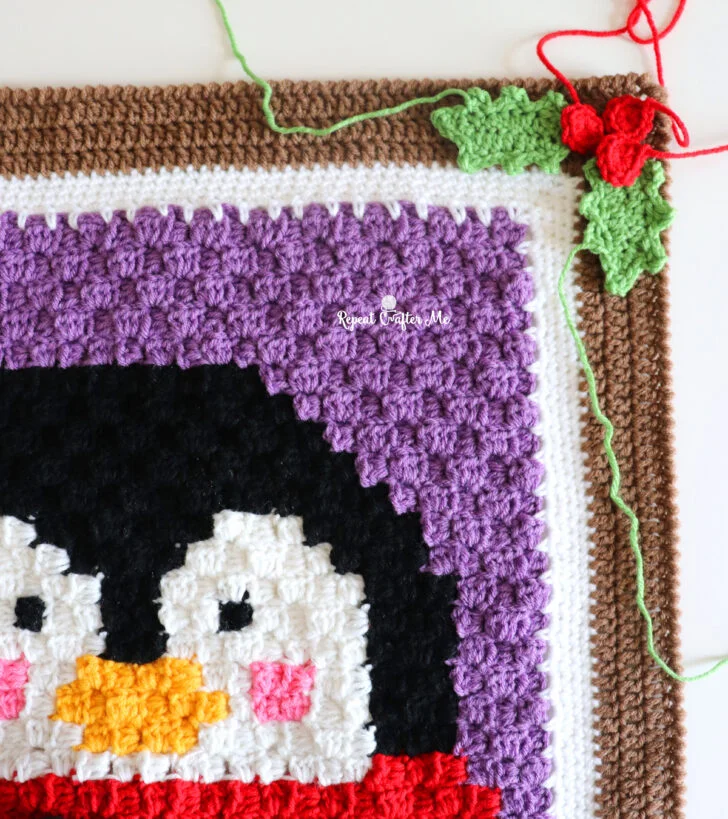
Arrange two leaves so they fan outward from the corner or center of your project. Position three berries where the leaves overlap, then use the long yarn tails to sew everything securely in place.
And that’s it! A quick little crochet detail that adds such a fun handmade touch to your Christmas projects.
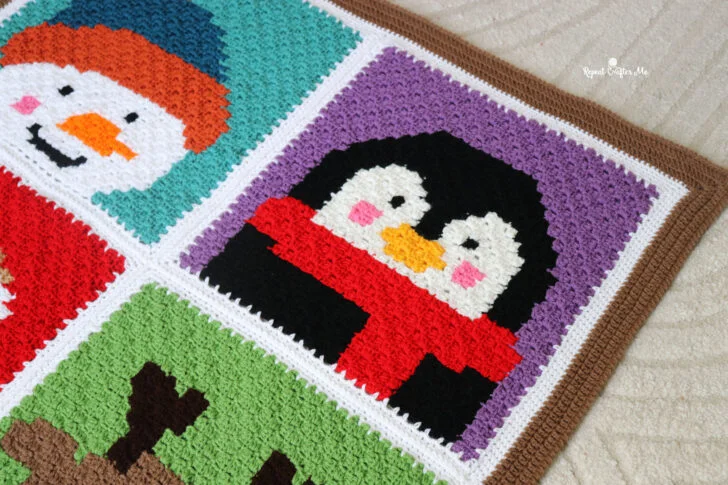
Stay tuned for the full Christmas C2C Window Blanket reveal! I cannot wait to show you how all four Christmas friends (and these little holly corners) come together.
Let’s stay connected!
Subscribe to my NEWSLETTER for free patterns straight to your inbox!
Repeat Crafter Me Facebook
Repeat Crafter Me Instagram
Repeat Crafter Me Pinterest
Repeat Crafter Me YOUTUBE