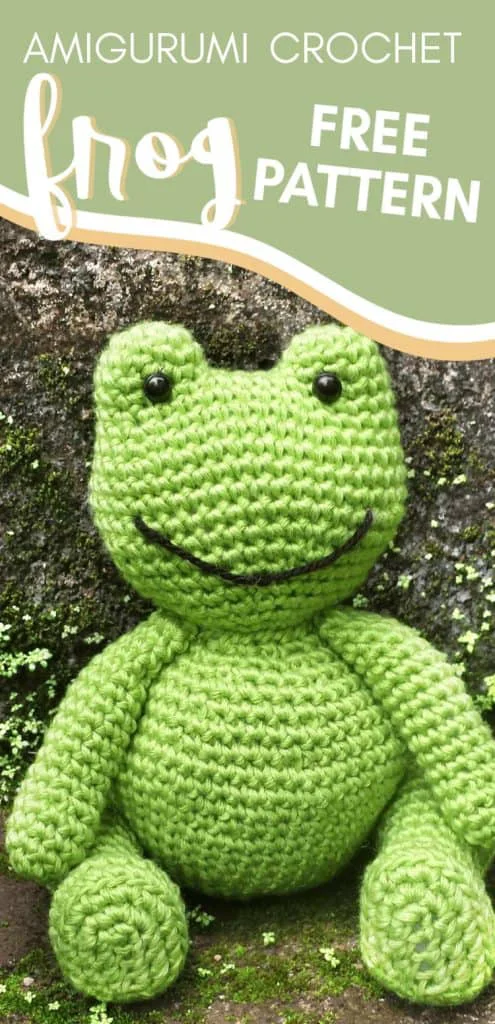
Felicity the Frog Crochet Pattern (Free!)
Welcome back to another delightful crochet project! Today, we have an absolutely adorable and wonderfully hoppy pattern for you: a Crochet Frog! If you love crafting charming amphibians that add a touch of whimsy and nature to your collection, this enchanting and totally unique little frog is going to be your next favorite make.
This pattern is wonderfully adaptable and perfect for market prep, allowing you to whip up cute and cuddly items in record time. While the instructions are tailored for their classic, mini size, you can easily adjust the size variations depending on the yarn used—swap out worsted weight for super bulky blanket yarn to create a massive, huggable frog prince! Grab your hooks, settle into your favorite crafting spot, and let’s dive into making this adorable frog creation!
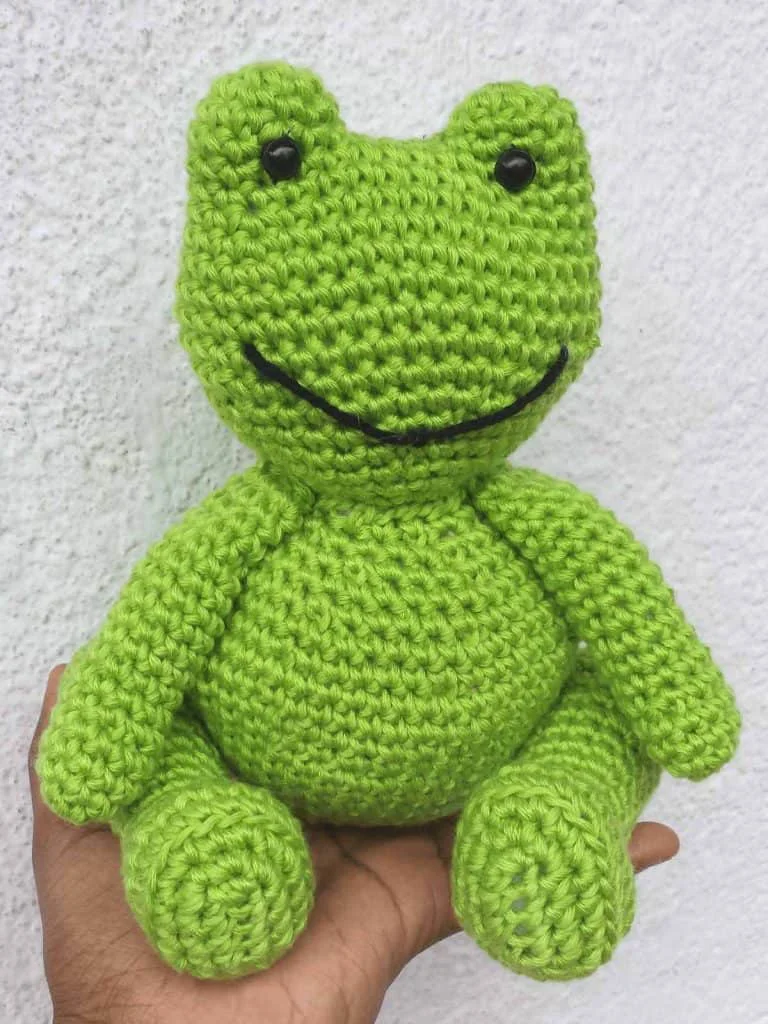
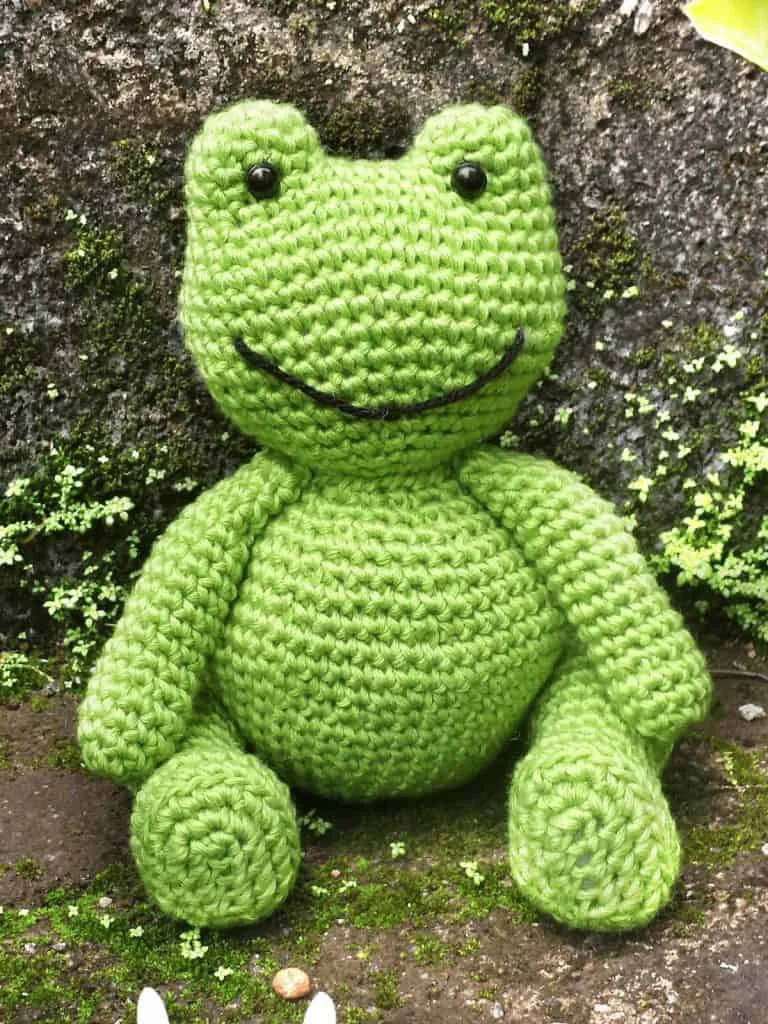
Materials:
- DK Weight Yarn: approx. 100 grams green
- 3.5mm crochet hook
- You can also try using worsted weight yarn & a 4 or 4.5mm hook, but the plushie size will vary depending on your tension.
- 8-mm Black Safety Eyes
- Fiber Filling
- Yarn needle & stitch marker
Gauge:
Exact tension and gauge are not critical for this pattern. However, you can always adjust your hook size if need be. For example, if you crochet loosely and you find the amigurumi is looking holey, go down a hook size.
Notes:
- All body parts are crocheted separately and then sewn together according to the finishing instructions.
- All parts are made in continuous rounds. Do not join at the end of each round unless otherwise specified.
- Turning chain does not count as a stitch.
- Place a stitch marker at the end of each round and move it up as you go.
- When a number is placed after a stitch (i.e. sc 7) it means that you should single crochet in each of the next 7 stitches.
Measurements/Sizing:
8 to 9 inches from the top of the head to the tip of the toe
This is a pretty big crochet frog pattern, but if you want to make it even larger, you can use worsted or even bulky weight yarn! That will definitely get you an even bigger, fluffier frog (especially if you use Bernat Blanket yarn!)
Abbreviations/Stitches Used (U.S.)
Chain – ch
Slip stitch – sl st
Single crochet – sc
Repeat – rep
Stitch(es) – st(s)
Single crochet increase – inc
Invisible decrease – inv dec
Back loop single crochet – blsc
Round – rnd
Special Stitches:
Invisible single crochet decrease (inv dec):
Insert hook into front loop of first stitch, insert hook into front loop of the next stitch, yarn over, pull through both sts (2 loops on hook), yarn over and pull through all loops on hook to complete stitch.
Single Crochet Increase (inc):
Make 2 sc in indicated stitch.
Amigurumi Frog Instructions (With Tutorial):
Eyes
First Eye:
Make a magic ring.
Rnd 1: 6 sc into magic ring. (6)
Rnd 2: Inc in each st around. (12)
Rnd 3: Sc in each st around. (12)
Fasten off.
Second Eye:
Make a magic ring.
Rnd 1: 6 sc into magic ring (6)
Rnd 2: Inc in each st around. (12)
Rnd 3: Sc in each st around. (12)
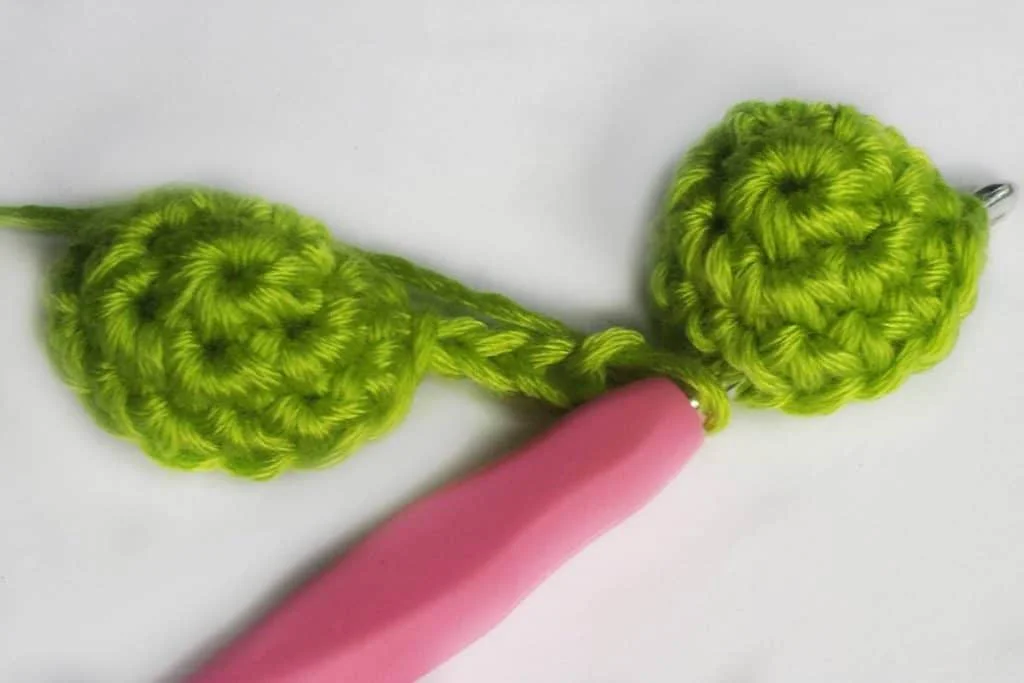
Do not fasten off. Ch 4 and insert the hook into a st from the last row of the 1st eye.
Attaching 2nd Eye to 1st eye:
Head
Rnd 1: Sc in each st around the eye. Sc into each ch. Sc around next eye. Sc into the other side of the chs. (32)
Rnd 2-4: Sc in each st around. (32)
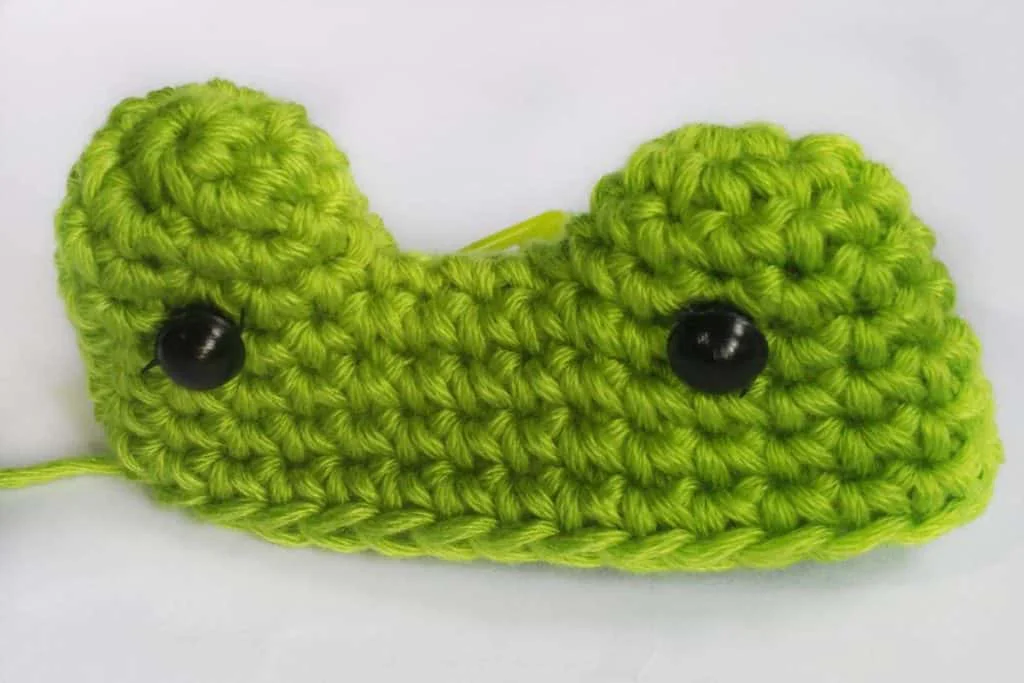
Attach safety eyes between Rnd 1 and 2.
Eye placement:
Rnd 5: (Sc 7, inc) x4 (36)
Rnd 6: (Sc 8, inc) x4 (40)
Rnd 7-10: Sc in each st around. (40)
Begin stuffing with poly-fill, especially the eyes.
Rnd 11: (Sc 8, inv dec) x4 (36)
Rnd 12: (Sc 7, inv dec) x4 (32)
Rnd 13: (Sc 6, inv dec) x4 (28)
Rnd 14: (Sc 5, inv dec) x4 (24)
Rnd 15: (Sc 4, inv dec) x4 (20)
Rnd 16: (Sc 3, inv dec) x4 (16)
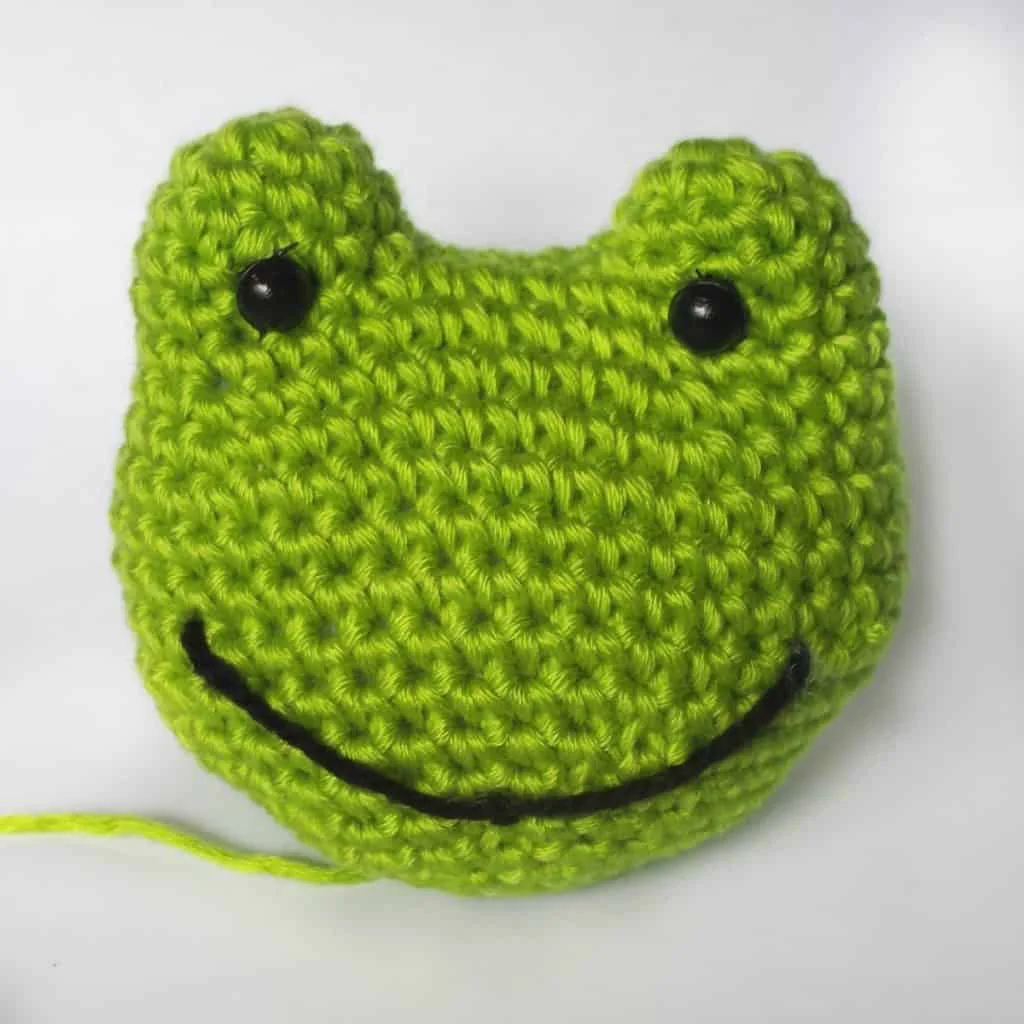
Fasten off. Leave a long tail for sewing the head and body together later. Do not close the opening, but stuff with polyfill. Embroider mouth between round 9 and 12 of the head.
Mouth placement, finished head:
Arms (make 2):
Chart shows first 2 rounds
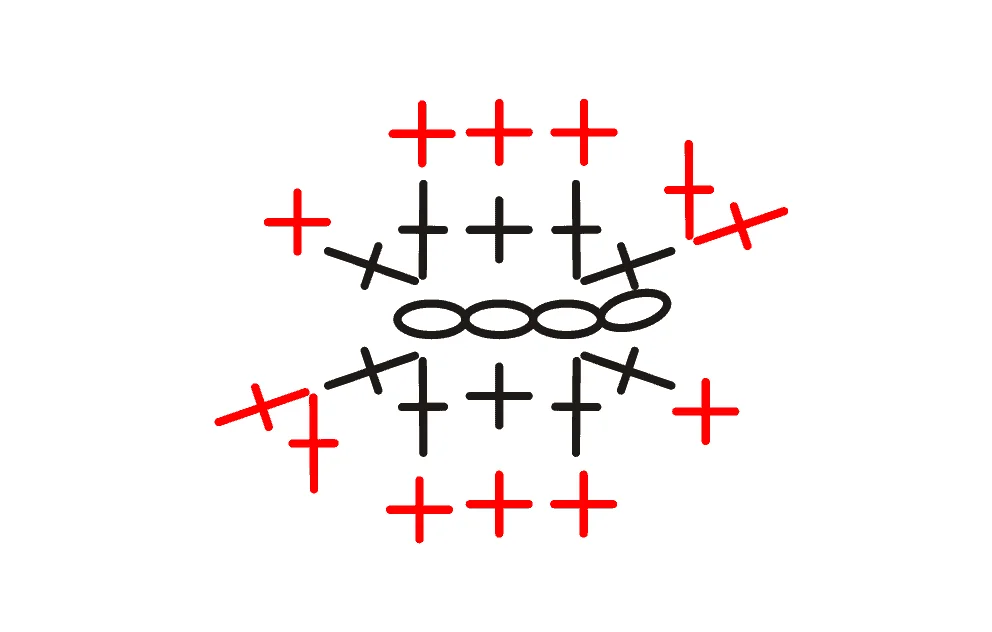
Ch 4.
Rnd 1: Inc in second ch from hook. Sc in next ch. Inc in last ch. Turn to work on the other side of the ch. Inc in the other side of the ch just worked into. Sc in next ch. Inc in last ch. (10)
Rnd 2: (Inc in next st, sc 4) x2. (12)
Rnds 3-4: Sc in each st around. (12)
Rnd 5: (Inv dec over next 2 sts, sc 4) x2. (10)
Rnds 6-16: Sc in each st around. (10)
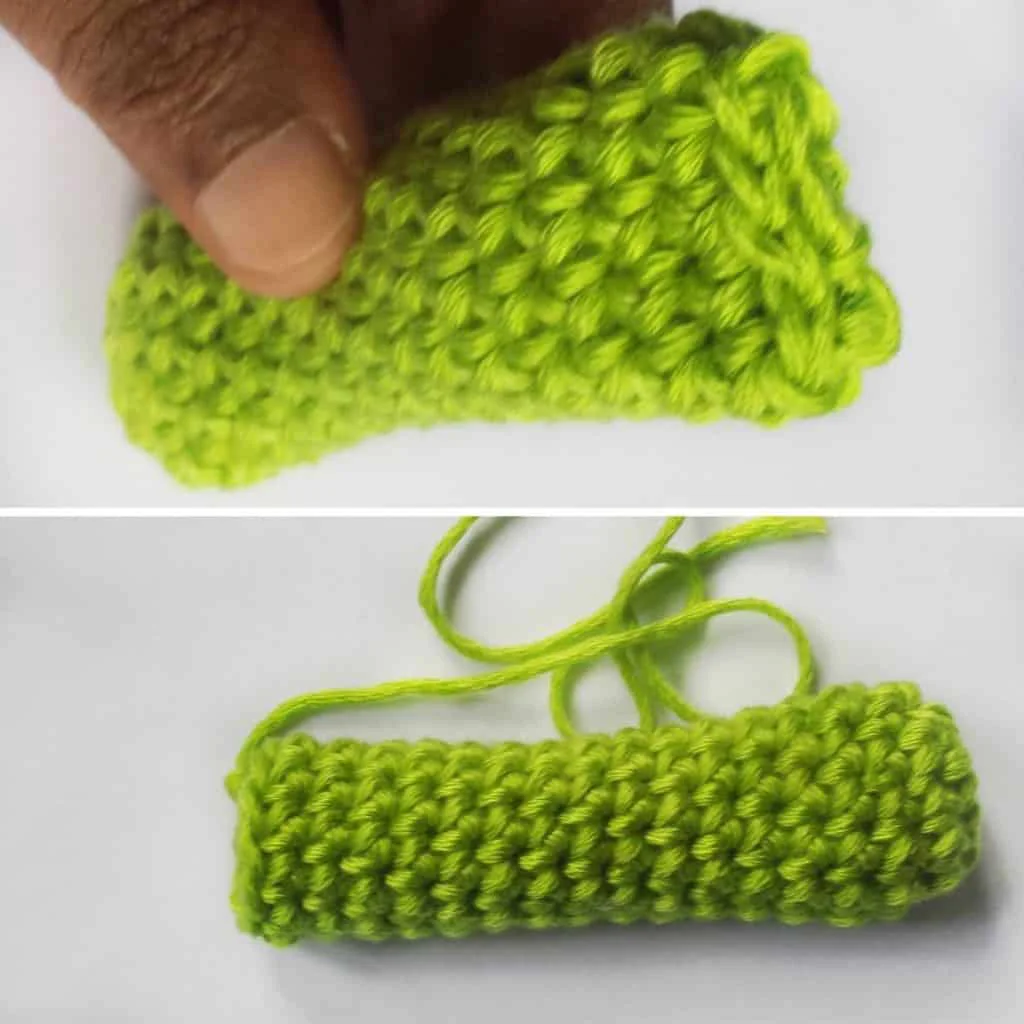
Lightly stuff about half of the arm. Fasten off. Sew opening closed. (see the picture).
Legs (make 2):
Chart shows first 3 rounds
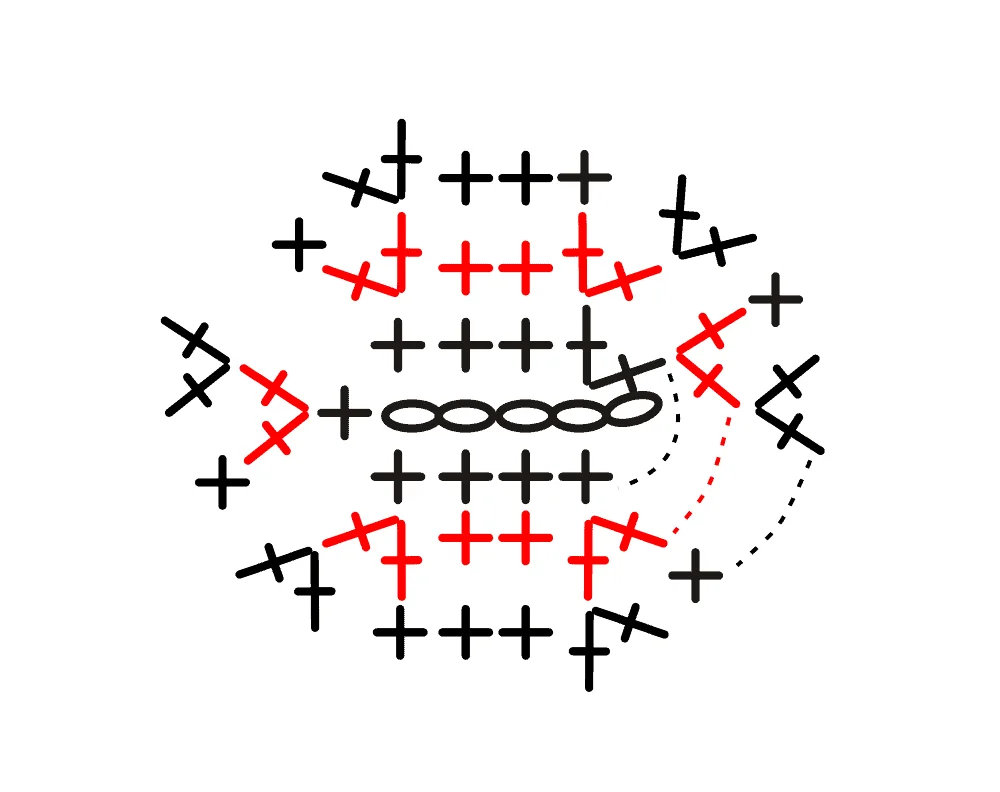
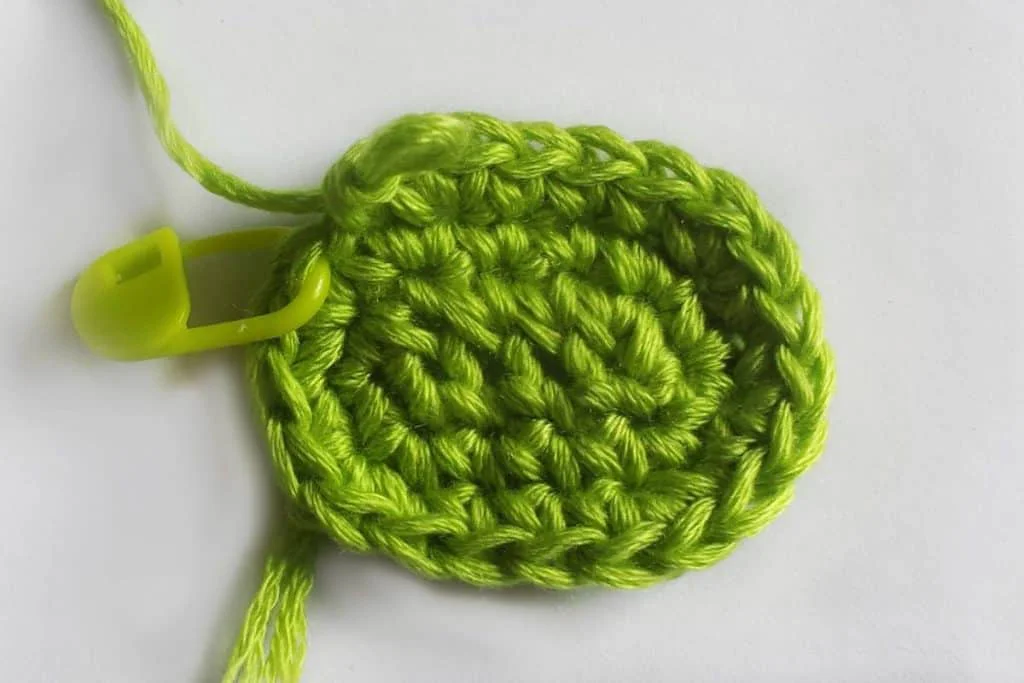
Ch 5.
Rnd 1: Inc in second ch from hook. Sc 2. Make 3 sc into last ch. Turn to work on the other side of the ch. Sc 2. 1 sc in last ch (the same ch worked into at the beginning). (10)
Rnd 2: Inc into each of the next 2 sts. Sc 2. Inc into each of the next 3 sts. Sc 2. Inc in last st. (16)
Rnd 3: Inc in next st, sc, inc in next st, sc 3. (Inc, sc 1) x3. Sc 2. Inc in next st, sc in last st. (22)
Rnd 4: Blsc in each st around. (22)
Rnd 5: Sc in each st around. (22)
Rnd 6: Sc 8, (inv dec) x2. Sc 1, (inv dec) x2. Sc 5. (18)
Rnd 7: (Sc 4, inv dec) x3. (15)
Begin stuffing here to make it easier later.
Rnd 8: (Sc 3, inv dec) x3. (12)
Rnd 9-10: Sc in each st around. (12)
Rnd 11: (Sc 3, inc) x3. (15)
Rnd 12-13: Sc in each st around. (15)
Rnd 14: (Sc 4, inc) x3. (18)
Rnd 15: Sc in each st around. (18)
Rnd 16: (Sc 5, inc) x3. (21)
Rnd 17: Sc in each st around. (21)
Rnd 18: (Sc 5, inv dec) x3. (18)
Rnd 19: (Sc 4, inv dec) x3. (15)
Rnd 20: (Sc 3, inv dec) x3. (12)
Rnd 21: (Sc 2, inv dec) x3. (9)
Fasten off. Stuff each leg with poly-fill.
Foot (begin stuffing around this point):
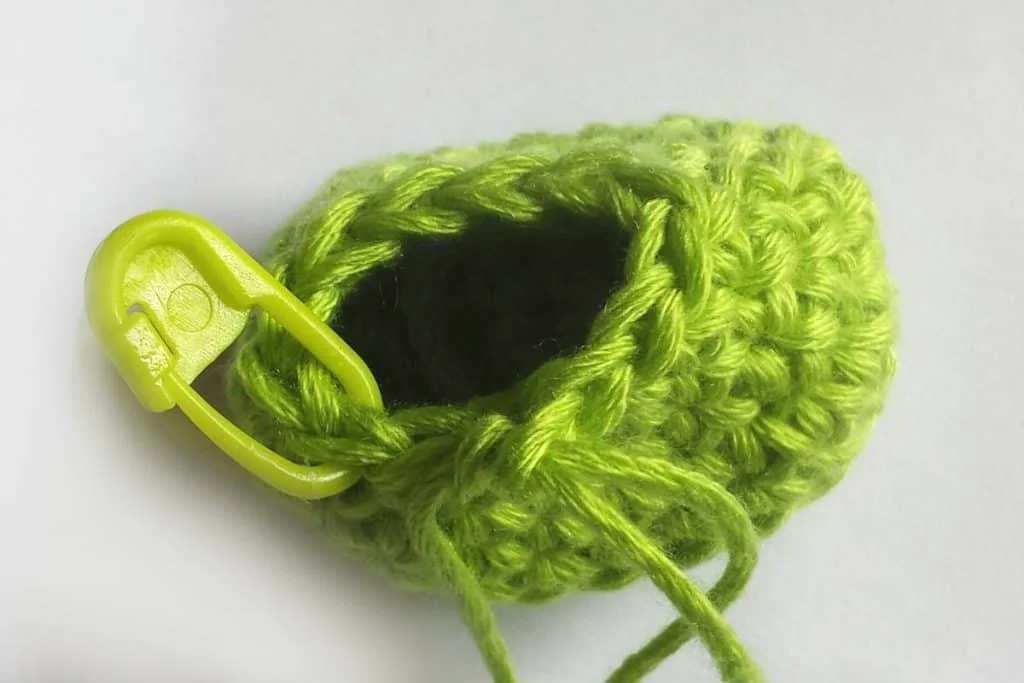
Finished leg:
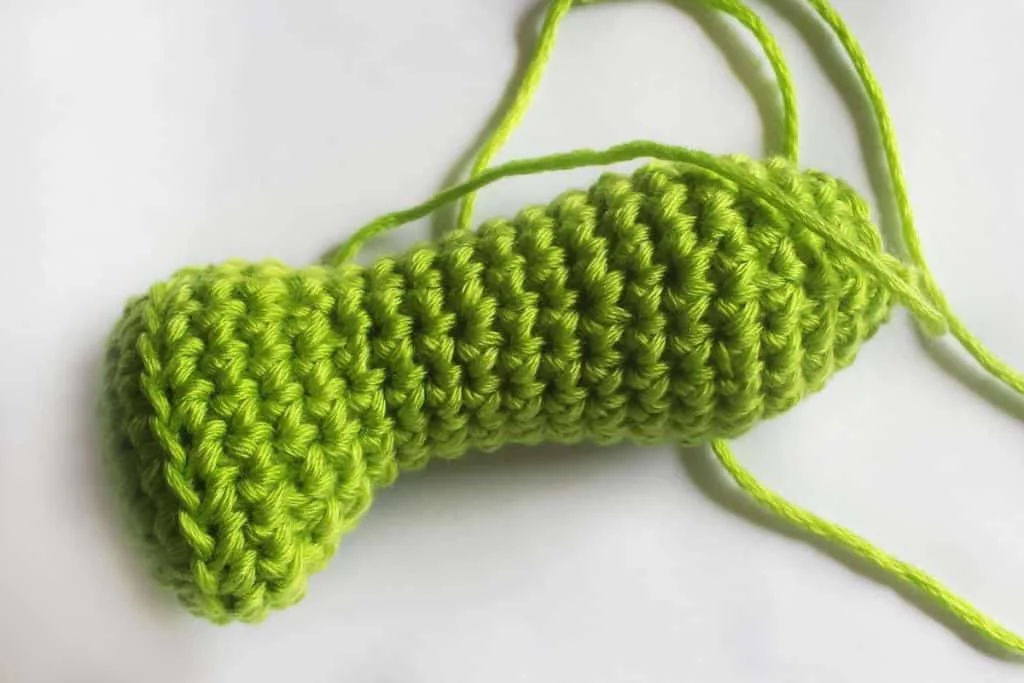
Body:
Make a magic ring.
Rnd 1: Work 8 sc into magic ring. (8)
Rnd 2: Inc in each st around. (16)
Rnd 3: (Sc 1, inc) x8. (24)
Rnd 4: (Sc 2, inc) x8. (32)
Rnd 5: (Sc 3, inc) x8. (40)
Rnd 6-8: Sc in each st around. (40)
Rnd 9: (Sc 4, inc) x8. (48)
Rnd 10-11: Sc in each st around. (48)
Rnd 12: (Sc 5, inc) x8. (56)
Rnd 13-14: Sc in each st around. (56)
Rnd 15: (Sc 5, inv dec) x8. (48)
Rnd 16: Sc in each st around. (48)
Rnd 17: (Sc 4, inv dec) x8. (40)
Rnd 18: (Sc 3, inv dec) x8. (32)
Rnd 19: (Sc 2, inv dec) x8. (24)
Rnd 20: (Sc 1, inv dec) x8. (16)
Fasten off. Stuff body with poly-fill.
Finishing:
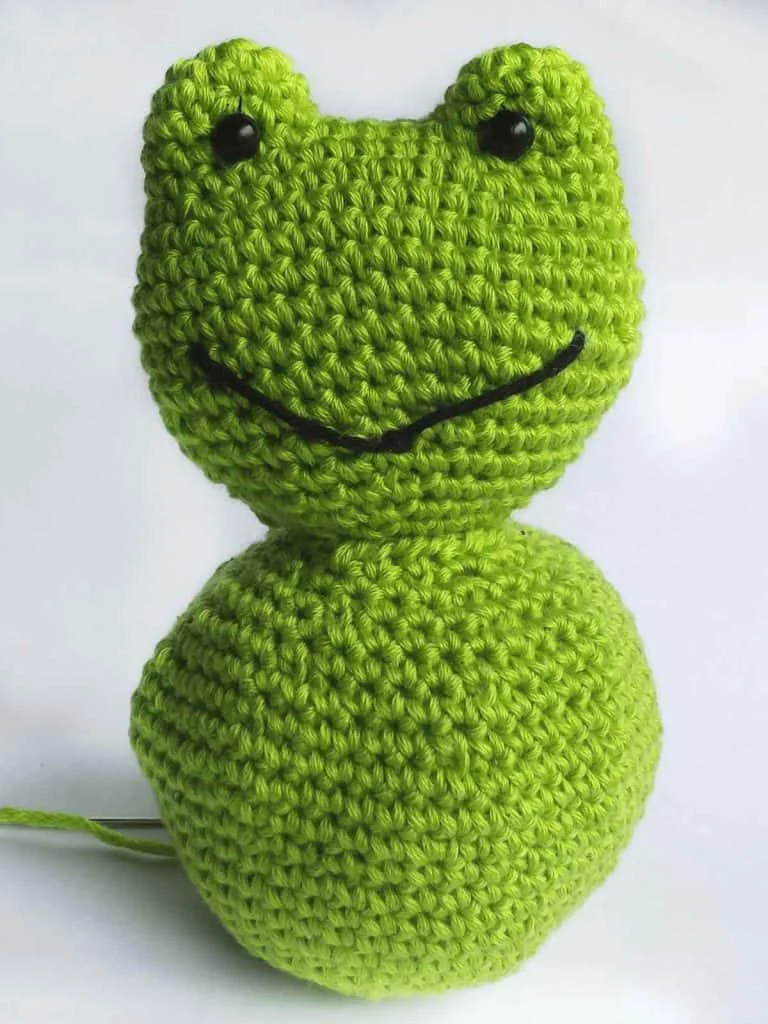
- Join the head and body together (see photo below).
- Attach legs between round 7 and 12 of the body.
- Attach arms near the top 3 rows of the body, before the join with head.