Crochet Highland Cow Pattern
Welcome back to another delightful crochet project! Today, we have an absolutely adorable and wonderfully shaggy pattern for you: the Crochet Highland Cow! If you love crafting charming farm animals with fun, fuzzy textures that are perfect for snuggling, this enchanting and totally unique highland cow is going to be your next favorite make.
This pattern is wonderfully adaptable and perfect for market prep or special gifts, allowing you to whip up cute and cuddly toys in record time. While the instructions are tailored for their classic, versatile size, you can easily adjust the size variations depending on the yarn used—swap out worsted weight for super bulky faux fur yarn to create a massive, huggable shaggy friend! Grab your hooks, settle into your favorite crafting spot, and let’s dive into making this adorable highland cow creation!
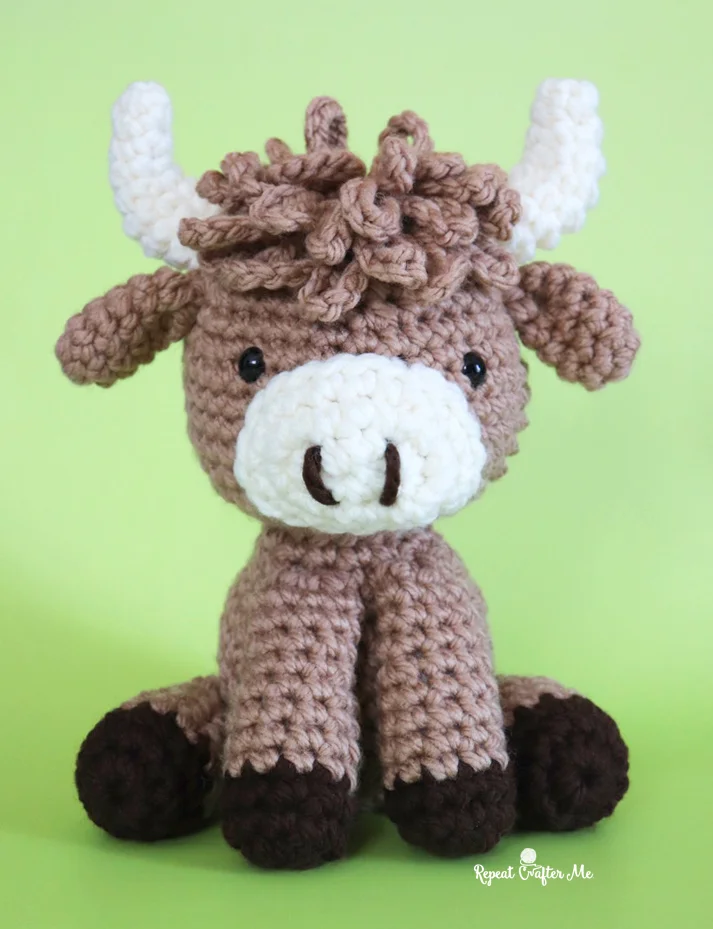
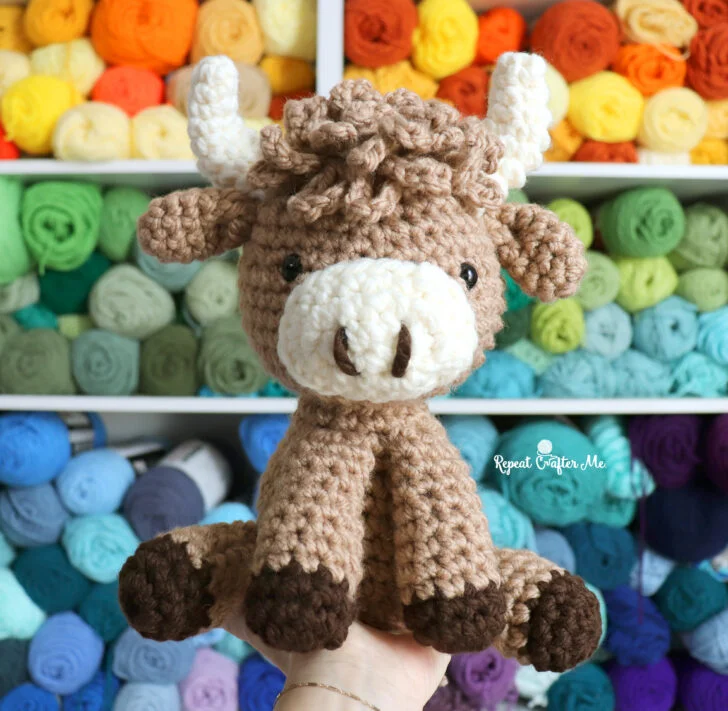
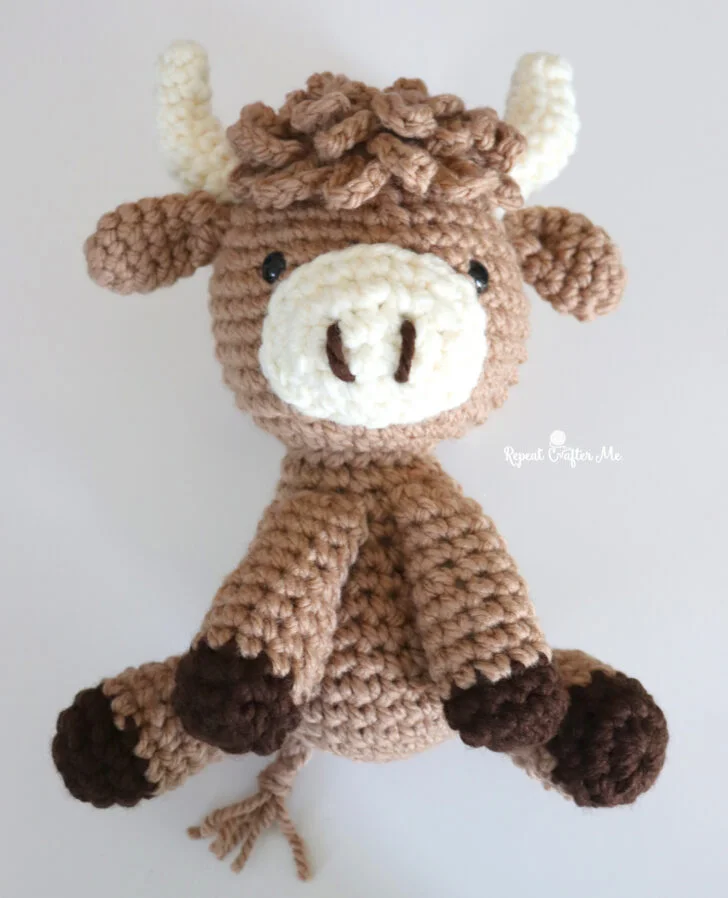
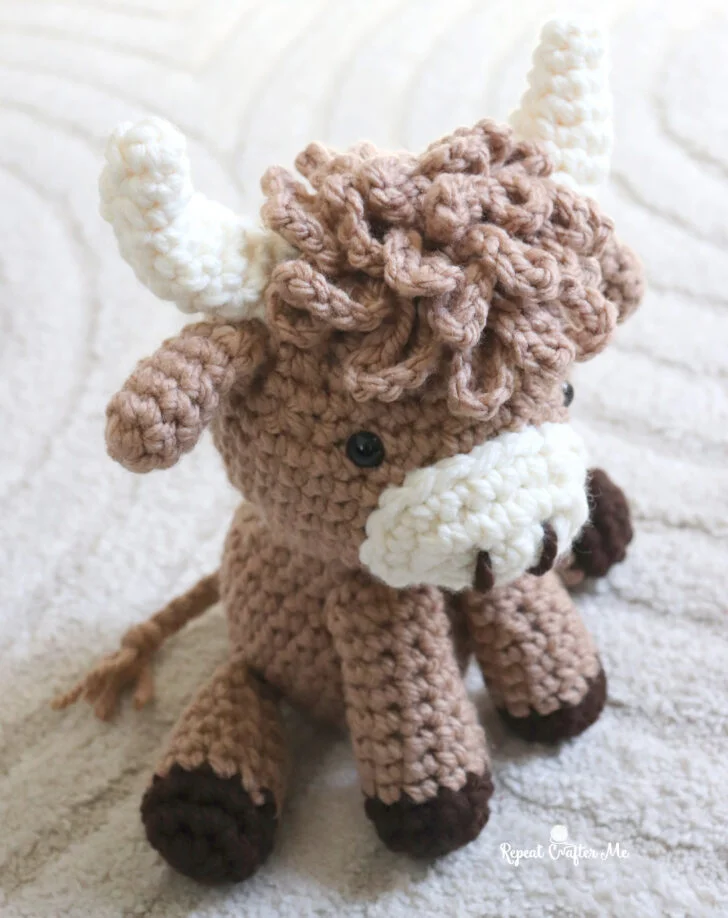
The fluff. The horns. The HAIR.
I couldn’t resist making a Highland Cow and this one might be my new favorite! There’s just something about that shaggy top and those sweet little faces that makes them extra lovable. Plus, this chunky yarn gives it the perfect structure while still keeping that soft, cuddly feel.
Materials:
-Bernat Softee Chunky Yarn in colors Soft Taupe (2 skeins – light brown for main body, ears, hair, etc), Dark Taupe (dark brown for hooves and nostrils), and Natural (off white/cream color for snout and horns)
>>> Shop yarn HERE on Yarnspirations.com <<<
OR >>> Shop yarn HERE on Amazon.com <<<
– Size H Crochet Hook
– Polyfil Fiber Stuffing
– Two black Safety Eyes ( I recommend 15mm)
– Tapestry Needle
UPDATE: Bernat Softee Chunky is currently SOLD OUT. I would suggest Red Heart Super Easy as a replacement! It’s also a #6 Bulky weight with a similar texture. Color Ginger (light brown), Bark (dark brown), and Aran (cream). I actually think I might like these shades of brown slightly better for our highland cow!
>>> Shop Red Heart Super Easy Yarn HERE on Yarnspirations.com <<<
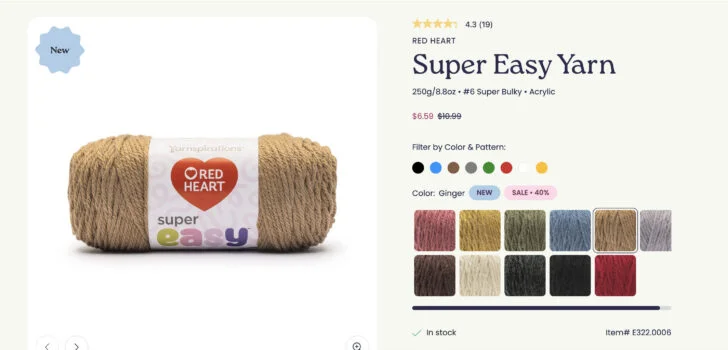
Note: This is a super bulky yarn that is typically paired with a size L crochet hook. For this project, I intentionally sized down to a H hook to create tighter stitches. This helps give the cow more structure and prevents the polyfil from showing through.
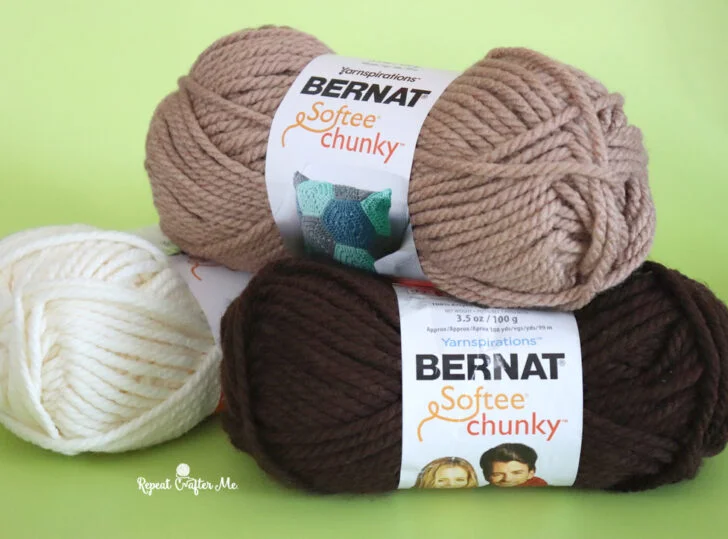
Bernat Softee Chunky turned out to be the perfect yarn for this design! The thickness and texture work especially well for smaller pieces like the ears and horns—no stuffing needed, yet they still hold their shape beautifully. Feel free to play around with the colors to make it your own. You could swap in dark brown for the body or even use it for the horns instead of cream.
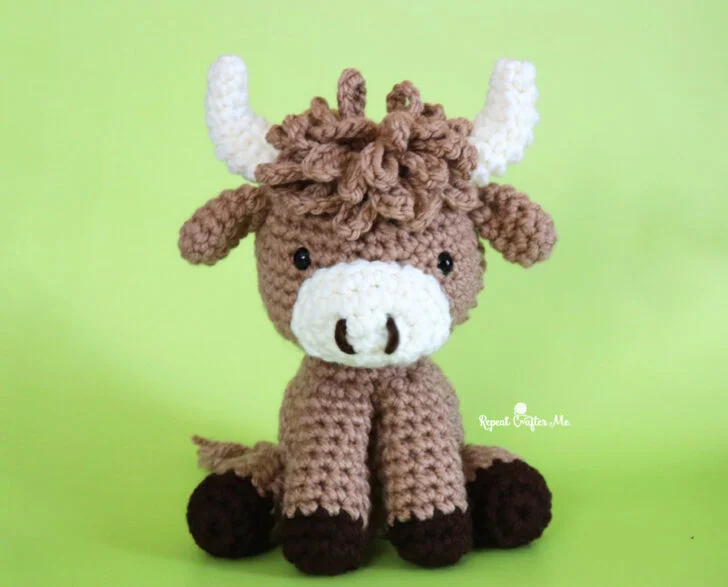
Finished Size: Approximately 10 inches tall and 8 inches wide (at the widest point of the legs).
And a little behind-the-scenes moment… I had a bit of an oops and realized my memory card wasn’t in the camera while photographing most of this pattern. I’ll be working on a full video tutorial soon to walk you through the steps and show you exactly how to assemble this cutie cow!
Head:
with light brown yarn
Magic Ring, chain 1 and make 10 SC in ring, join chain 1
Round 2: 2 SC in each stitch around, join, chain 1
Round 3: SC in each stitch around, join, chain 1 (20 SC)
Round 4: 2 SC in first, SC in next, repeat around, join, chain 1 (30 SC)
Round 5: 2 SC in first, SC in next two, repat around, join, chain 1 (40 SC)
Round 6-10: SC in each stitch around, join, chain 1 (40 SC)
Round 11: SC Decrease, SC in next 6, repeat around, join, chain 1 (35 SC)
Round 12: SC in each stitch around, join, chain 1 (35 SC)
Round 13: SC Decrease, SC in next 5, repeat around, join, chain 1
Round 14: SC Decrease, SC in next 4, repeat around, join, chain 1
Pause here to work on the snout. You will need to add in safety eyes and stitch on Snout before completing the head and closing it up. Start stuffing with polyfil
Round 15: SC Decrease, SC in next 3, repeat around, join, chain 1
Round 16: SC Decrease, SC in next 2, repeat around, join, chain 1
Round 17: SC Decrease, SC in next, repeat around join, chain 1
Round 18: Finish stuffing with polyfil, SC Decraese until closed.
Snout:
with cream color yarn
Chain 6, SC in second chain from hook and next 3, 4 SC in last, now working on other side of chain, SC in next 3, 4 SC in last, join, chain 1
Round 2: SC in first 5, 2 SC in next two, SC in next 6, SC in last two, join, chain 1
Round 3: SC in each stitch around, join, fasten off leaving long tail.
with strand of dark brown yarn and tapestry needle, add two nostrils to front of snout.
Stitch snout onto head approximately between rounds 5 and 10. Stuff lightly with polyfil before you finish the last stitches.
Add two black 15mm safety eyes just slightly above either side of the snout. About Round 10-11 of head.
Ears: Make 2
Magic Ring, chain 1 and make 6 SC in ring, join chain 1
Round 2: 2 SC in first, SC in next two, repeat around, join, chain 1 (8 SC)
Round 3-5: SC in each stitch around, join, chain 1 (8 SC)
Round 6: SC decrease, SC in next 2, repeat around, fasten off
No need to stuff. Pinch bottom of ear closed and stitch onto either side of head about 1 row above eyes.
Horns: Make 2
with cream color yarn
Magic Ring, chain 1 and make 4 SC in ring, join chain 1
Round 2: SC in each stitch around, join, chain 1 (4 SC)
Round 3: 2 SC in first, SC in next, repeat around, join, chain 1 (6 SC)
Round 4: SC in each stitch around, join, chain 1 (6 SC)
Round 5: 2 SC in first, SC in next 2, repeat around, join, chain 1 (8 SC)
Round 6-8: SC in each stitch around, join, chain 1 (8 SC)
Fasten off leaving long tail.
Attach horns to the top sides of the head (right above ears), angled slightly outward.
Add the Shaggy Hair:
Did you know the fringe/bangs at the top of the highland cow acts as a natural shield, protecting their eyes from harsh wind, rain and snow?
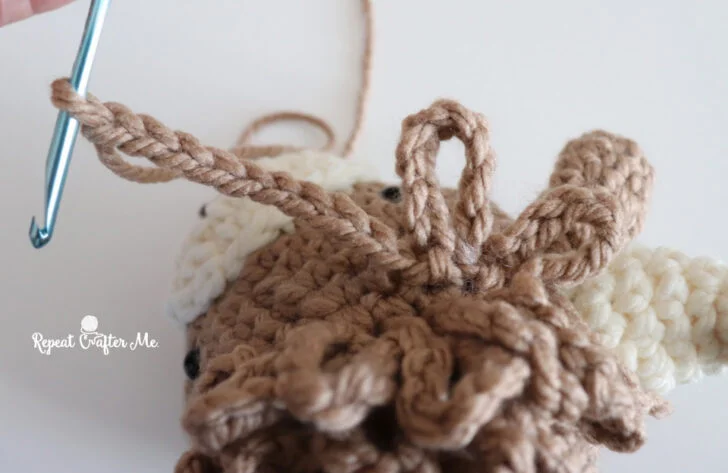
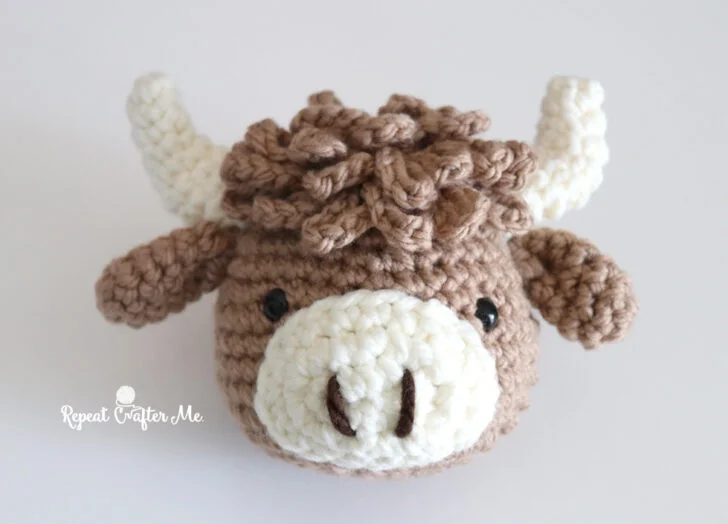
I created chain loops to act as the fun wild hair on top of the head. You can add this AFTER you have closed up the top of the head and already added on the ears and horns.
Using light brown yarn, join anywhere on the top center of the head.
Chain 10, slip stitch back into the same stitch.
Repeat this process in surrounding stitches, working outward in a circular pattern until you get that full, messy Highland cow look.
(More loops = more fluff! Don’t be afraid to go wild here.)
Body:
with light brown yarn
Magic Ring, chain 1 and make 10 SC in ring, join to first SC, chain 1
Round 2: 2 SC in each stitch around, join, chain 1 (20 SC)
Round 3: SC in each stitch around, join, chain 1 (20 SC)
Round 4: 2 SC in first stitch, SC in next, repeat around, join, chain 1 (30 SC)
Round 5-9: SC in each stitch around, join, chain 1 (30 SC)
Round 10: SC decrease, SC in next 4, repeat around, join, chain 1 (25 SC)
Round 11: SC in each stitch around, join, chain 1 (25 SC)
Round 12: SC decrease, SC in next 3, repeat around, join, chain 1 (20 SC)
Round 13: SC in each stitch around, join, chain 1 (20 SC)
Round 14: SC decrease, SC in next 2, repeat around, join, chain 1 (15 SC)
Round 15: SC in each stitch around, join, chain1 (15 SC)
Stuff with polyfil and leave top open.
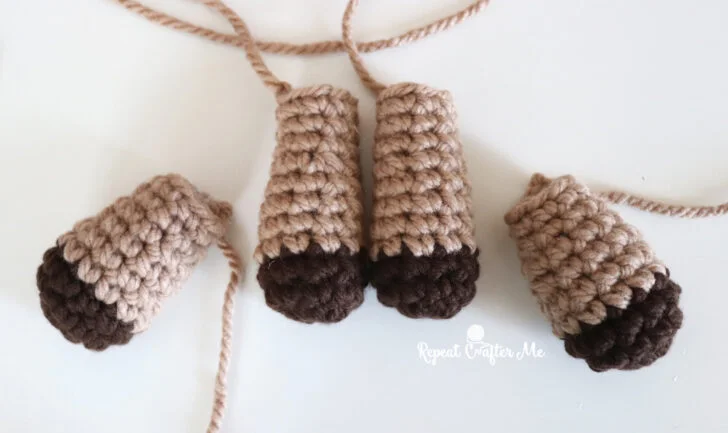
Front Legs: Make 2
starting with dark brown yarn
Magic Ring, chain 1 and make 10 SC in ring, join, chain 1
Round 2-3: SC in each stitch around, join, chain 1 (10 SC)
join in light brown yarn, chain 1
Round 4-7: SC in each stitch around, join, chain 1 (10 SC)
Round 8: SC Decrease, SC in next 3, repeat around, join, chain 1 (8 SC)
Round 9-11: SC in each stitch around, join, chain 1
Fasten off after round 11 leaving long tail.
Stuff legs and pinch opening flat. Set aside for assembly.
Back Legs: Make 2
starting with dark brown
Magic Ring, chain 1 and make 10 SC in ring, join, chain 1
Round 2: 2 SC in first, SC in next 4, repeat around, join chain 1 (12 SC)
Round 3: SC in each stitch around, (12 SC)
Join in light brown yarn and chain 1
Round 4-5: SC in each stitch around, join, chain 1 (12 SC)
Round 6: SC Decrease, SC in next 4, repeat around, join, chain 1 (10 SC)
Round 7: SC in each stitch around, join, chain 1 (10 SC)
Round 8: SC Decrease, SC in next 3, repeat around, join, chain 1 (8 SC)
Round 9: SC in each stitch around, fasten off leaving long tail (8 SC)
Stuff with polyfil and pinch opening closed. Set aside for assembly.
Assembly & Finishing
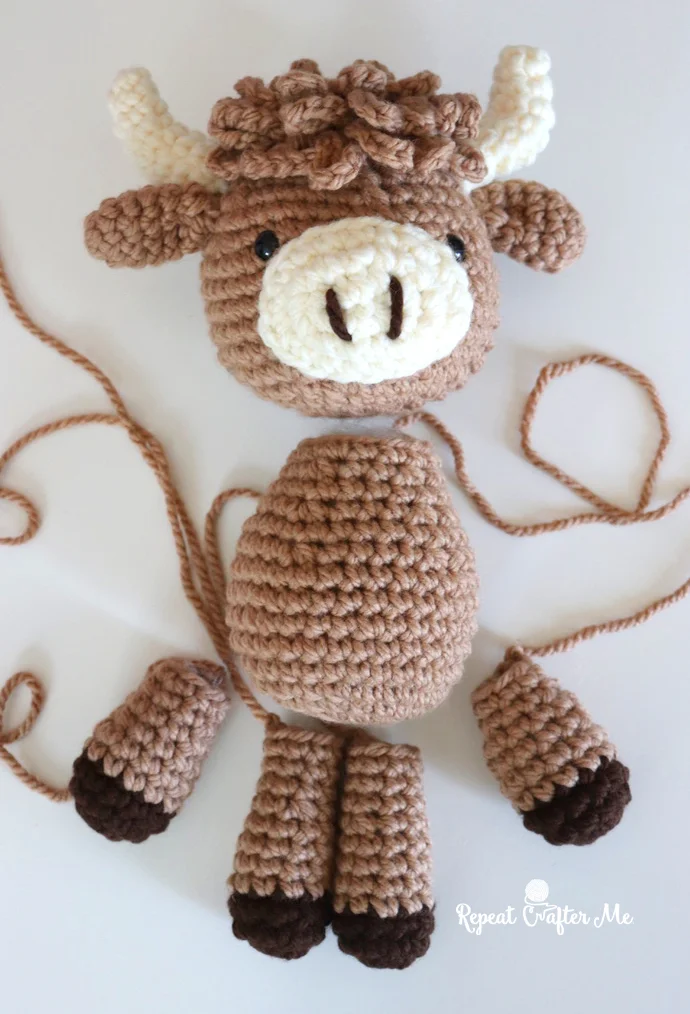
Now it’s time to bring your Highland Cow to life!
Attach the Head to the Body:
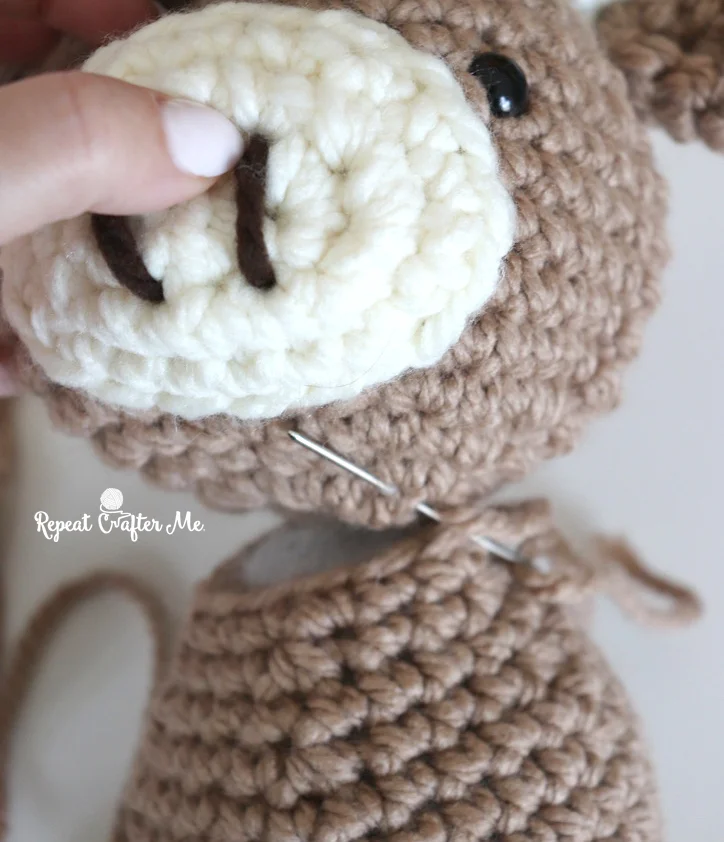
Sew the head securely onto the top of the body, making sure it’s centered and slightly tilted forward for that cute, seated look.
Front Legs:
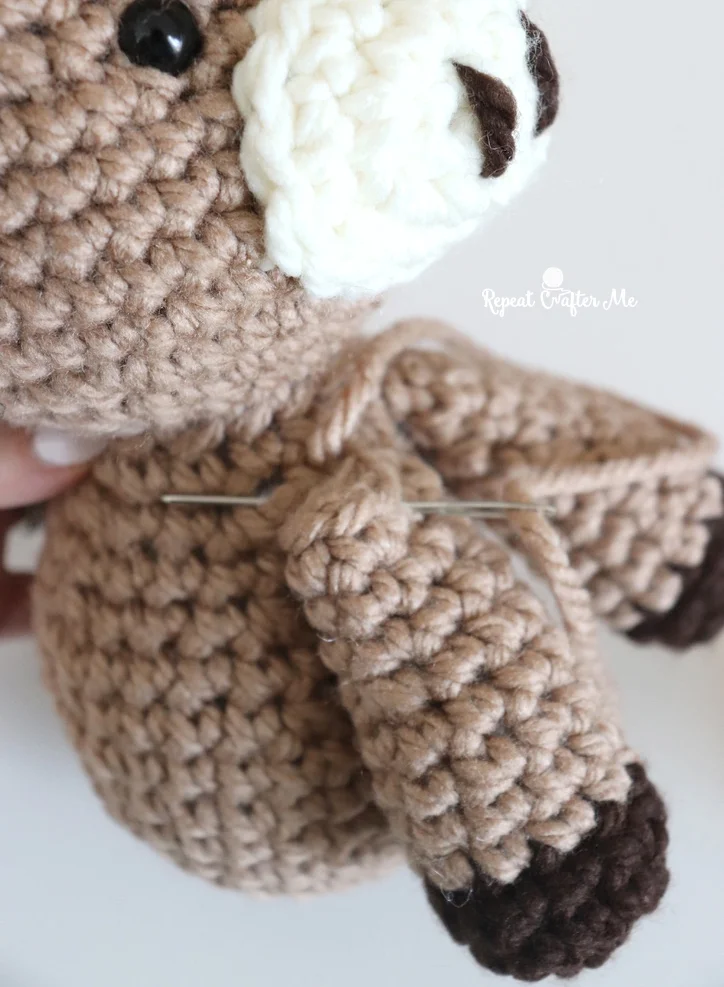
Stuff lightly, pinch the tops flat, and stitch to the front of the body about 2 rows down from the neck.
Back Legs:
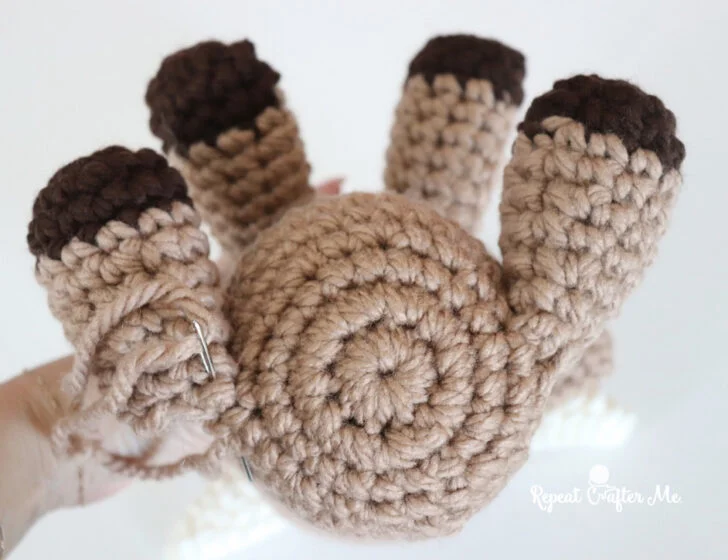
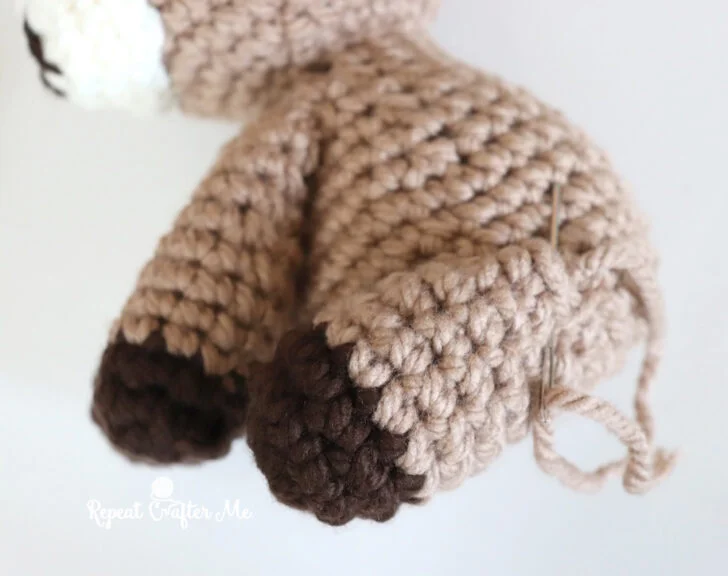
Attach to the sides of the lower body so they sit outward slightly. This helps your cow sit upright.
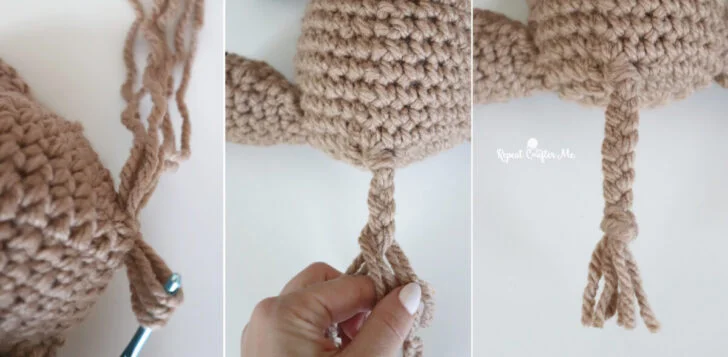
Tail
Cut 6 long strands of light brown yarn.
Loop them halfway through a stitch at the center back bottom of the cow.
- Pull ends through to secure (like a fringe attachment)
- Divide into 3 sections and braid
- Tie a knot at the end
- Trim the ends for a small tassel fringe
I had so much fun designing this little guy (even if I had a tiny camera mishap along the way). If you make your own Highland Cow, I would LOVE to see it! Tag me so I can admire all that fluffy hair and personality.