Modern Crochet Bauble Ornaments with Beads | Free Pattern + Video
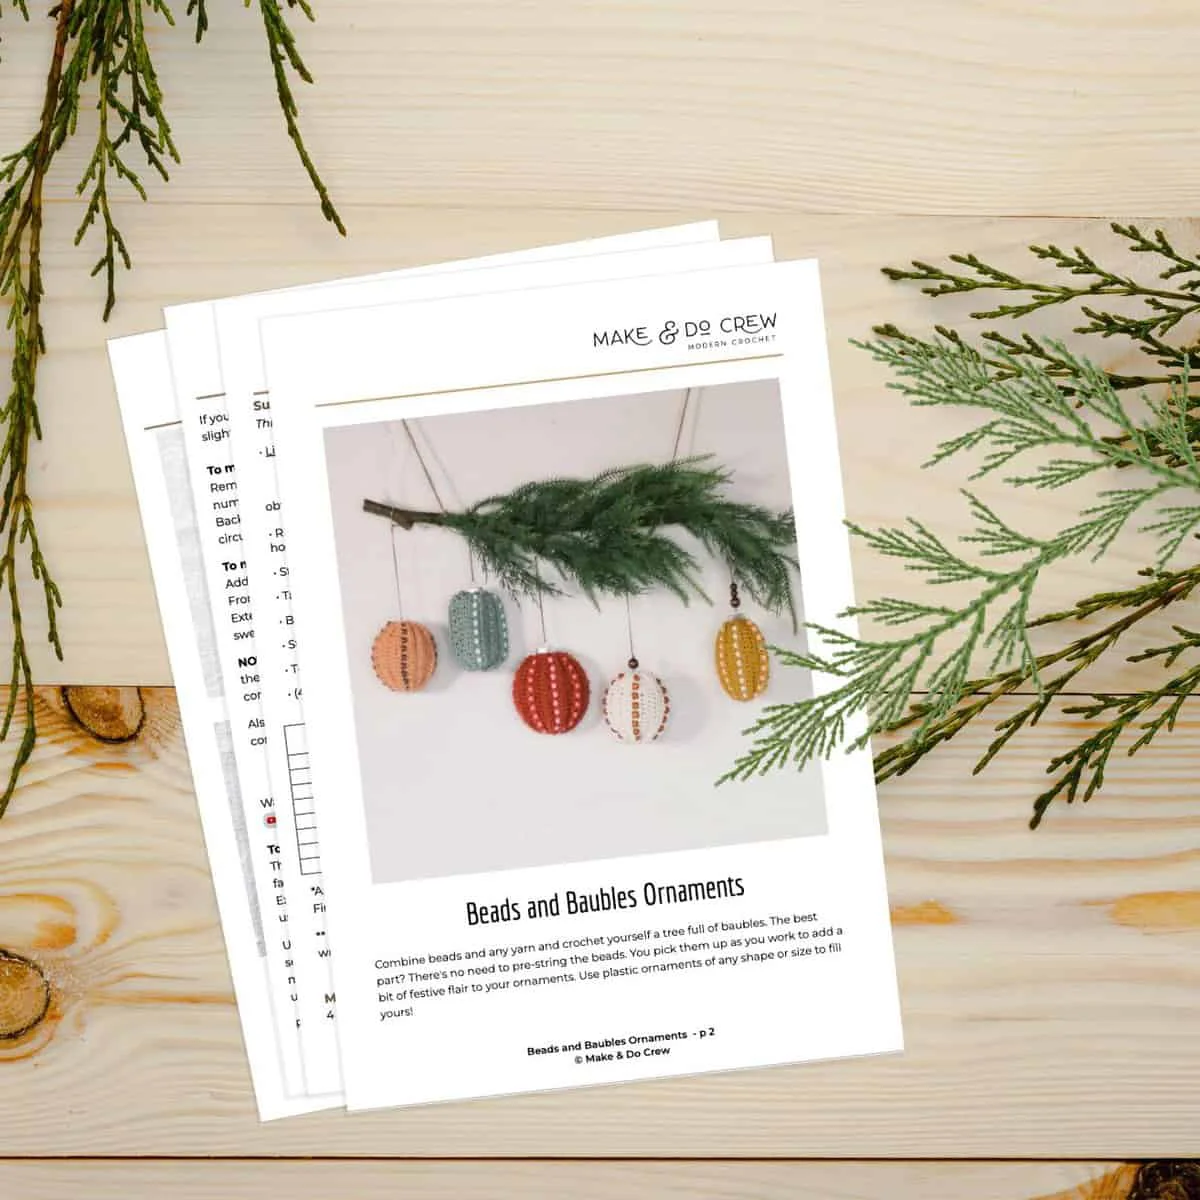
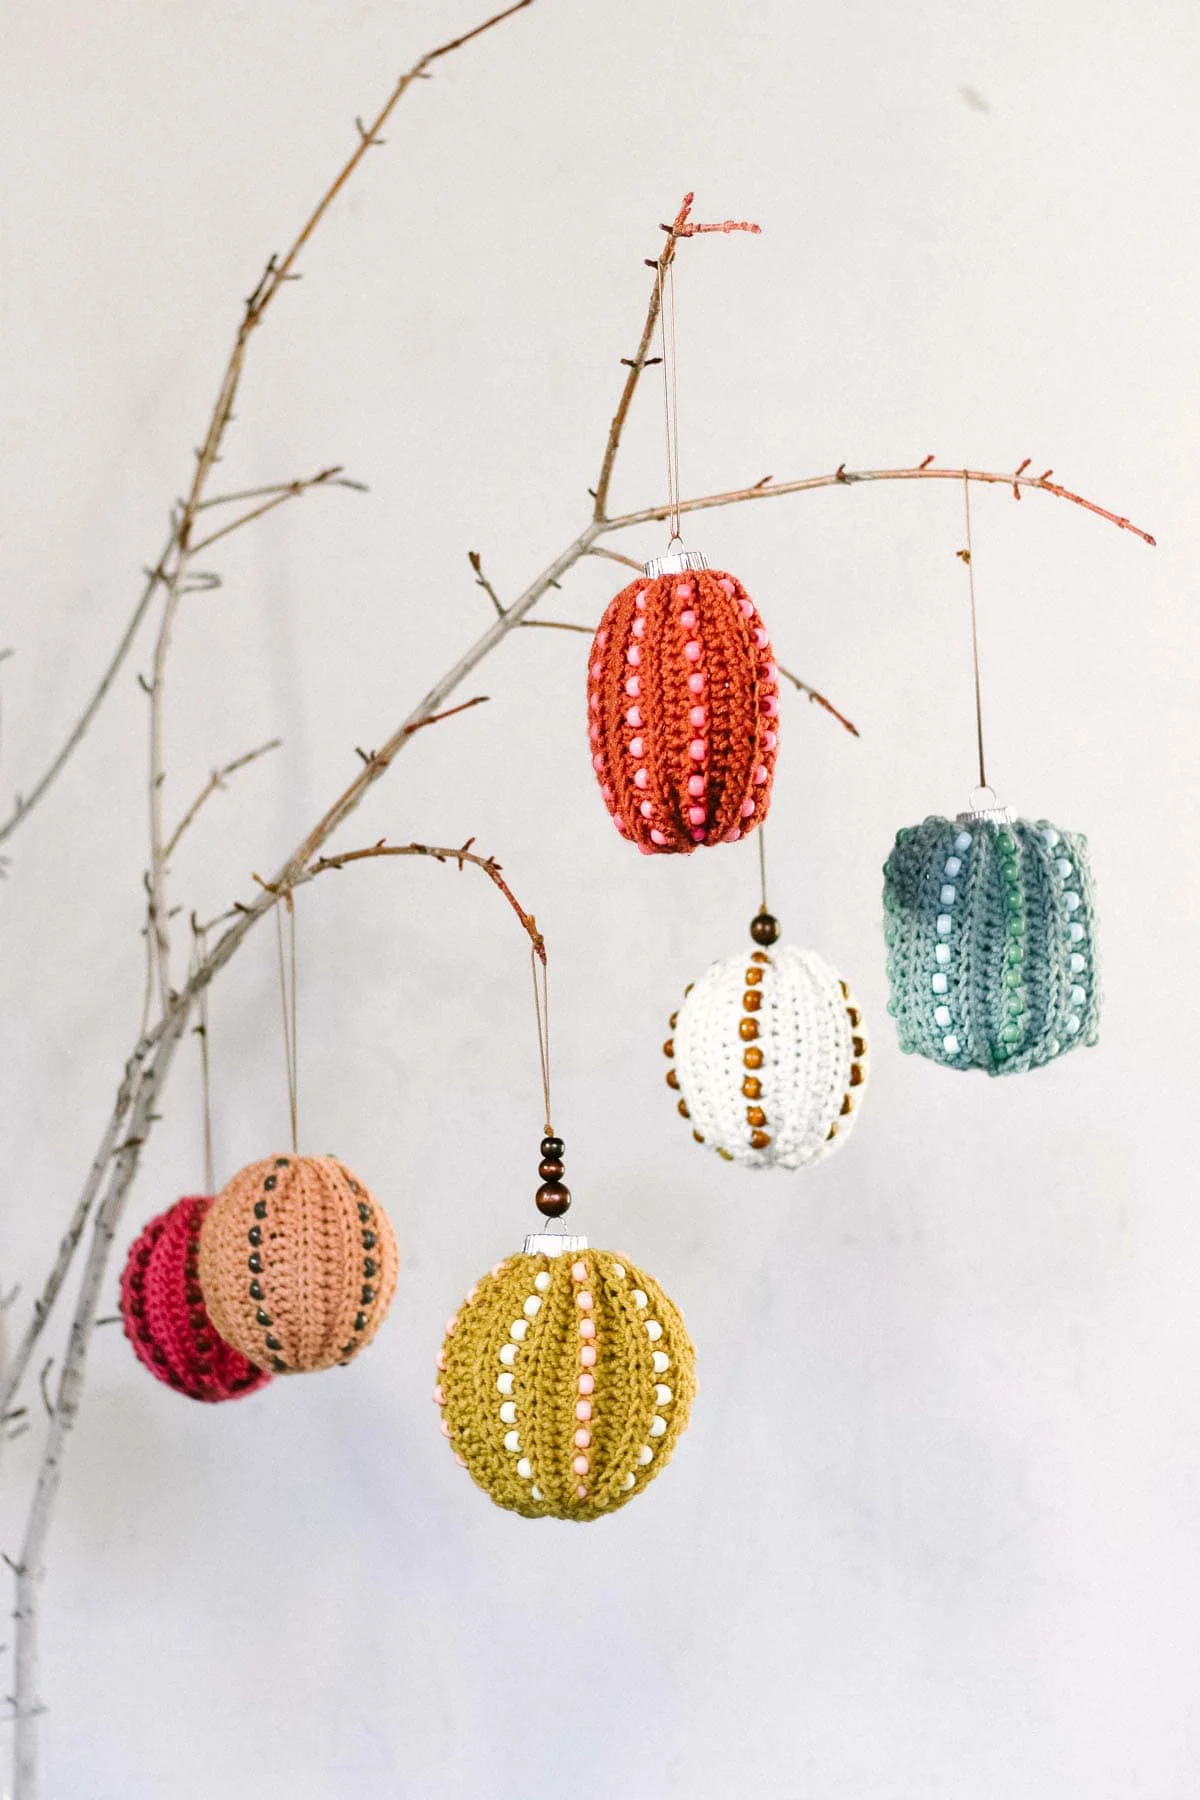
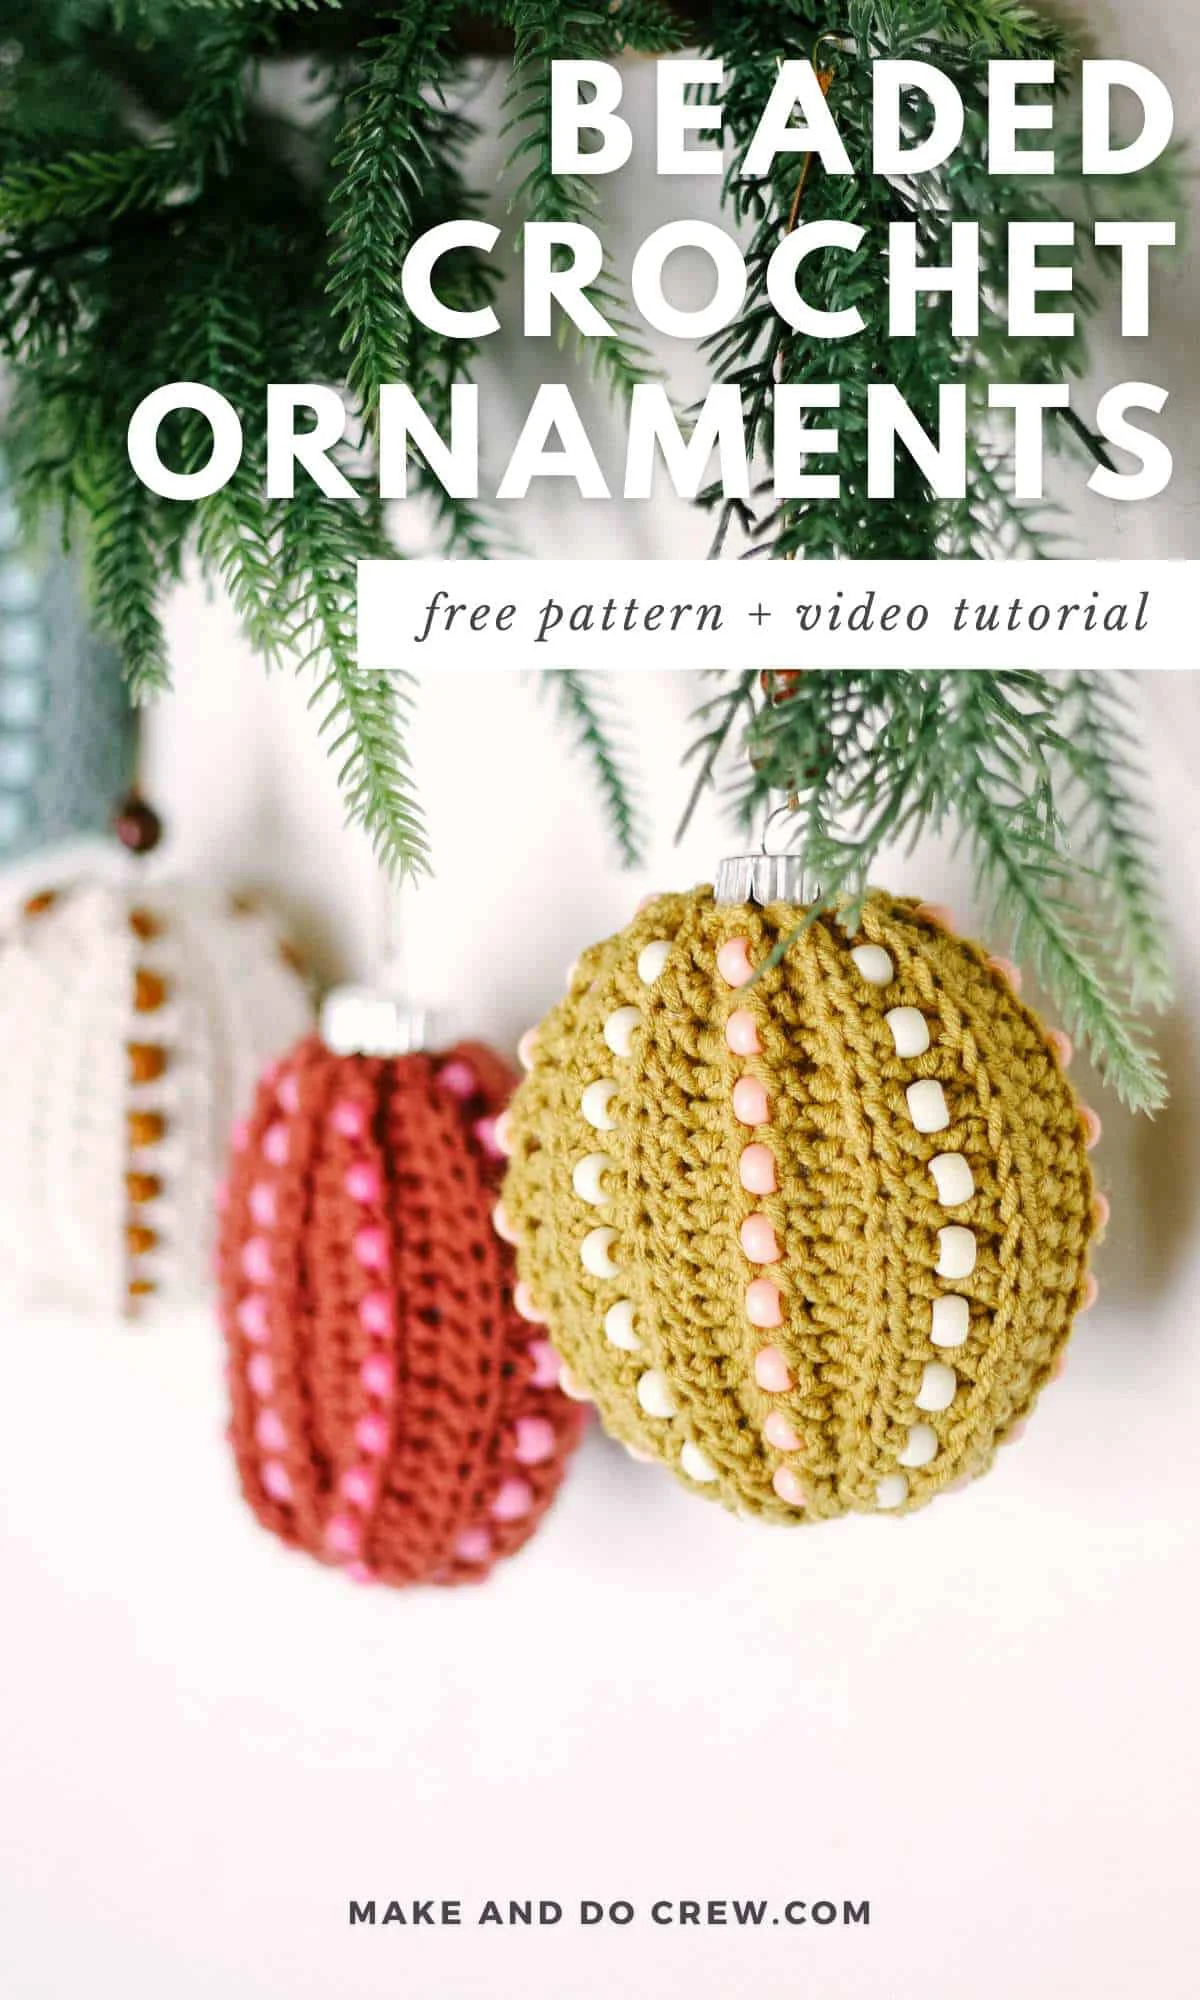
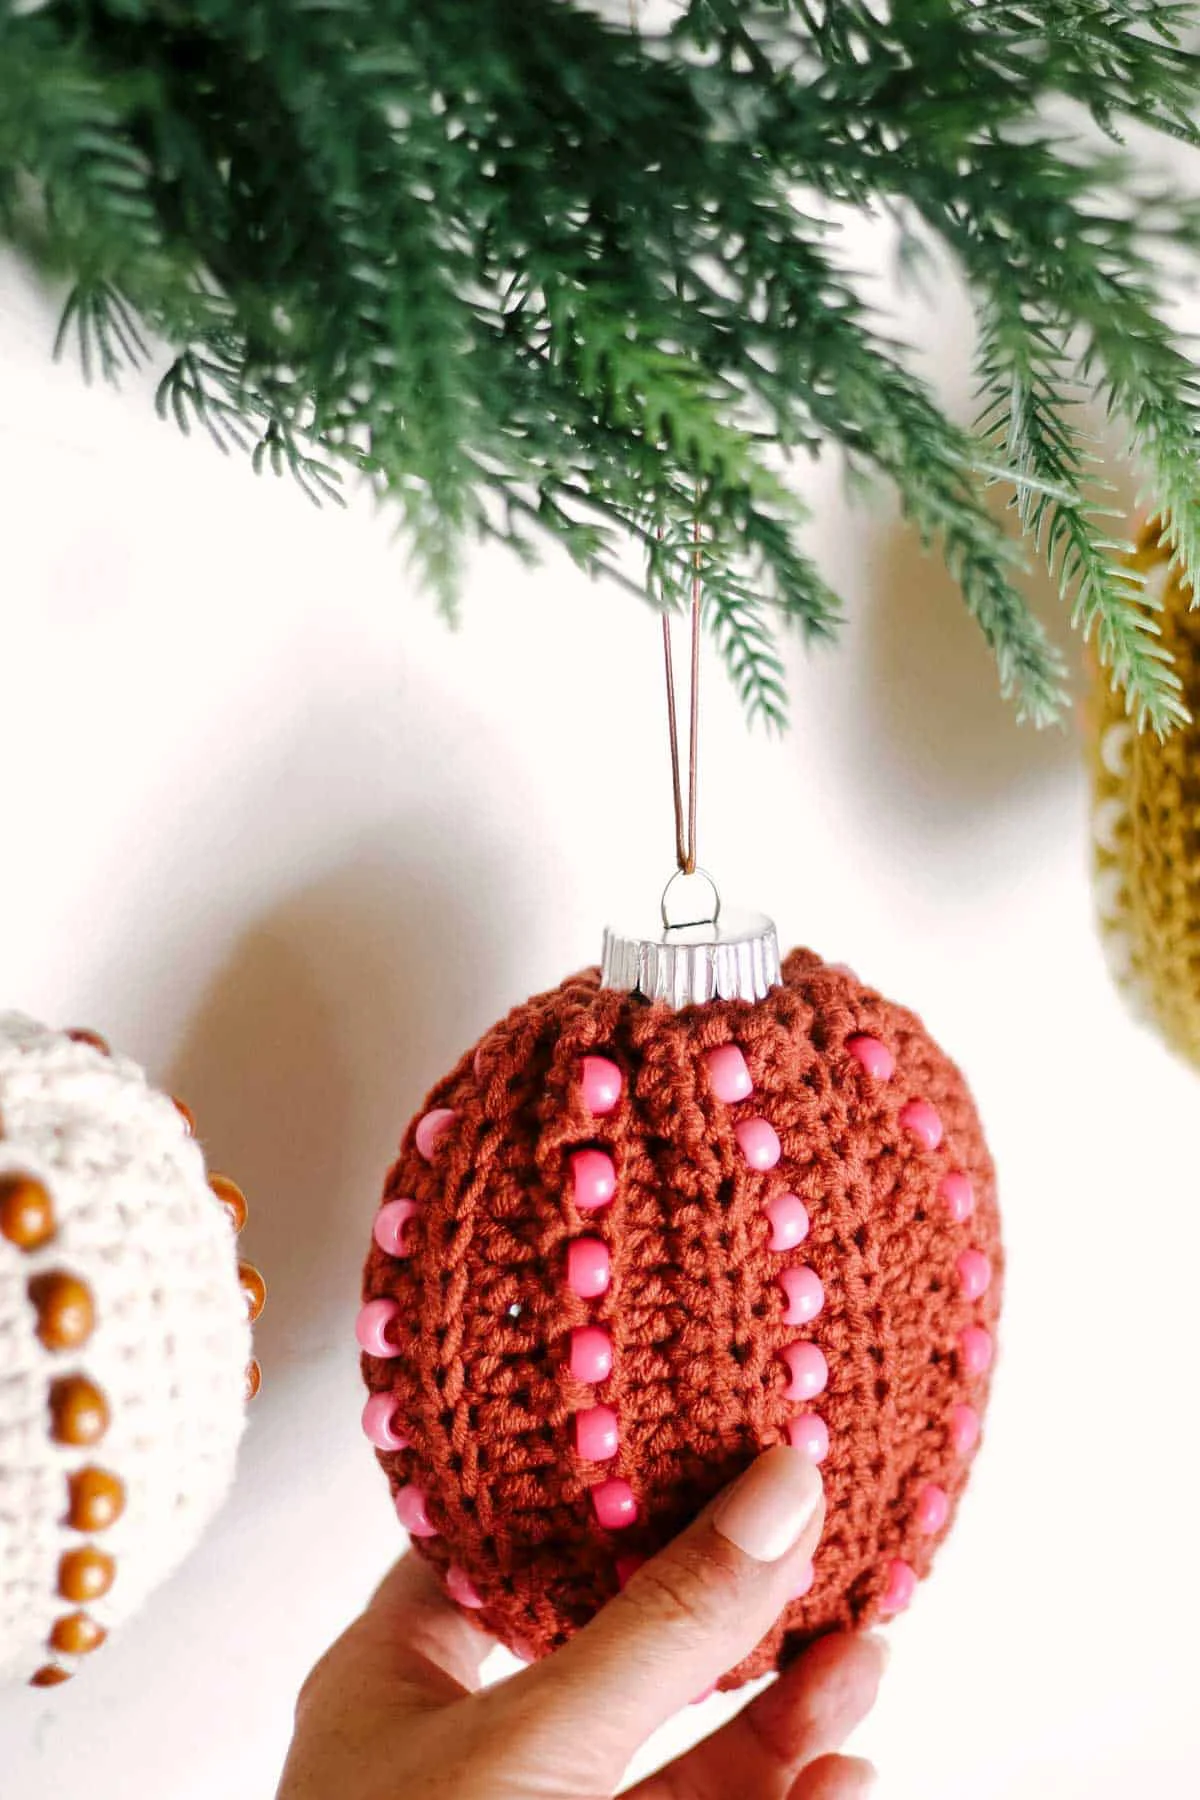
Welcome back to another delightful crochet project! Today, we have an absolutely stunning and wonderfully festive pattern for you: the Beaded Crochet Christmas Ornaments! If you love crafting delicate, glittering holiday decor that perfectly captures the magic of the season while adding a touch of handmade elegance to your tree, these beautifully textured and totally unique baubles are going to be your next favorite make.
This pattern is wonderfully adaptable and perfect for quick handmade gifts or beautiful package toppers, allowing you to whip up stunning seasonal decorations in record time. While the instructions are tailored for their classic, sparkling appeal, you can easily adjust the color variations depending on the worsted weight yarn and wooden beads used—swap out natural tones for frosty silvers or vibrant jewel hues to match any winter wonderland theme! Grab your hooks, settle into your favorite crafting spot, and let’s dive into making these beautiful ornament creations!
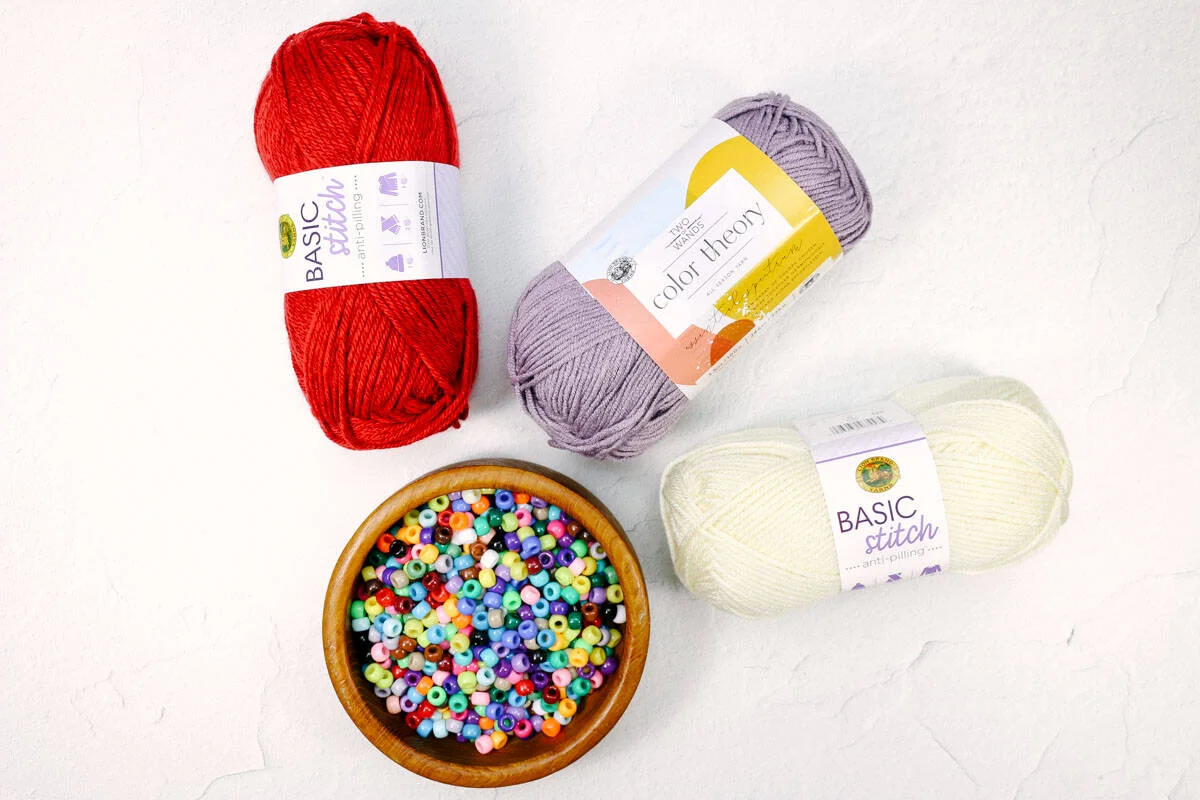
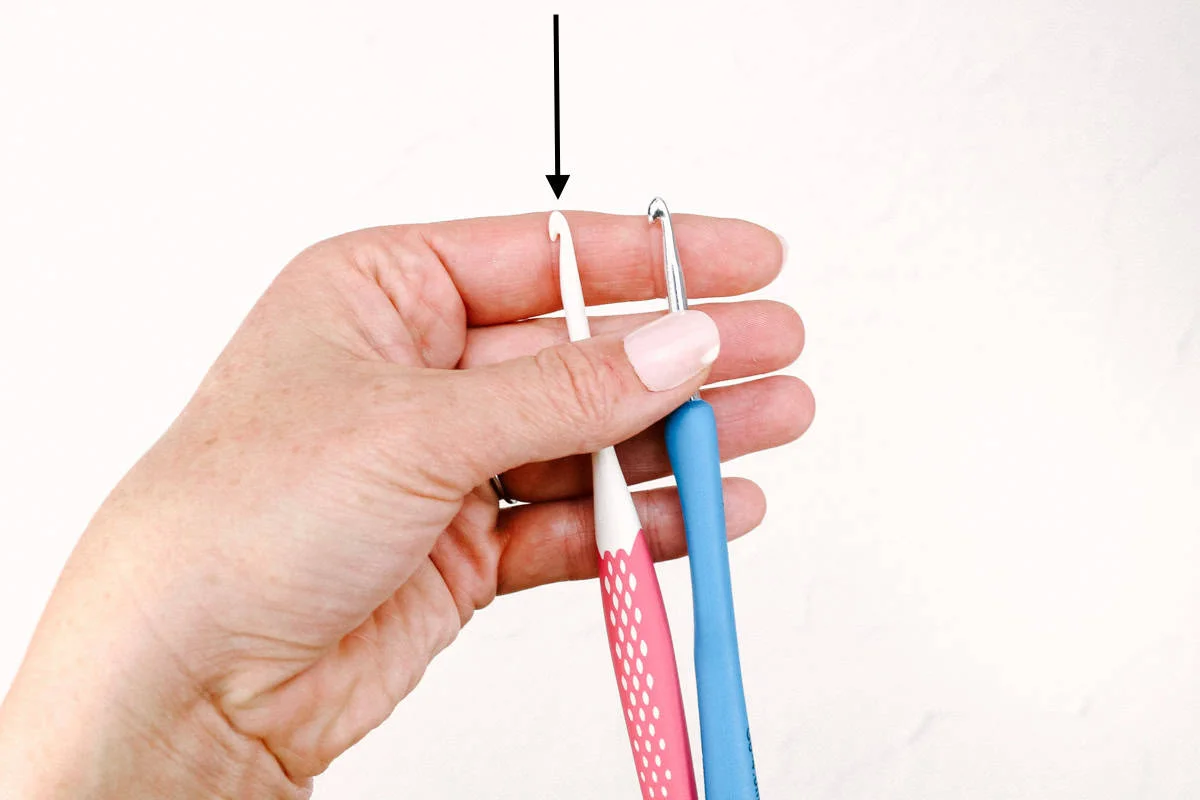
Additional Supplies
• Tapestry needle
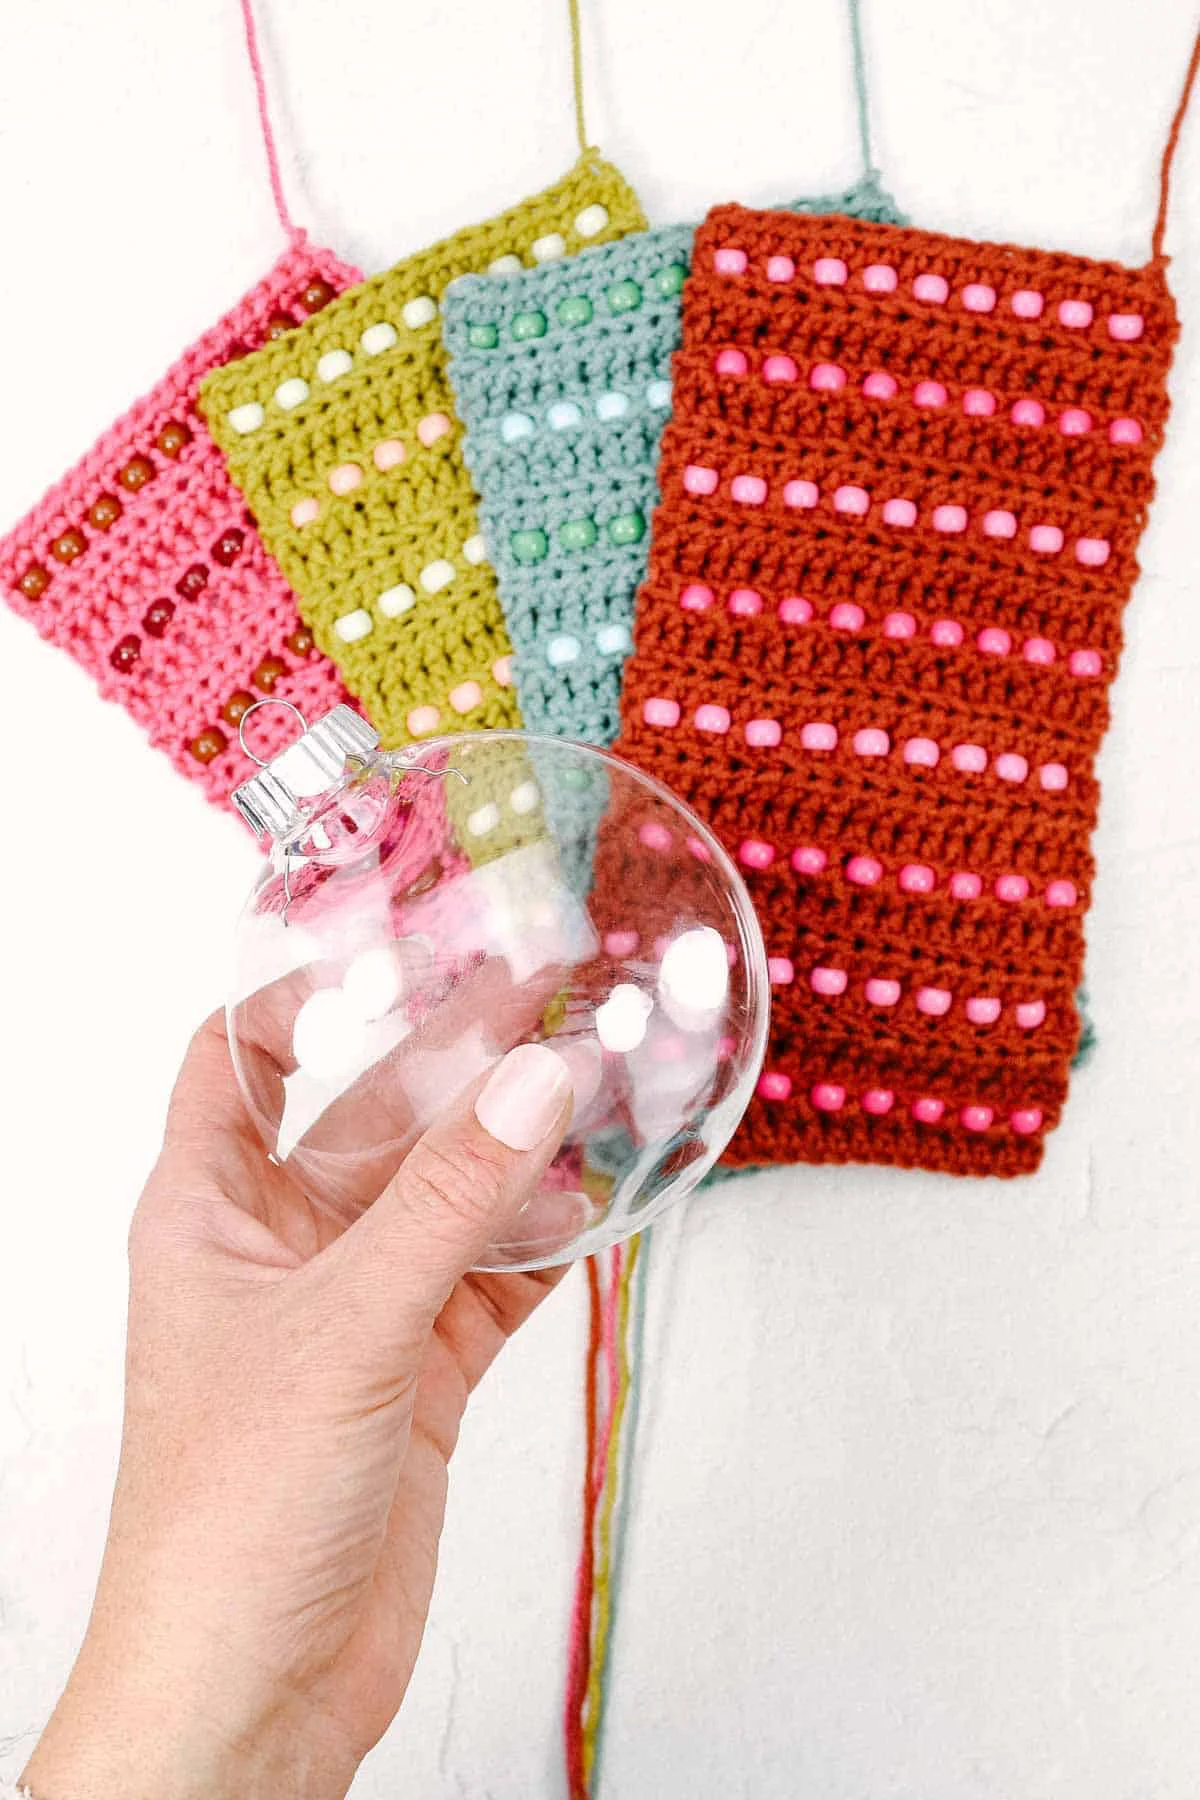
• Plastic fillable ornaments – 3” balls, 4” discs and 4” squares pictured
Beads and Baubles Ornaments – Free Pattern
Skill Level
These bead ornaments are appropriate for beginners who know basic stitches like chain, single crochet and half double crochet.
Abbreviations + Glossary (US Terms)
ch – chain
chsp – chain space
dc – double crochet
hdc – half double crochet
hdcblo – half double crochet through the back loop only
rep – repeat
RS – right side
sc – single crochet
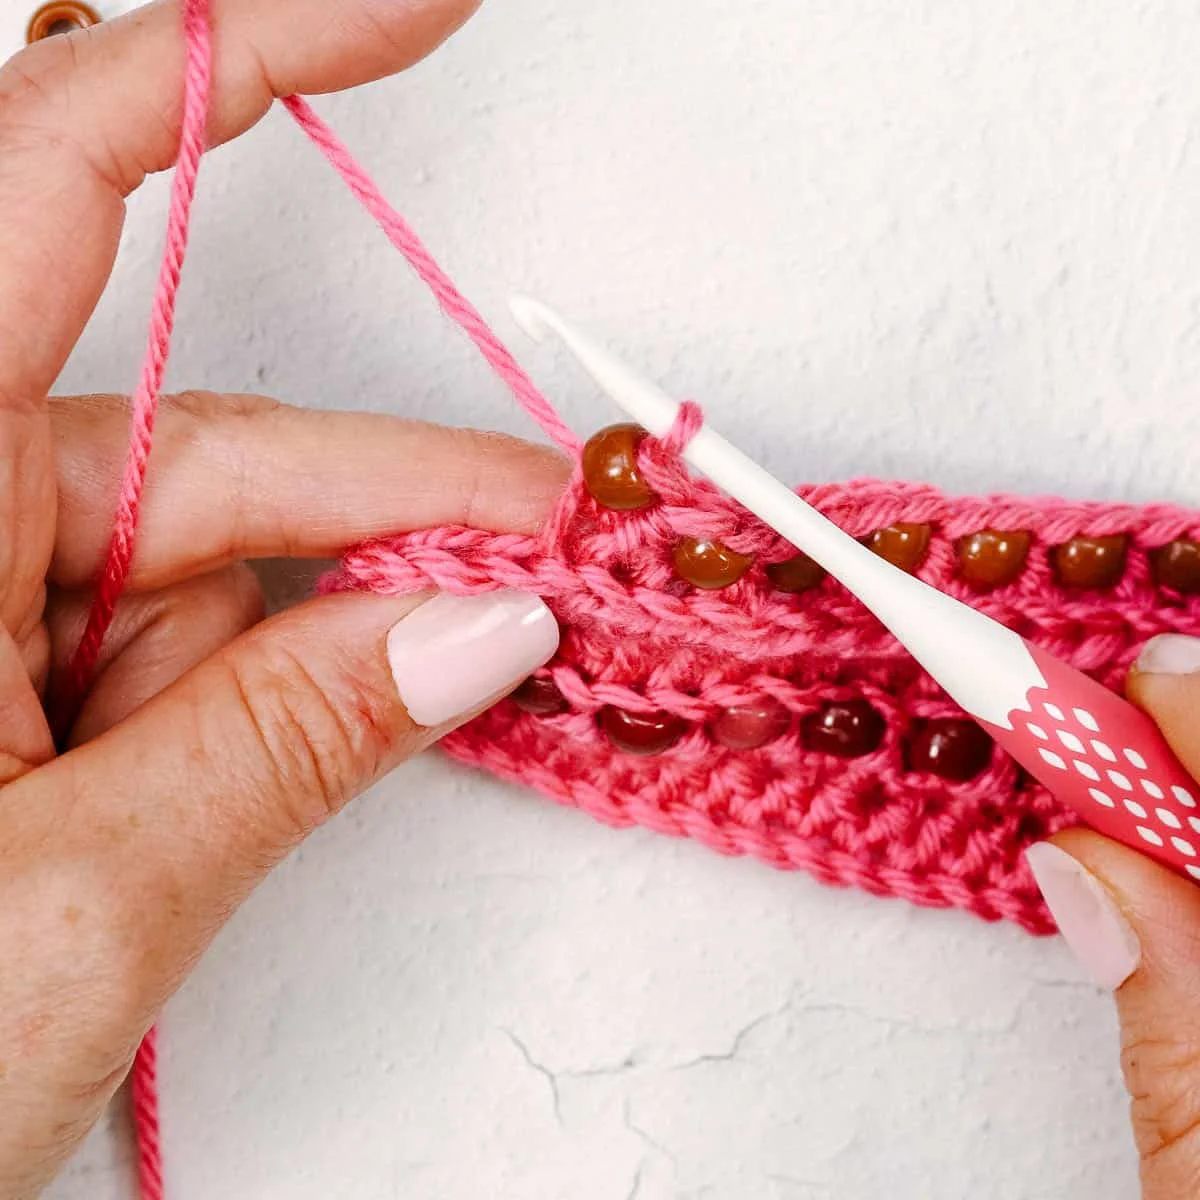
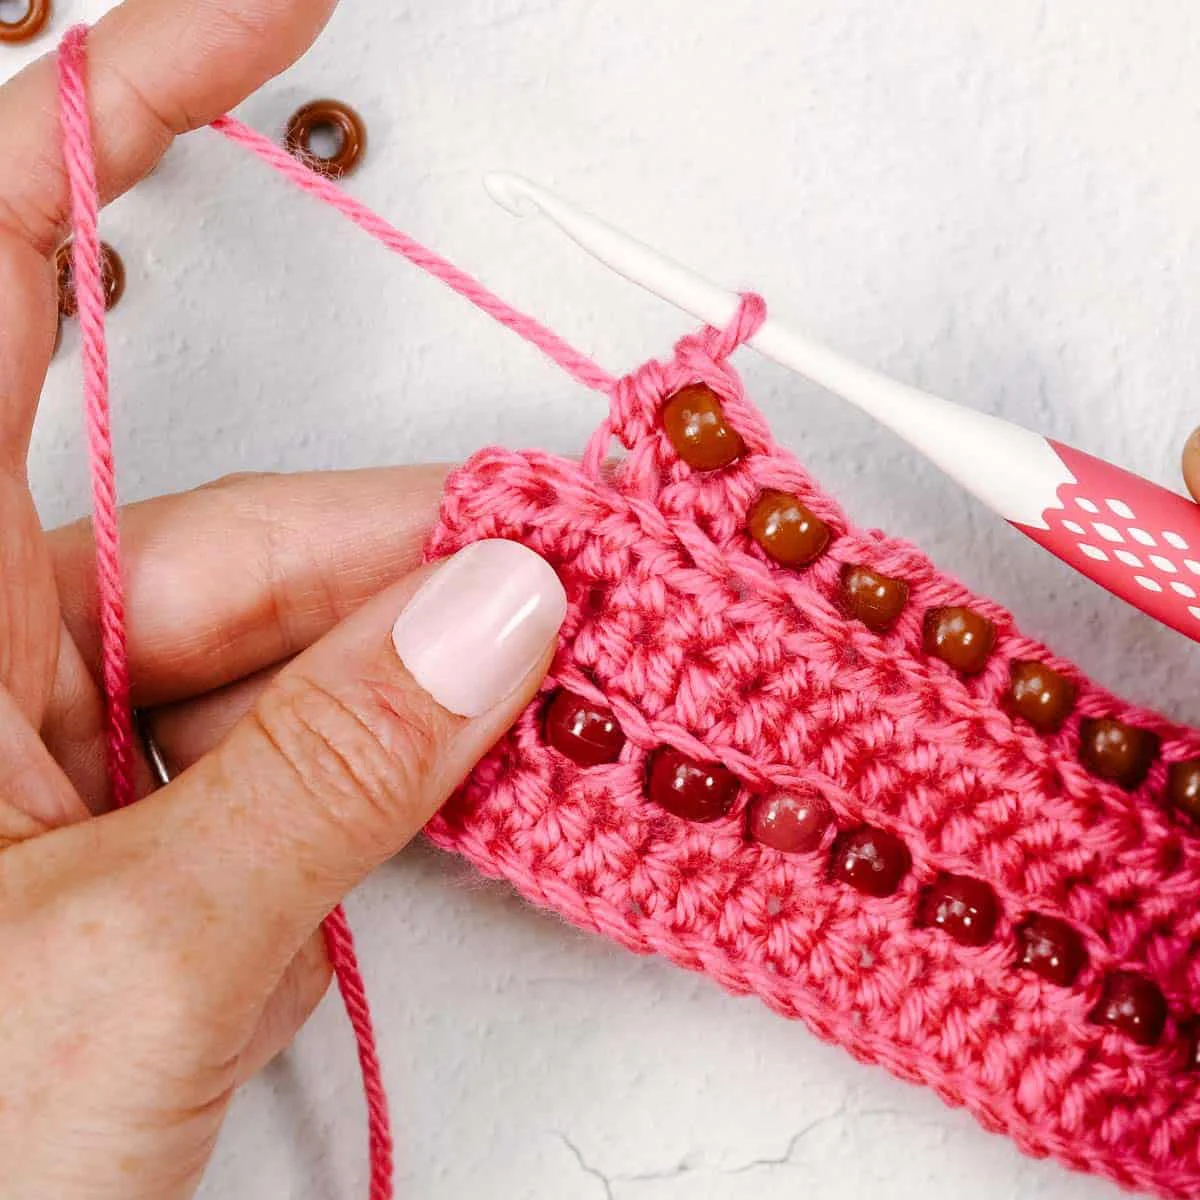
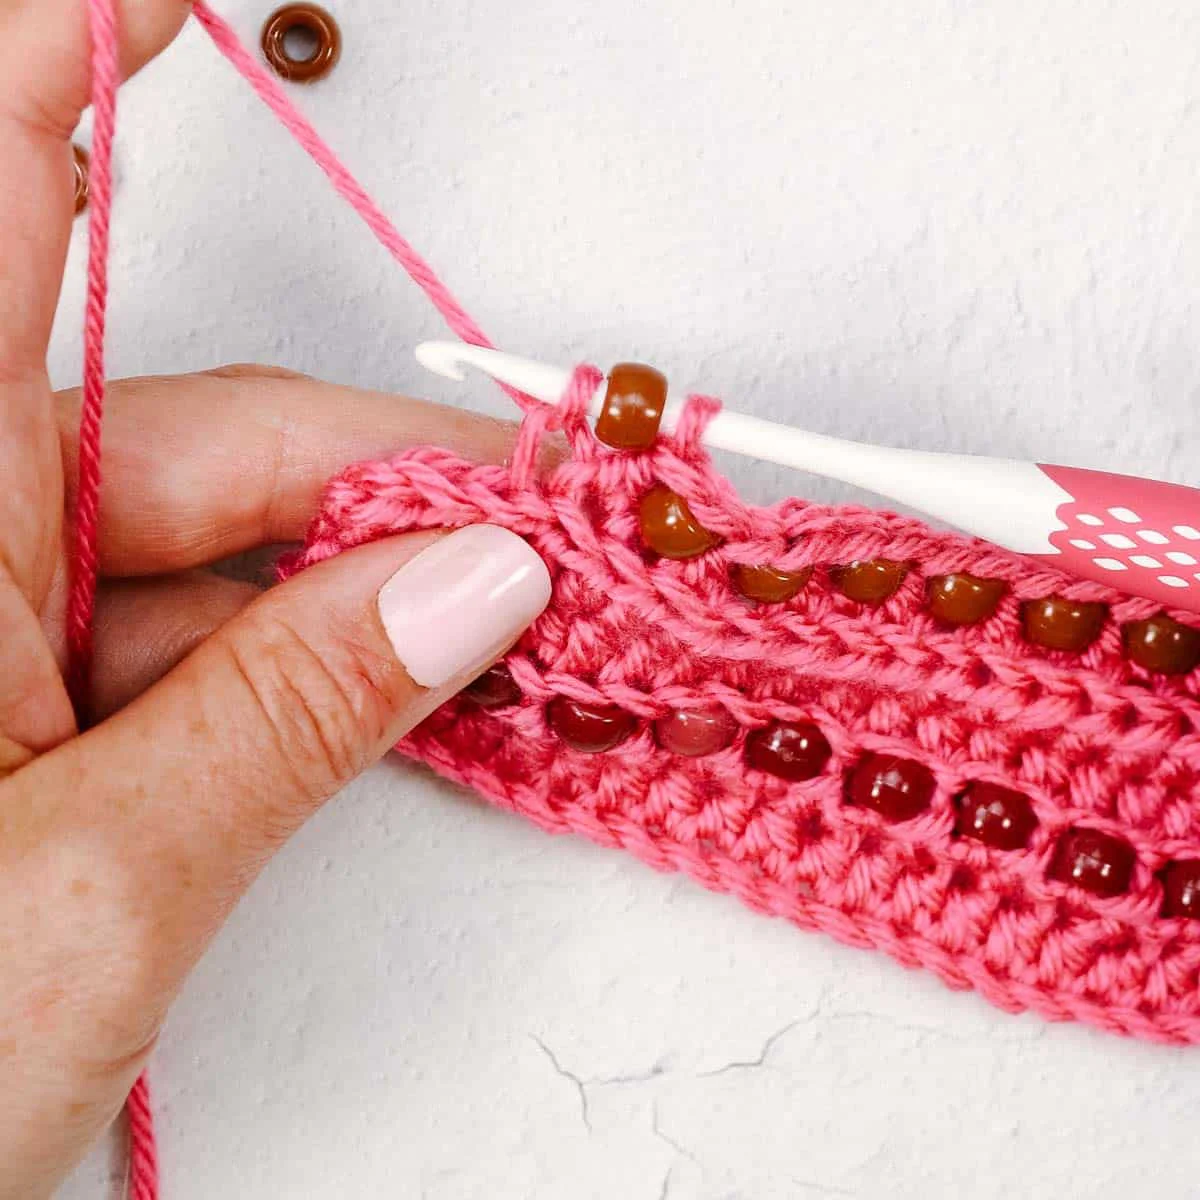
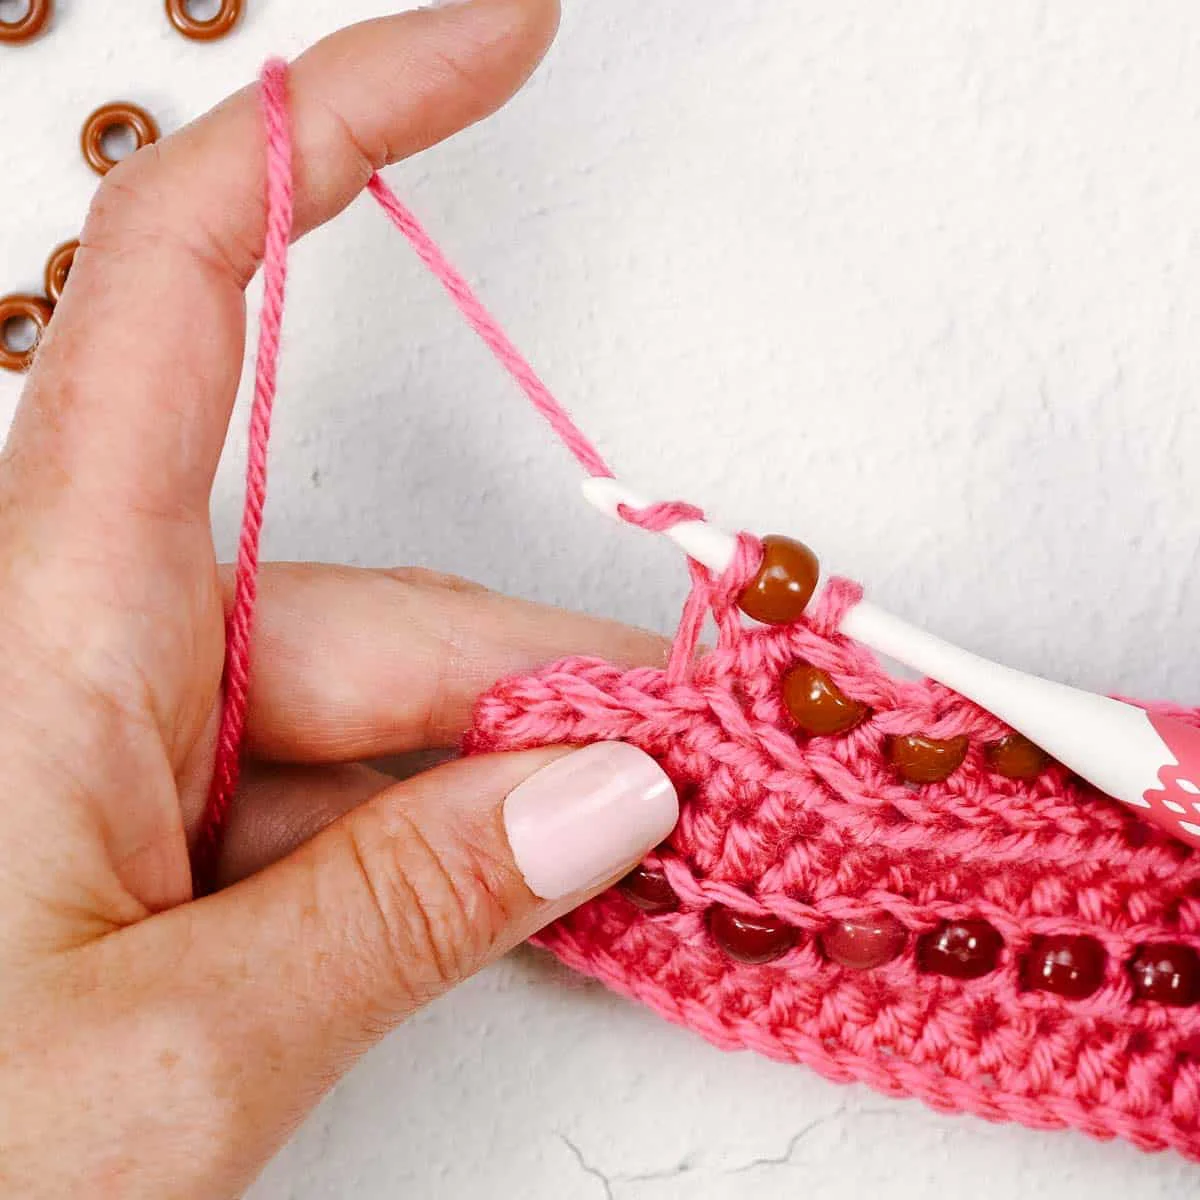
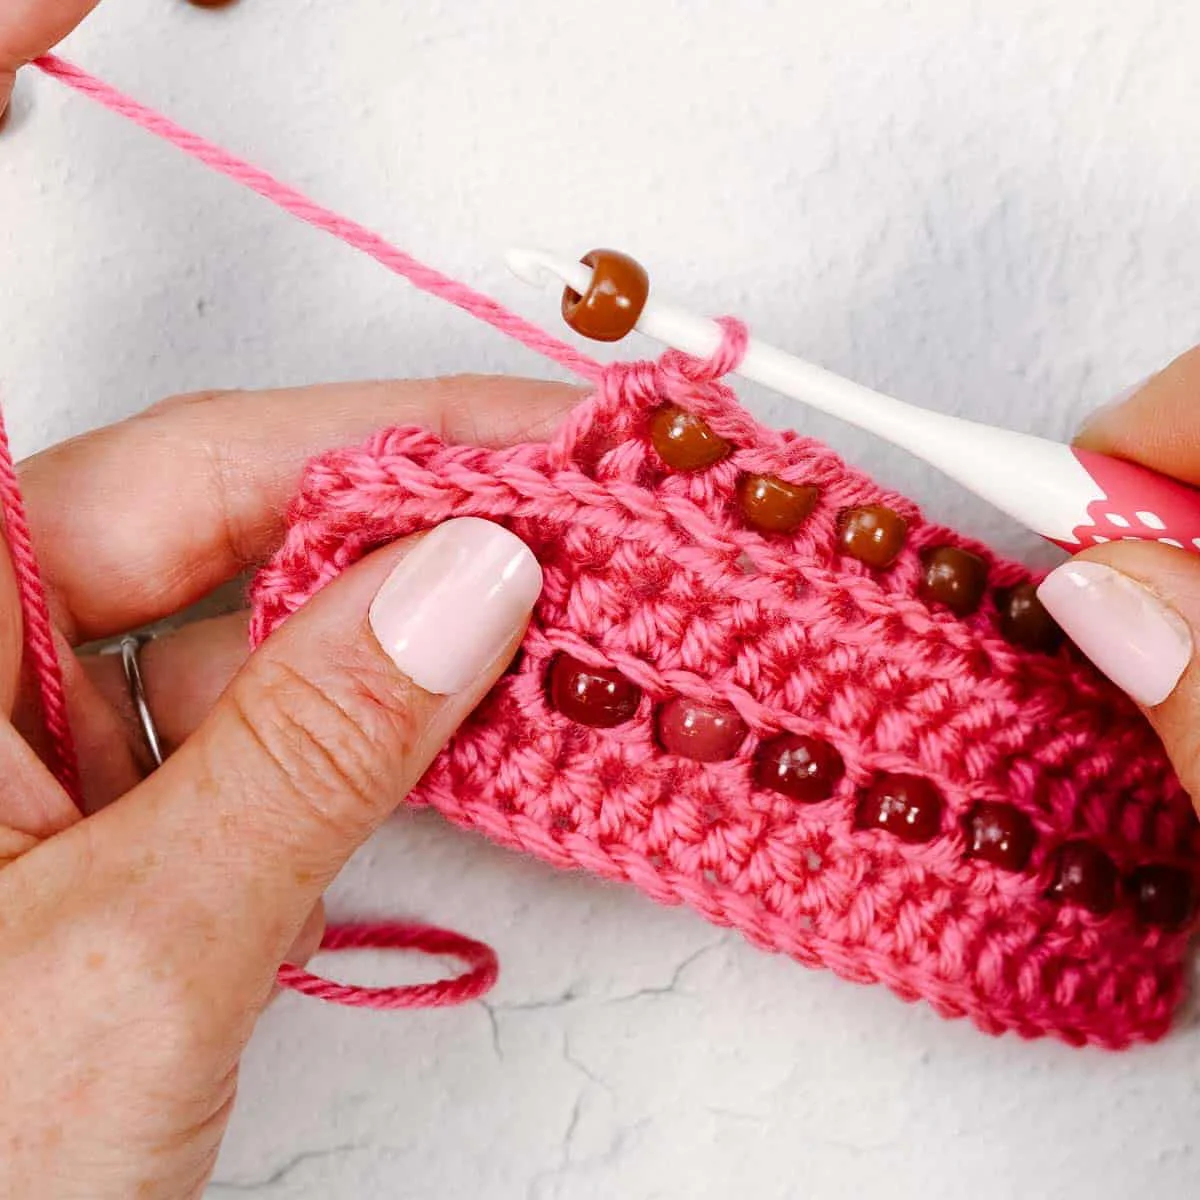
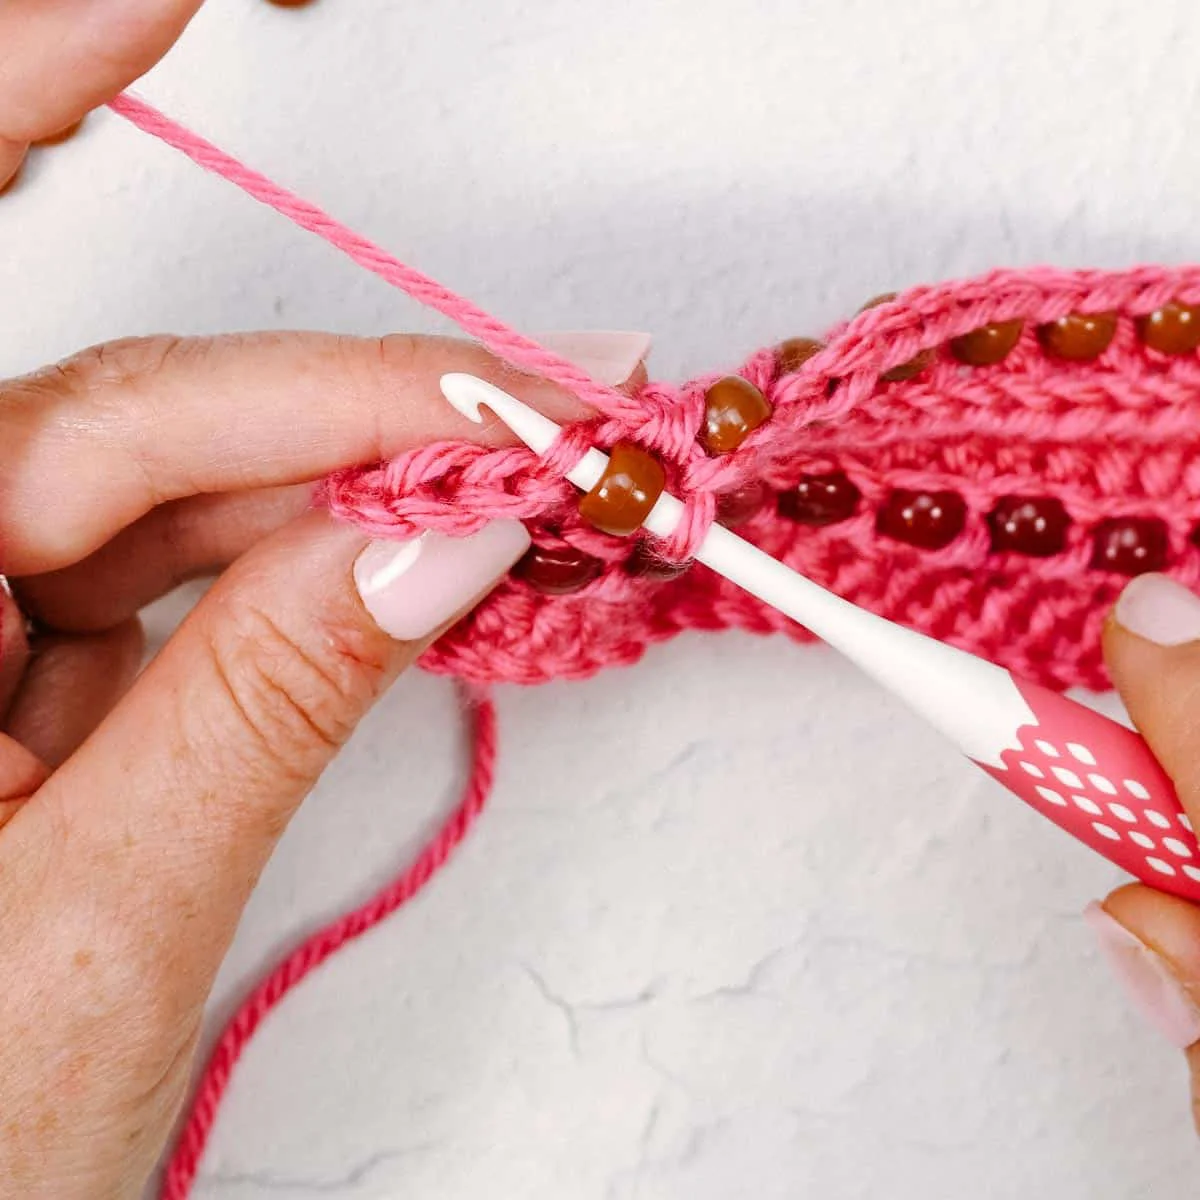
sc-bead – single crochet with a bead (see tutorial at end of pattern)
st(s) – stitch(es)
Gauge
8 hdc x 5 rows = 2”
How to Make the Ornament Rectangle
- If you’re new to reading crochet patterns, check out more info here.
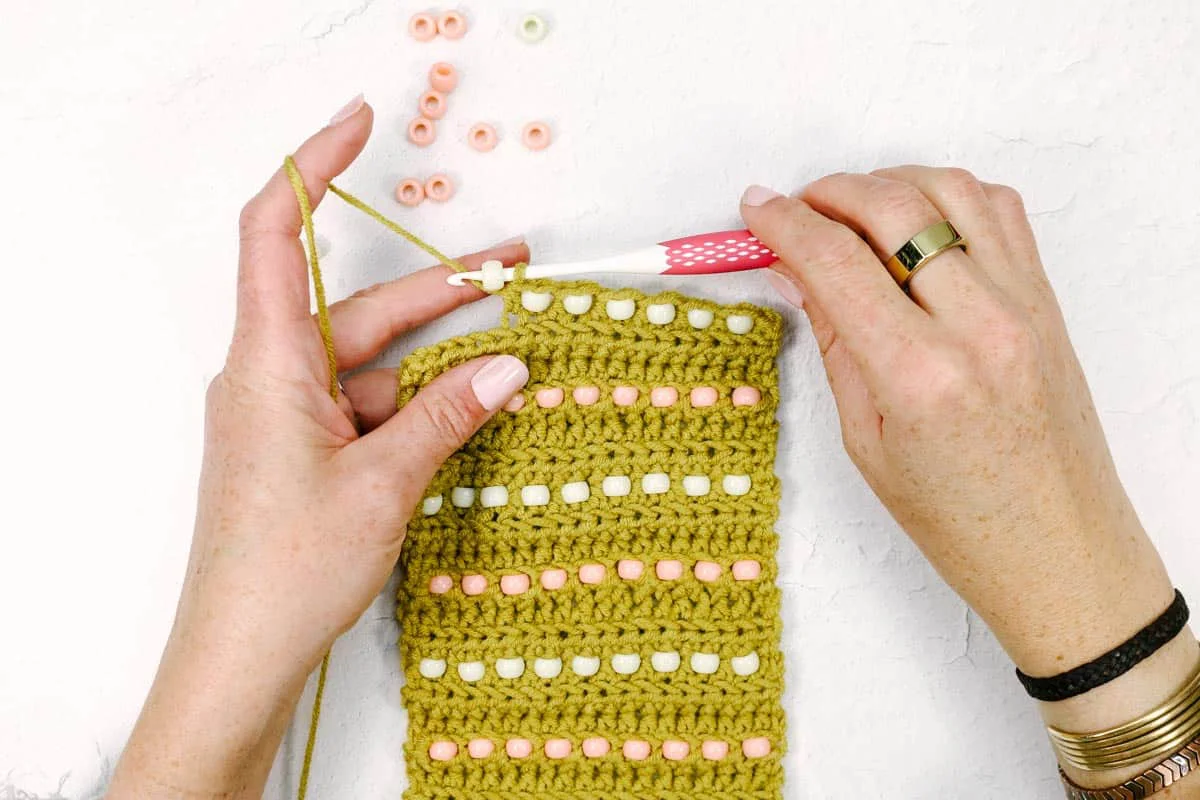
- The ornament is worked flat as a rectangle and seamed at the end.
- All stitches are worked by inserting hook under the back loop only to create a pretty ribbed texture. This is always the loop furthest from you. The last stitch of the row should be worked under two loops instead of the back loop only.
- Two chains at beginning of row don’t count as a half double crochet.
- As written, you’ll add beads every three rows. This frequency of bead rows can be modified to suit the look you’re going for. The pattern is written to fit a 3” ball or 4” disc ornament, but it’s easy to modify the size by using any starting chain with an odd number of stitches.
Foundation Chain: Leave a 20” yarn tail when tying slip knot on hook, then chain 21.
Row 1 (RS): Skip first 2 chains, hdc in each chain to end; turn. (19 sts)
Row 2 (WS): Chain 2, hdcblo in first stitch, *sc-bead through the back loop only in next stitch, hdc in next stitch; rep from * to end of row; turn. (19 sts)
This row should end with a hdc in the last stitch. Count your stitches here. You should have two less than the number of chains you started with. Going forward this stitch count should remain the same in each row.
Rows 3-4: Ch 2, hdcblo in each stitch until one remains, hdc in last st; turn.
Said another way, you’re placing a hdcblo on each side of each bead. Then, you’re working one last hdc in the final stitch of the row. Count your stitches. You should have the same number of stitches you did in Row 1.
To continue:
Repeat Rows 2-4 six times. Then repeat 2-3 once more. At this point you should have 24 rows total, with 8 bead rows.
Rectangle should measure about 9” or an inch less than the circumference of the plastic ornament.
Finishing
Seaming: With either side facing out, fold rectangle so final row is lined up with foundation chain. Sew together using tapestry needle and leftover yarn tail. Fasten off.
Closing Bottom: Turn tube inside out. Using tapestry needle and leftover yarn tail if possible, use a sewing running stitch around the rectangle edge that will form the bottom of the ornament. Pull on seaming yarn to cinch closed. Work a few criss cross sewing stitches to close up center if necessary. Fasten off.
Closing Top: Turn ornament sleeve right side out. Using tapestry needle and leftover yarn tail if possible, use a sewing running stitch around the rectangle edge that will form the top of the ornament. Insert plastic ornament inside your crocheted piece. Pull on seaming yarn to cinch closed. Fasten off and tuck final yarn tail inside project.
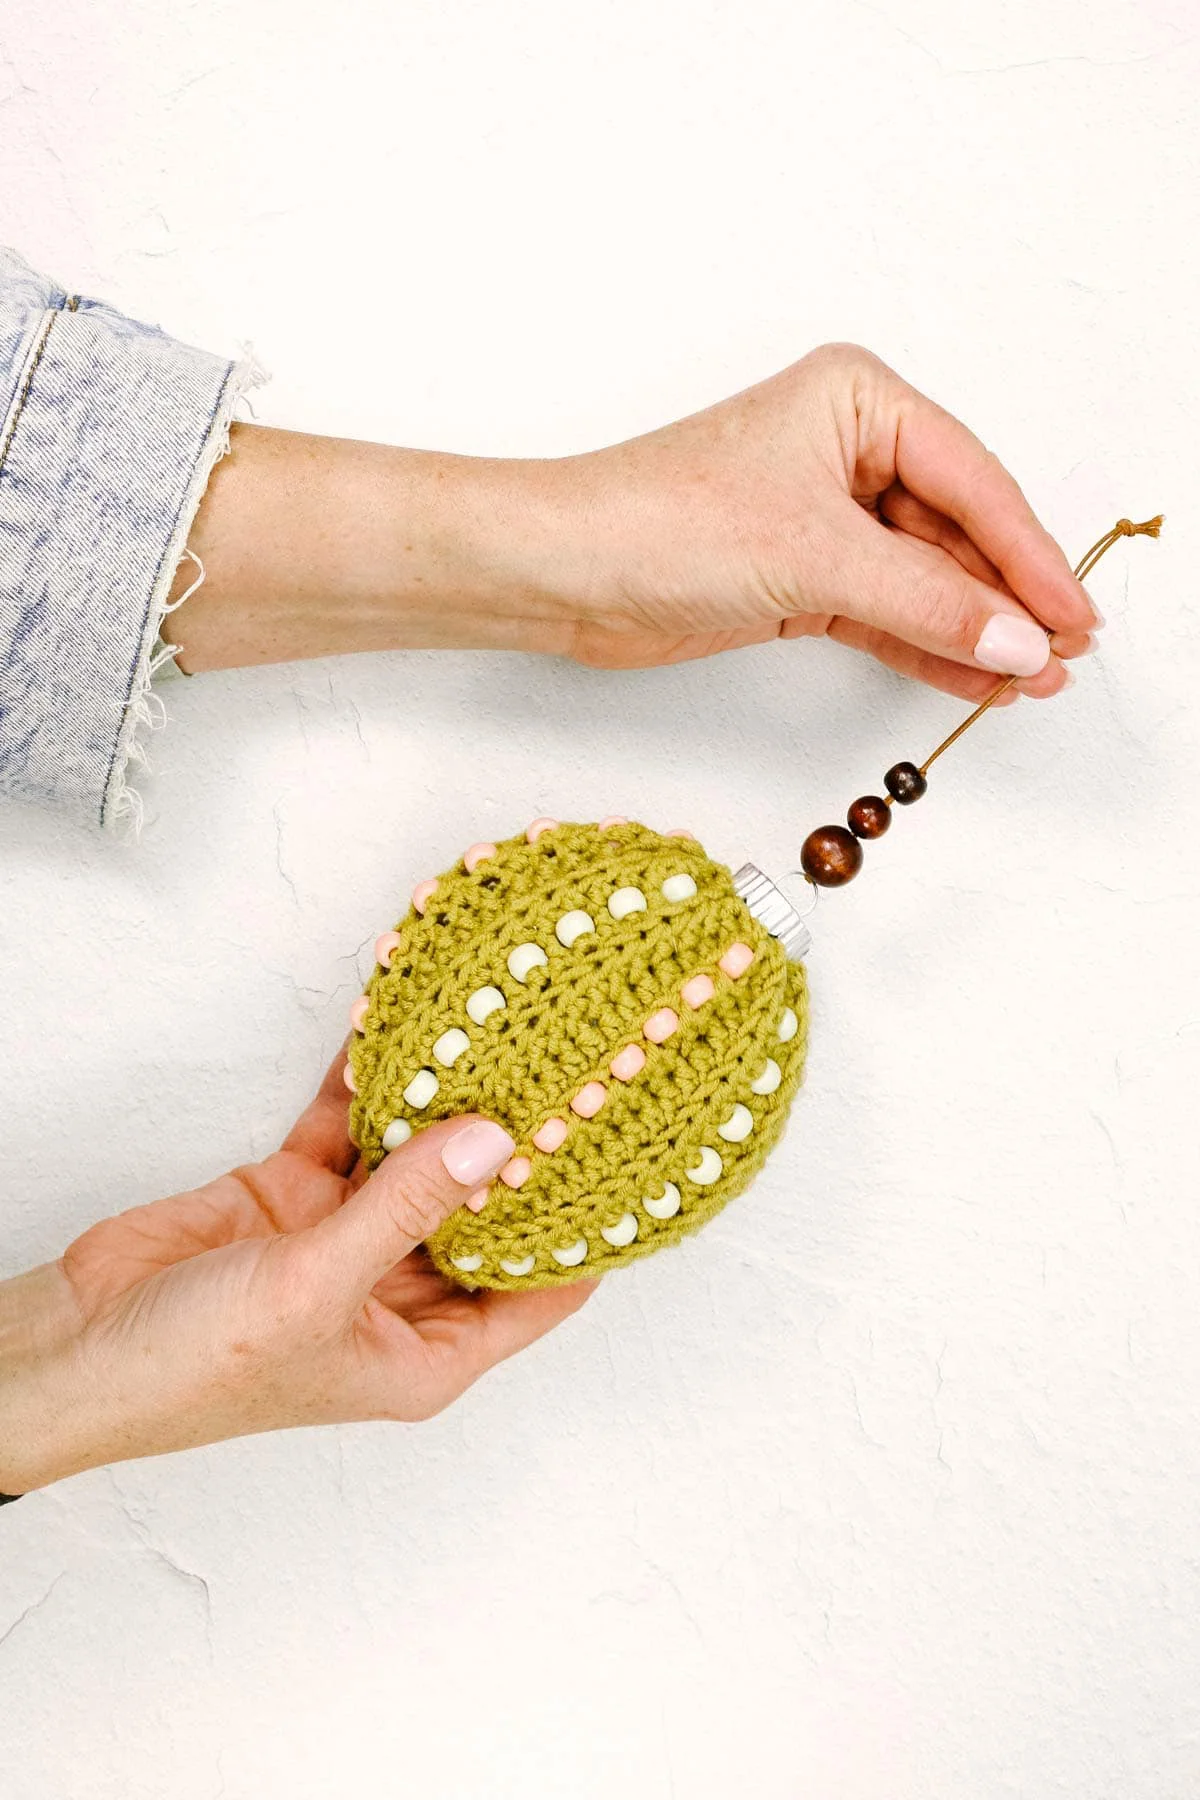
Hanging Loop: I like leather cord as an attractive string to hang the ornaments. Consider adding a few wooden beads to the hanging loop for extra style.
Trim your tree with your new ornament and start planning your next one!
Did you try this?
Leave a ★ review and tag @MakeAndDoCrew on Instagram and Facebook!
More Christmas Projects
We’ve got so many fun, festive patterns for you to crochet for Christmas. Here are some to sink your hook into.
-
Farmhouse Crochet Christmas Trees With Beads | Pattern + Video
-
2 Hour Fast Crochet Stocking – Free Pattern + Video
-
55+ Free Crochet Christmas Ornament Patterns to Trim Your Tree
-
35 Free Crochet Christmas Stocking Patterns for Easy Heirlooms
-
Easy Classic Santa Hat Crochet Pattern
-
40 Crochet Gift Ideas – Free Patterns for Every Occasion

That was so fun! Now what?
Invitation to our Facebook group
Come discuss crocheting baubles and lots of other projects and techniques in our Make & Do Crew Facebook group. Here thousands of helpful crocheters answer each other’s questions and share their stitches. Join us!