Tomato Cat Pouch No-Sew Crochet Pattern
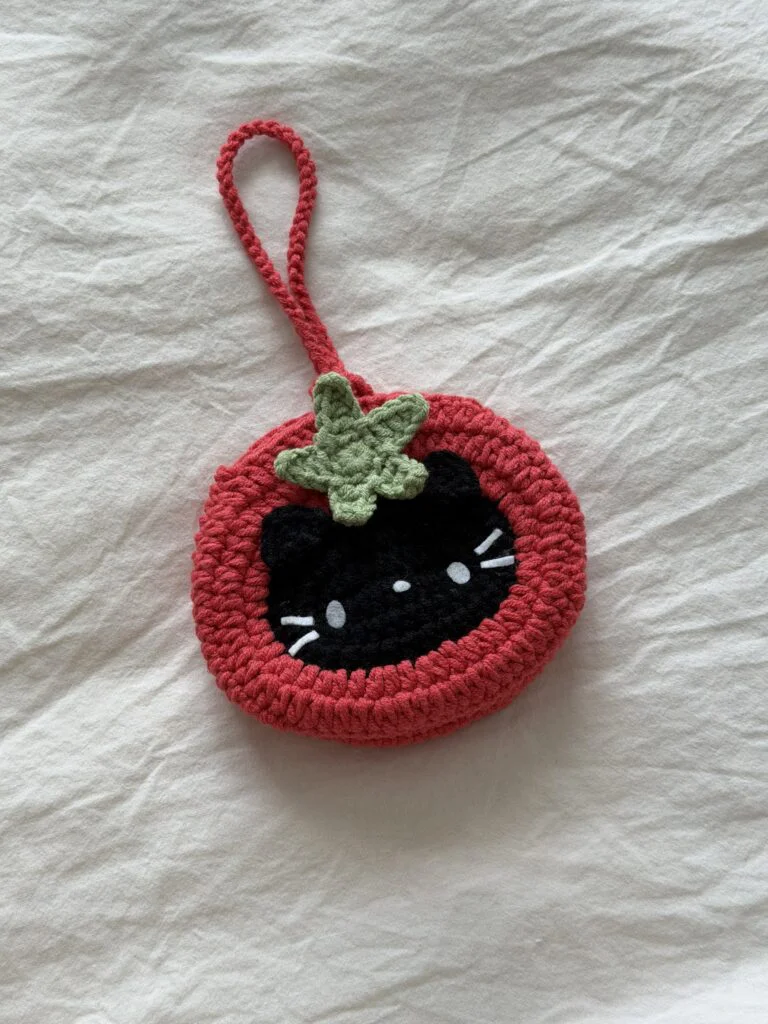
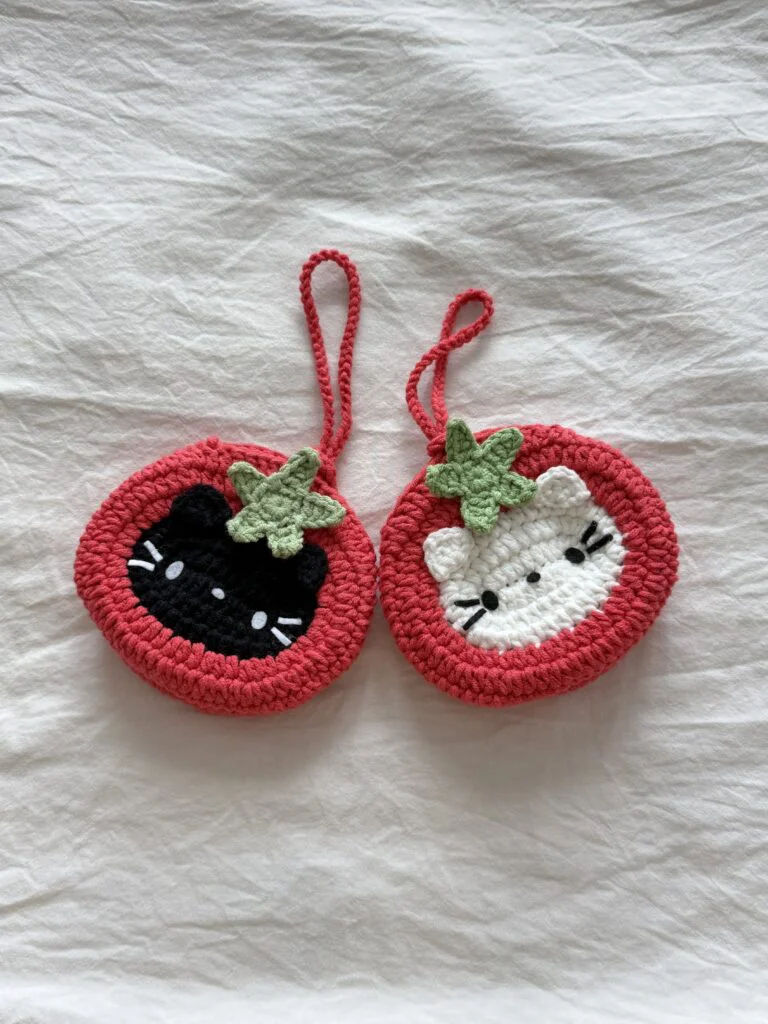
Welcome back to another delightful crochet project! Today, we have an absolutely irresistible and incredibly unique pattern for you: the Tomato Cat Pouch! If you love crafting adorable amigurumi but also enjoy creating functional, practical items, this whimsical and totally no-sew pouch is going to be your next favorite make.
This pattern is wonderfully adaptable and perfect for market prep, allowing you to whip up cute and functional plushies in record time. While the instructions are tailored for their classic size, you can easily adjust the size variations depending on the yarn used—swap out worsted weight for super bulky blanket yarn to create a massive, huggable pouch! Grab your hooks, settle into your favorite crafting spot, and let’s dive into making this adorable tomato cat creation!
Materials Needed
- Cotton or Acrylic yarn (sports weight, 5ply) in any color you prefer.
- 3mm crochet hook
- Stitch markers, darning needle and scissors
- Brown felt cloth (optional)
Crochet Abbreviations
The abbreviations are in US terminology!
- R – round/row
- Ch – chain
- st – stitch
- sc – single crochet
- inc – increase
- dec – decrease
- dc – double crochet
- hdc – half double crochet
- slst – slip stitch
- *- repeat
- [] – total stitch count in each round/row
- sk – skip
Front panel
Start with a slip knot and make 12ch.
R1 Starting from 3rd ch from the hook, 1hdc inc, 8hdc, (4hdc) into last ch, Crocheting into lower loops of each ch: 8hdc, 1hdc inc, 1slst (into first st) [24]
R2 Ch1, 1hdc, 1hdc inc, 8hdc, (1hdc, 1hdc inc)*2, 9hdc, 1hdc inc, 1slst [28]
R3 Ch1, 2hdc, 1hdc inc, 8hdc, (2hdc, 1hdc inc)*2, 10hdc, 1hdc inc, 1slst [32]
- Change to Red at the end of R3
R4 In Red, FLO, Ch1, (1hdc, 1hdc inc)*16, 1slst [48]
R5 Ch1, (2hdc, 1hdc inc)*16, 1slst [64]
R6 Ch1, 10hdc, 9dc, For long strap (40ch, 1slst into 1st ch), 9dc, 16hdc, 16sc, 4hdc, 1slst [64]
- Cut yarn leaving a short tail.
Back Panel
Start with a magic ring.
R1 12hdc in mr, 1slst [12]
R2 Ch1, 12hdc inc, 1slst [24]
R3 Ch1, (1hdc, 1hdc inc)*12, 1slst [36]
R4 Ch1, (2hdc, 1hdc inc)*12, 1slst [48]
R5 Ch1, (2hdc, 1hdc inc)*16, 1slst [64]
R6 Ch1, 10hdc, 9dc, For short strap or loop (8ch, 1slst into 1st ch), 9dc, 16hdc, 16sc, 4hdc, 1slst [64]
- Cut yarn leaving a short tail.
Connecting two panels
Watch this part of the tutorial for a more detailed explanation.
Place the right sides of each panel together with the front panel on top and the back panel underneath.
On both panels, mark 8sts to the right and to the left of the gap formed beneath where the straps are added. Place marker into the 8th st of both sides.
Starting from the two markers on the left sides of front and back panels, bring Red yarn and make 1hdc by going through BLO on the front panel and FLO on the back panel. Continue joining two panels this way using hdc till the two markers on the right side. ( The remaining unjoined stitches in the middle at the top will form the opening of the pouch)
When finished, cut yarn and weave in the ends.
Ears
Start with a magic ring.
R1 4sc in mr
R2 Ch1 & turn, 2sc, 2ch, 2sc
- Cut yarn and weave in the ends.
Leaf
Start with a magic ring.
R1 10sc in mr, 1slst
R2 (Ch5, starting form 3rd ch from the hook, 1sc, 1hdc, 1dc, sk one st on R, 1slst)*5, **make the last slst into the slst from R1
- Cut yarn and weave in the ends.
Assembly
Cut black or white felt cloth into small oval shapes to make the eyes and nose. Cut small strips for whiskers and glue them on the face patch of the pouch, on the front panel.
Glue the ears onto the top of the pouch, one on each side, and glue the green leaf in the middle.