Crochet Santa Stocking with Fur Border – Free Pattern for Christmas
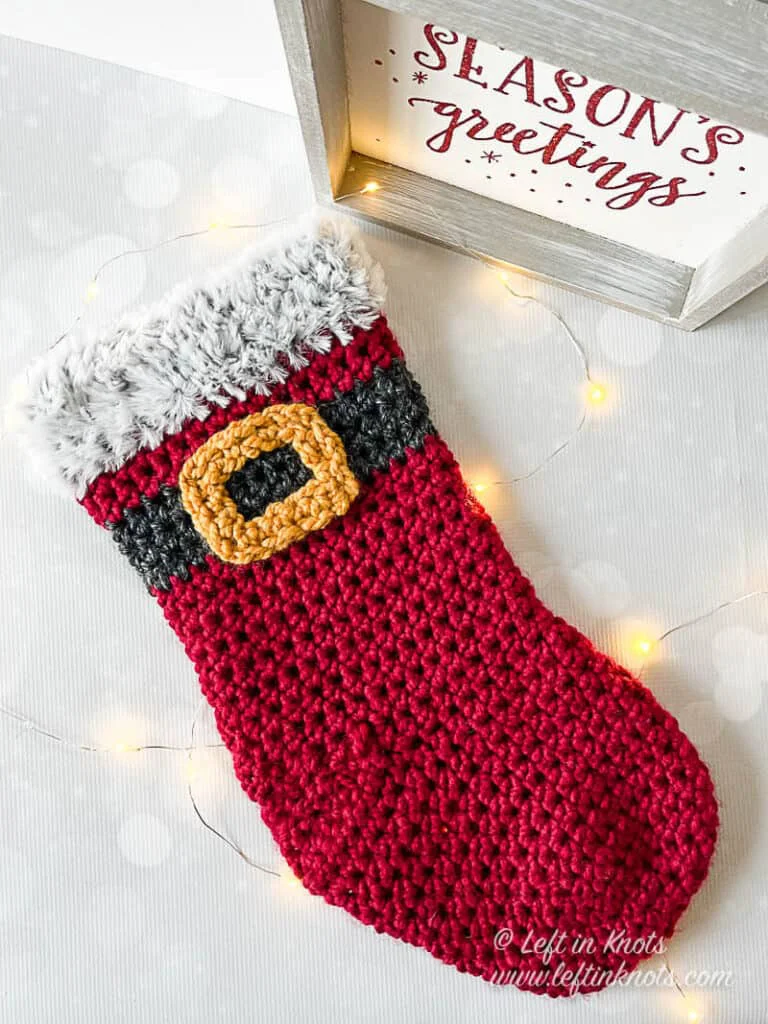
Welcome back to another delightful crochet project! Today, we have an absolutely charming and wonderfully festive pattern for you: the Crochet Santa Stocking with Fur Border! If you love crafting heartwarming, personalized holiday decor that perfectly captures the cozy spirit of Christmas morning while adding a touch of handmade sweetness to your mantle, this beautiful and totally unique classic stocking is going to be your next favorite make.
This pattern is wonderfully adaptable and perfect for quick handmade gifts for the whole family, allowing you to whip up stunning seasonal decorations in record time. While the instructions are tailored for their classic, cheery red and white appeal with that gorgeous faux-fur trim, you can easily adjust the color variations depending on the worsted weight yarn used—swap out traditional reds for frosty blues or vibrant jewel hues to match any winter wonderland theme! Grab your hooks, settle into your favorite crafting spot, and let’s dive into making these beautiful stocking creations!
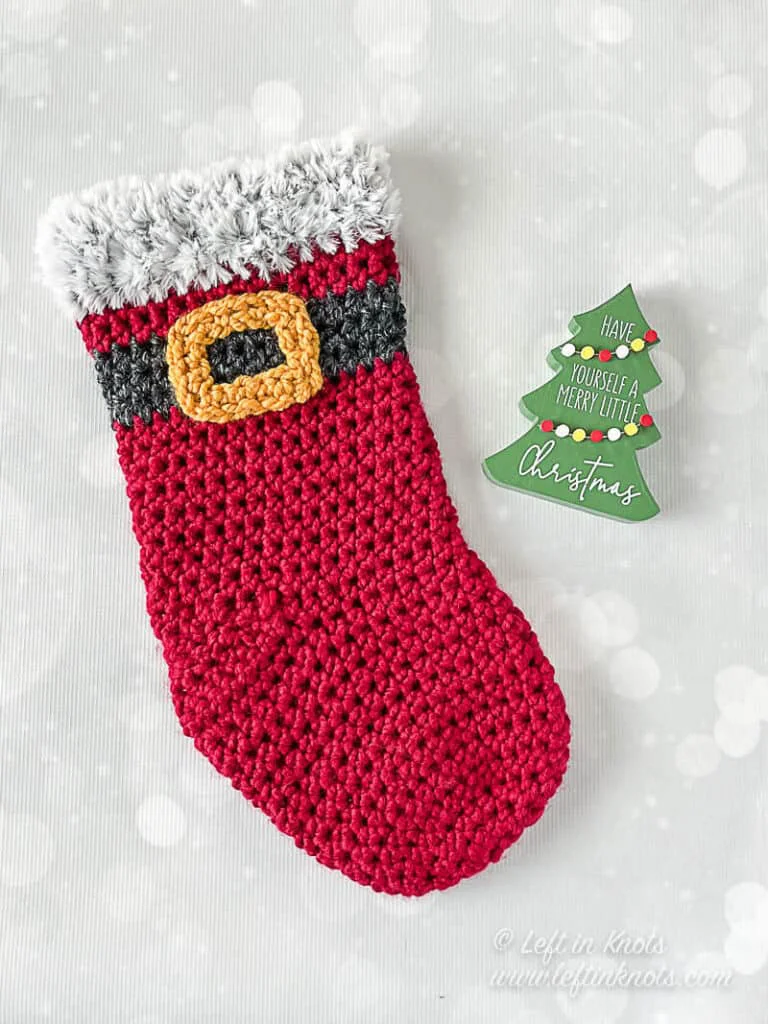
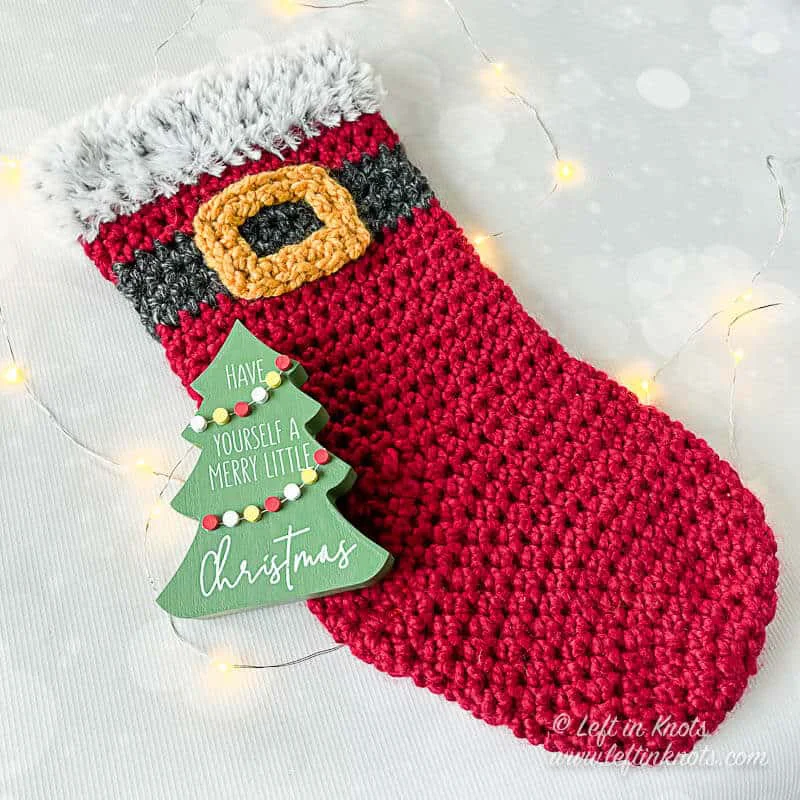
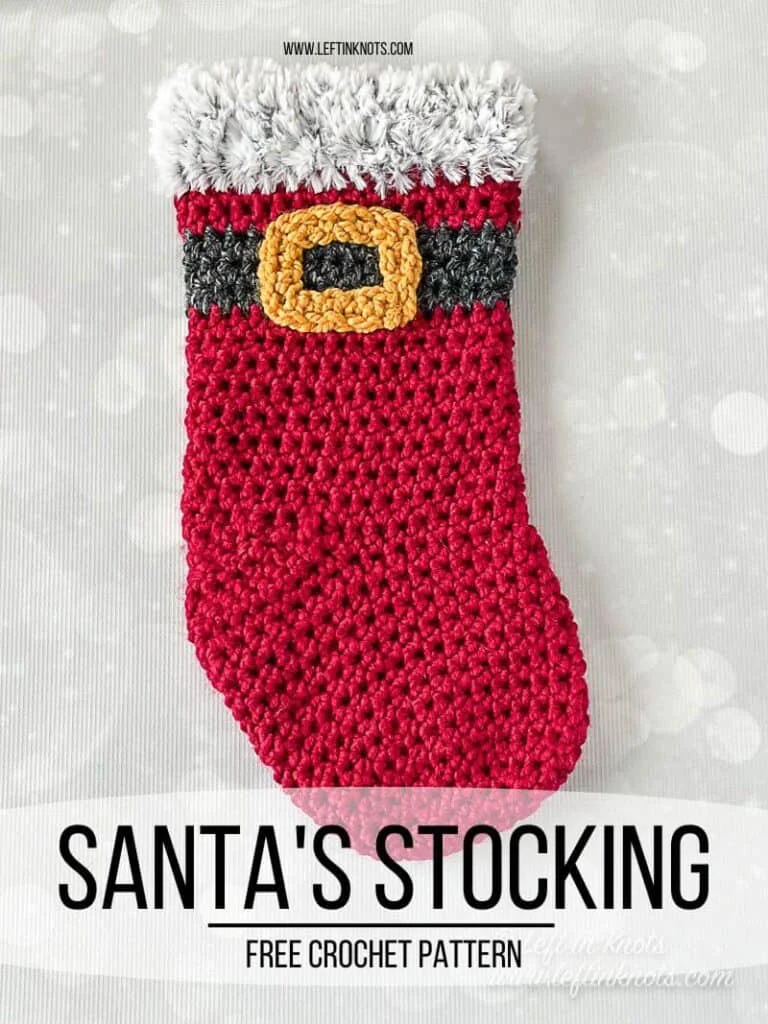

Supplies:
- Lion Brand Wool Ease Thick and Quick in ‘Cranberry’ (117 yds), ‘Charcoal’ (18 yds), and ‘Mustard’ (6 yds)
- Lion Brand Go for Faux ‘Chinchilla’ (18 yds)
- 10mm crochet hook – I love Clover Amour
- Scissors – I always keep these travel scissors in my hook case
Abbreviations (written in U.S. terms):
- ch: chain
- sl st: slip stitch
- st: stitch
- SC: single crochet
- HDC: half double crochet
- HDC2Tog: half double crochet two together
Related Video Tutorial:
How to Crochet the Magic Cirlce – the right handed video loads with the page
Find the left handed tutorial here
How to Crochet the Magic Cirlce – the right handed video loads with the page
Find the left handed tutorial here
Gauge
8 sts x 6 rows = 4” square in HDC
Finished Size:
- Width = 8”
- Length = 19”
Pattern Notes
- Chain stitches at the beginning of rows/rounds do not count as a stitch. The end of each round is attached to the first st of the round with a sl st.
Instructions
Start with a magic circle
Round 1 (using Cranberry): work 8 HDC into the magic circle and pull tight. (8)
Round 2: ch 1, 2 HDC in each st around. (16)
Round 3: ch 1, *2 HDC, HDC in the next st, repeat from * around (24).
Round 4: ch 1, *2 HDC, HDC in the next 2 sts, repeat from * around (32).
Round 5-12: ch 1, HDC around (32)
**You will now be working in Rows to make the heel.**
Row 13: ch 1, HDC in 18 sts (18). Turn.
Row 14: ch 1, *HDC2Tog, HDC, repeat from * across (12). Turn.
Row 15: ch 1, *HDC2Tog, HDC, repeat from * across (8). Turn.
Row 16: ch 1, HDC2Tog, HDC, HDC2Tog, HDC, HDC2Tog (5). Turn.
**You will now be working in Rounds to complete the rest of the stocking.**
Round 17: ch 1, HDC working 32 stitches evenly around Row 16 and Round 12 (32).
Round 18-25: ch 1, HDC around.
Round 26-28 (switch to Charcoal): ch 1, HDC around.
Round 29-30 (switch to Cranberry): ch 1, HDC around.