Best Easy Crochet Hand Dyed Mittens Free Crochet Pattern
Are you looking for the absolute best free pattern for a crochet hand dyed mittens? You have come to the perfect place! We have found this top-rated, incredibly easy crochet design that is guaranteed to be a huge hit. Whether you want a quick weekend project or a beautiful handmade gift, this pattern is fun, straightforward, and looks absolutely stunning when finished. Grab your softest yarn and let’s get started on your new favorite project!
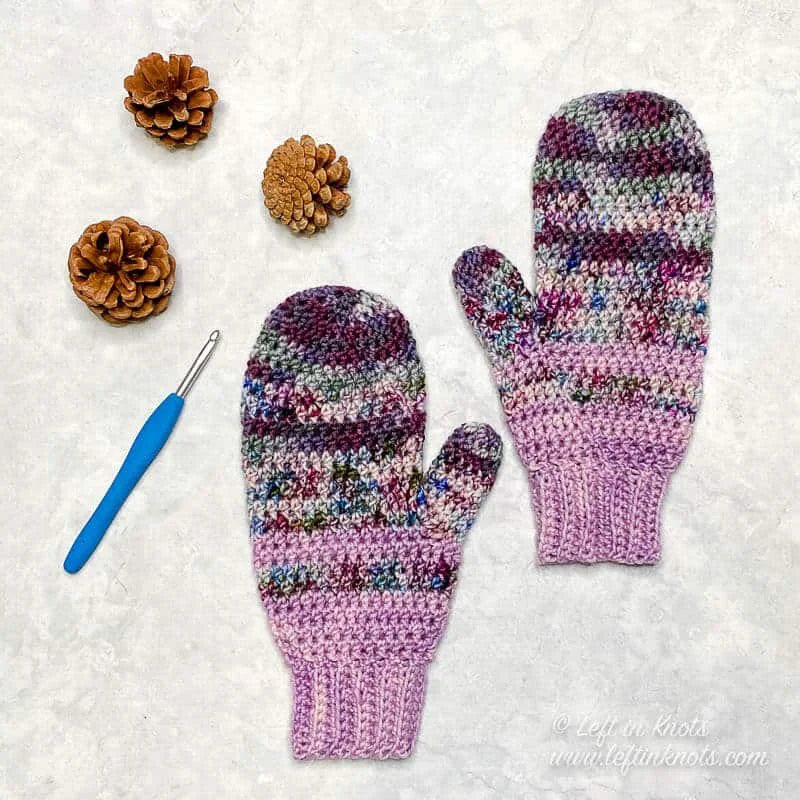
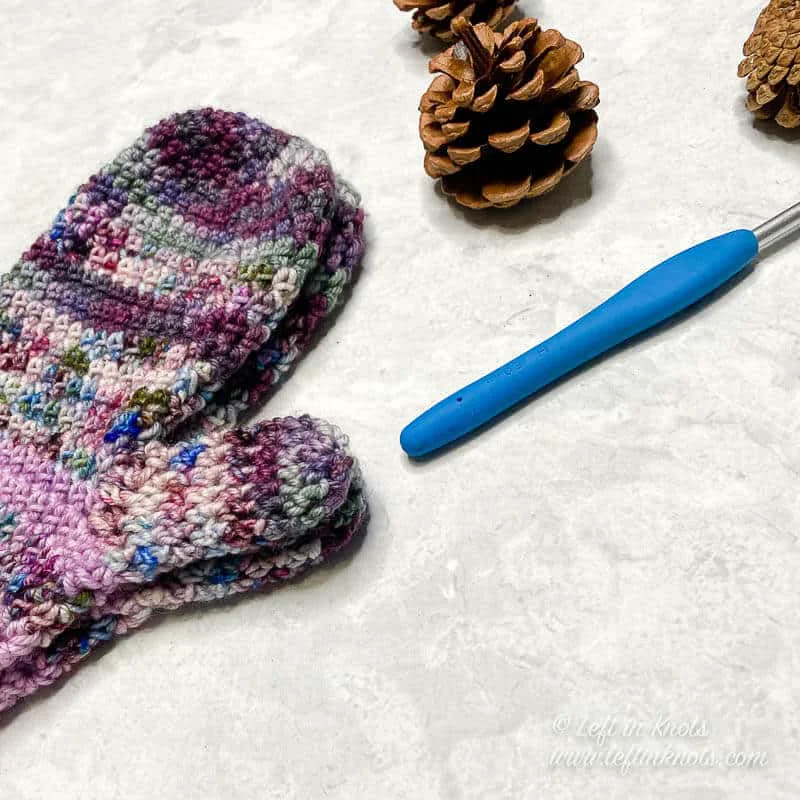
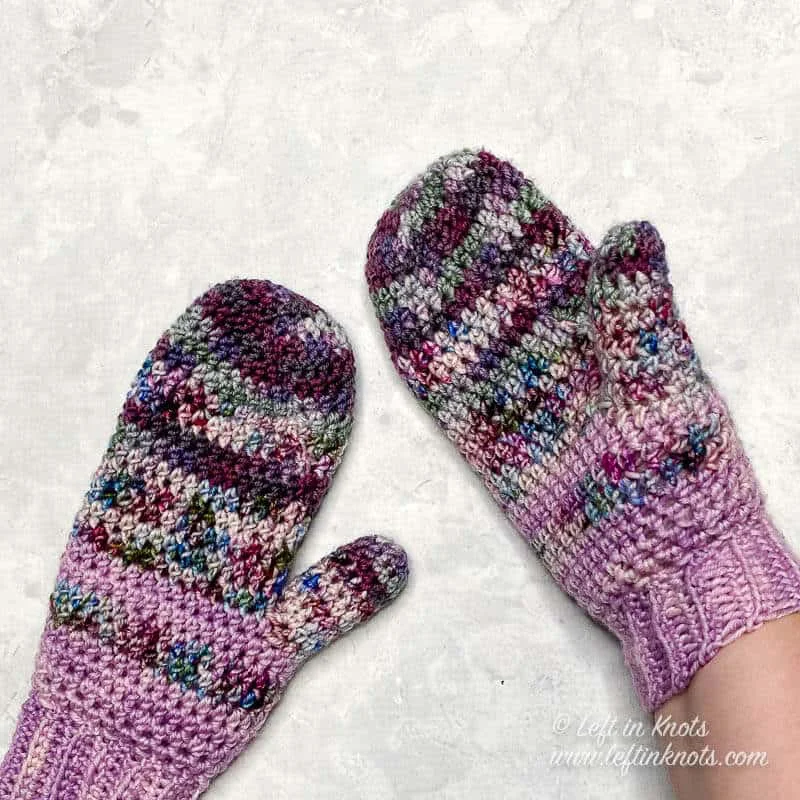
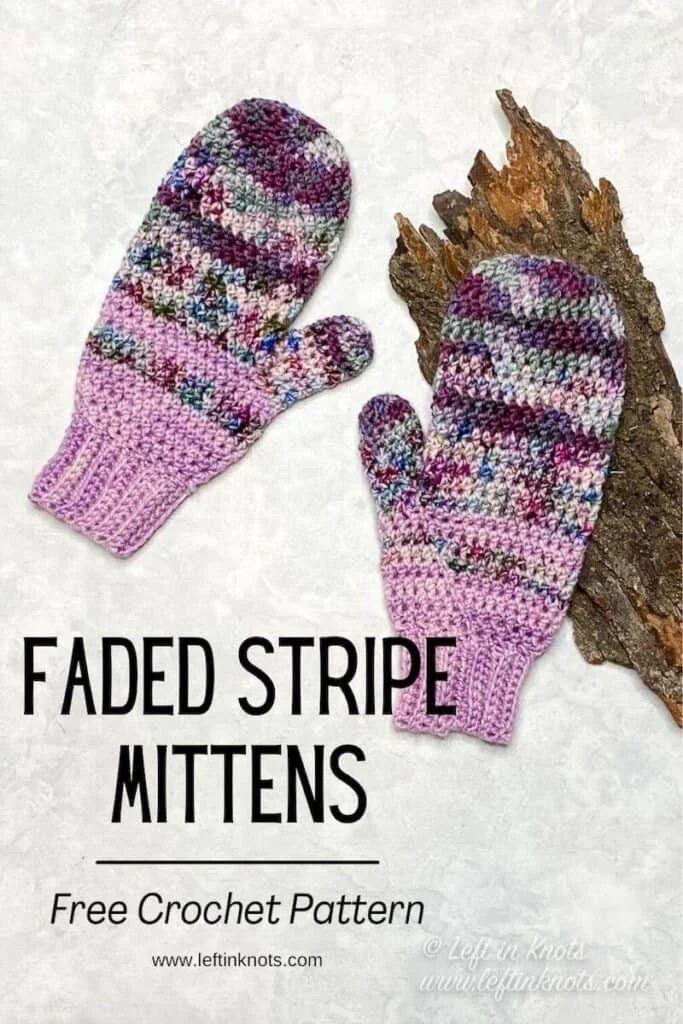

Supplies:
- 3 colors of Category 3 yarn (55 yards of Color A&C, 50 yards of Color B). The yarn pictured in the sample is from Sewrella Yarn.
- H/5.0mm crochet hook – I love Clover Amour
- Scissors – I always keep these travel scissors in my hook case
- Yarn needle
Abbreviations (written in U.S. terms):
- ch: chain
- sl st: slip stitch
- SC: single crochet
- HDC: half double crochet
- HDC2Tog: half double crochet two together
- FLO: front loop only
- BLO: back loop only
Related Video Tutorials:
How to Crochet a Mitten for Beginners – this video demonstrates the basic construction of crocheting a top down mitten. Find the Left Handed version of this video here.
Gauge:
8 HDC x 6 rows = 2” square
Finished Size:
Tip of fingers to bottom of wrist = 9.5″
Width of finger section = 3.75″
Width of wrist = 3″
Length of thumb = 2.75″
Width of thumb = 1.5″
Pattern Notes:
- The chain stitches at the beginning of each round/row do not count as a stitch.
- The last stitch of each round is attached to the first stitch of the round with a slip stitch
- This pattern is written to fit an average adult. The size can easily be adjusted by adding or subtracting rounds. Additions or subtractions should happen between rounds 4-16
- To adjust the width of the thumb, start with whatever number of stitches you desire worked into the thumb hole space. To adjust the length, add or subtract rounds between Rounds 2-6.
- Adjust the length of the cuff by changing the number of chain stitches you start with.
Instructions
Mitten (make 2)
(Color A) Start with magic circle
Round 1: ch 1, Work 10 HDC into magic circle, pull tight (10)
Round 2: ch 1, 2 HDC in each stitch around (20)
Round 3: ch 1, *2 HDC, HDC, repeat from * around (30)
Round 4-7: ch 1, HDC around
Round 8-9: (color B) ch 1, HDC around
Round 10-11: (color A) ch 1, HDC around
Round 12-16: (color B) ch 1, HDC around
Round 17: (color C) ch 1, HDC, ch 6, skip 2 stitches and HDC around. (28 HDC + 6 ch stitches-this creates the thumb hole)
Round 18: ch 1, HDC around (34)
Round 19-20: (color B) ch 1, HDC around
Round 21: (color C) ch 1, HDC in 6, HDC2tog, HDC in 15, HDC2tog, HDC in 9. (32)
Round 22: ch 1, HDC around (32)
Round 23: ch 1, *HDC in 2, HDC2tog, repeat from * around (24)
Round 24: ch 1, HDC around (24). Do not cut yarn
Making the cuff (see photos below):
Starting where you ended Round 24, ch 11 sts. In the second chain from the hook, SC in the remaining 10 ch stitches. When you get back to the beginning of the ch, sl st into the first st of Round 24. This creates your first row of ribbing.
Row 2: sl st into the next st of Round 24, ch 1, SC in BLO across to create your next row of ribbing. Turn. (10)
Row 3: ch 1, SC in BLO across. Sl st into the next open st of Round 24. (10)
Row 4-24: Repeat Rows 2 (on even rows) and 3 (on odd rows) until you have gone around the entire base of the mitten.
Working through the BLO of Row 24 and the FLO of your starting chain, sl st across to seam the cuff together. sl st into the last st of Round 24. Tie off yarn and weave in ends.
Starting where you ended Round 26, ch 9 sts. In the second chain from the hook, SC in the remaining 8 ch stitches. When you get back to the beginning of the ch, sl st into the first st of Round 26. This creates your first row of ribbing.
Row 2: sl st into the next st of Round 26, ch 1, SC in BLO across to create your next row of ribbing. Turn. (8)
Row 3: ch 1, SC in BLO across. Sl st into the next open st of Round 30. (8)
Row 4-24: Repeat Rows 2 (on even rows) and 3 (on odd rows) until you have gone around the entire base of the mitten.
After completing Row 24: Working through the BLO of Row 24 and the FLO of your starting chain, sl st across to seam the cuff together. sl st into the last st of Round 26. Tie off yarn and weave in ends. Continue on to complete the thumb.
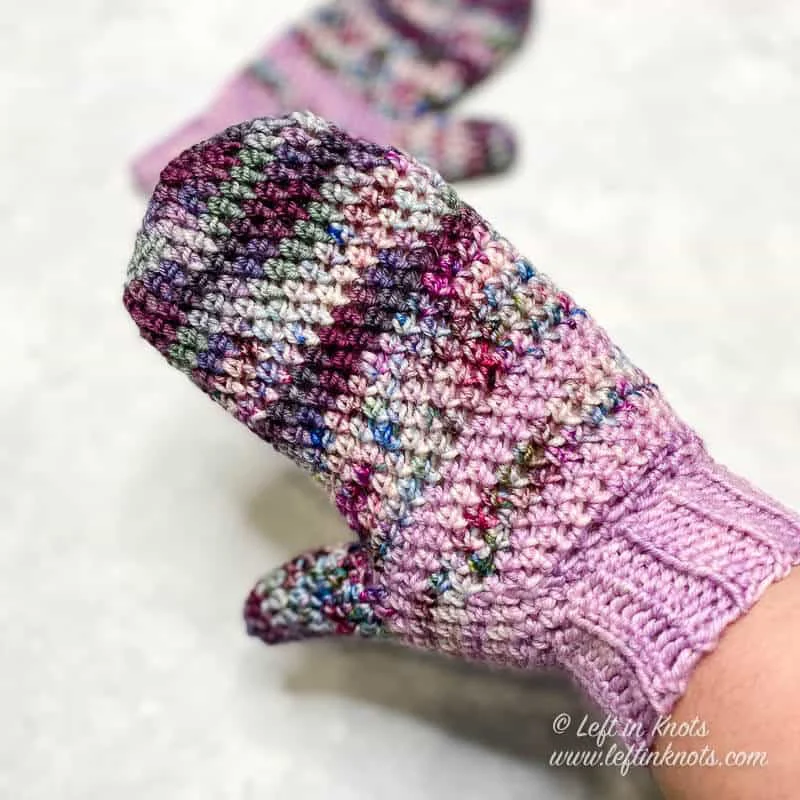
Attaching the Thumb:
Round 1: (color B) Attach yarn into the thumb hole with a sl st. Ch 1, and work 12 HDC around the thumb hole. Some stitches may be worked into “non traditional” spaces such as stitch posts to achieve this number. (12)
Round 2-5: ch 1, HDC around (12)
Round 6-7: (color A) ch 1, HDC around
Round 8: ch 1, HDC2tog around (7)
Cut and tie yarn leaving a long tail. Using a yarn needle, weave through every other stitch around the top. Pull to cinch the thumb shut and tie off.