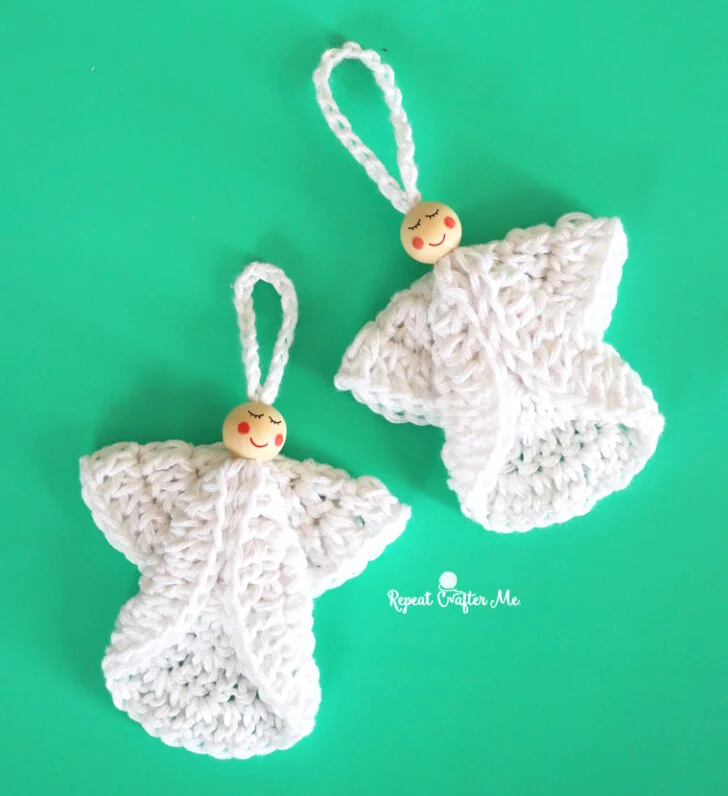
Best Easy Easy Crochet Angel Ornament Free Crochet Pattern
Are you looking for the absolute best free pattern for a easy crochet angel ornament? You have come to the perfect place! We have found this top-rated, incredibly easy crochet design that is guaranteed to be a huge hit. Whether you want a quick weekend project or a beautiful handmade gift, this pattern is fun, straightforward, and looks absolutely stunning when finished. Grab your softest yarn and let’s get started on your new favorite project!
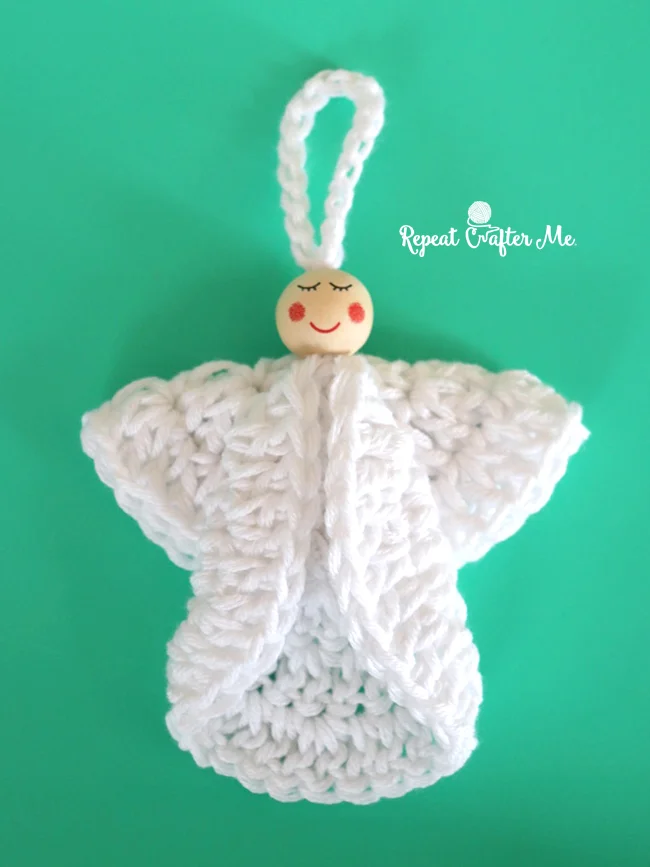
Welcome back to another delightful crochet project! Today, we have an absolutely angelic and wonderfully festive pattern for you: the Easy Crochet Angel Ornament! If you love crafting delicate, heartwarming holiday decor that perfectly captures the spirit of the season while adding a touch of handmade sweetness to your Christmas tree or gift wrapping, this beautiful and totally unique little angel is going to be your next favorite make.
This pattern is wonderfully adaptable and perfect for quick handmade gifts, craft fair inventory, or beautiful package toppers, allowing you to whip up stunning seasonal decorations in record time. While the instructions are tailored for their classic, classic white and gold appeal, you can easily adjust the color variations depending on the worsted weight yarn used—swap out traditional neutrals for frosty blues or vibrant jewel hues to match any winter wonderland theme! Grab your hooks, settle into your favorite crafting spot, and let’s dive into making these beautiful angel ornament creations!
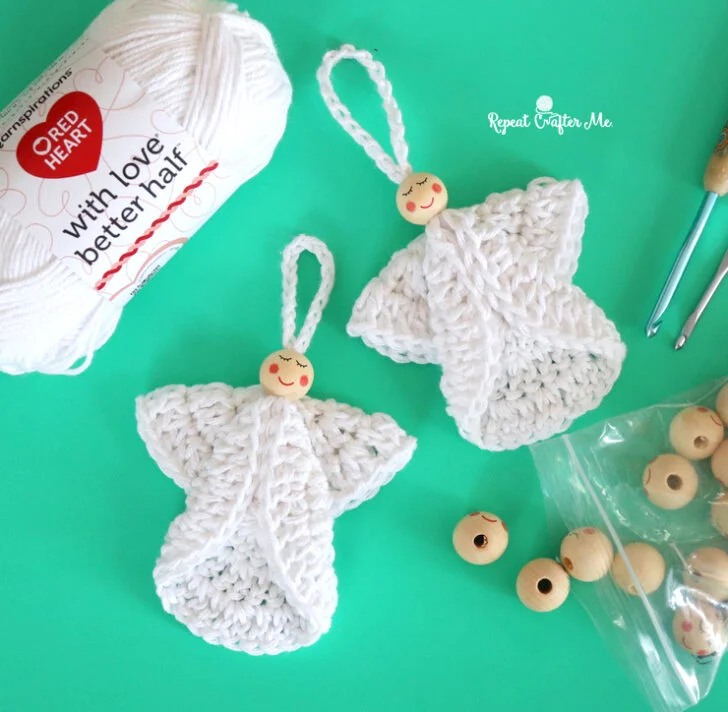
- Red Heart With Love Better Half Yarn in Snow Drop
- Size H (5 mm) crochet hook
- Size F (3.75 mm) crochet hook (for threading bead)
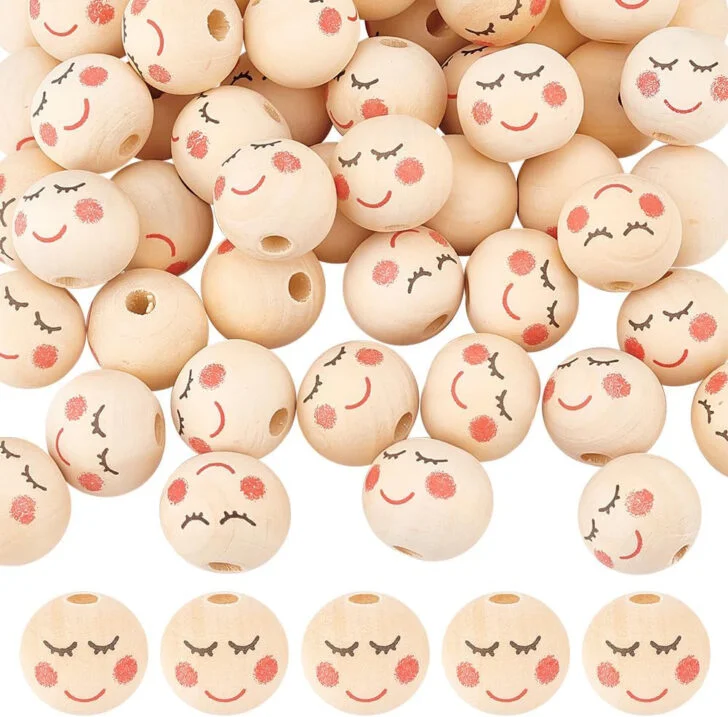
- Wooden Beads with pre-painted smiling faces (Find them on Amazon »)
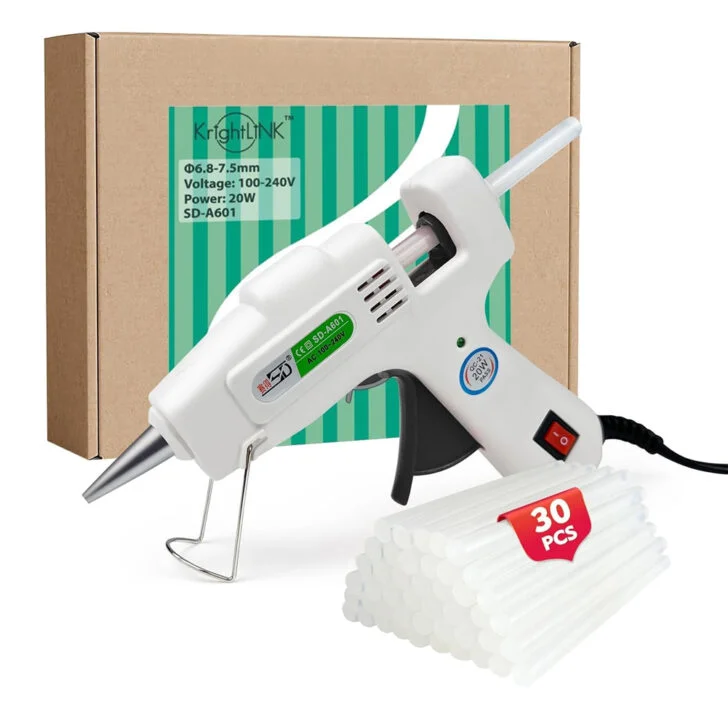
- Hot glue gun and glue sticks
- Yarn needle and scissors
Easy Angel Ornament Pattern
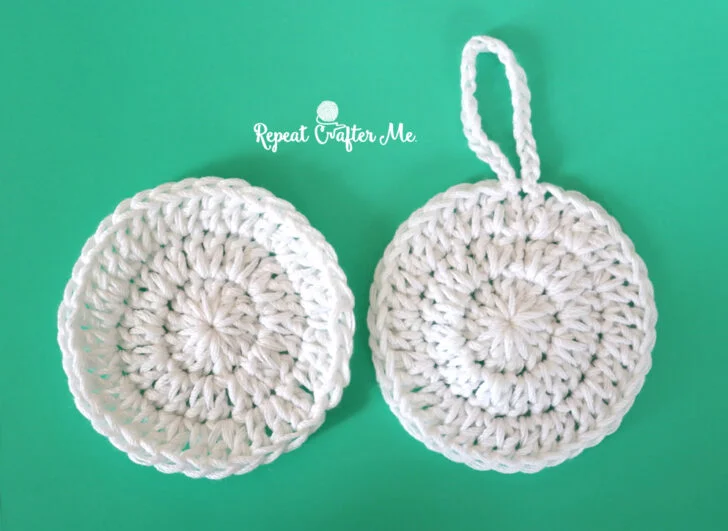
First Circle (Wings):
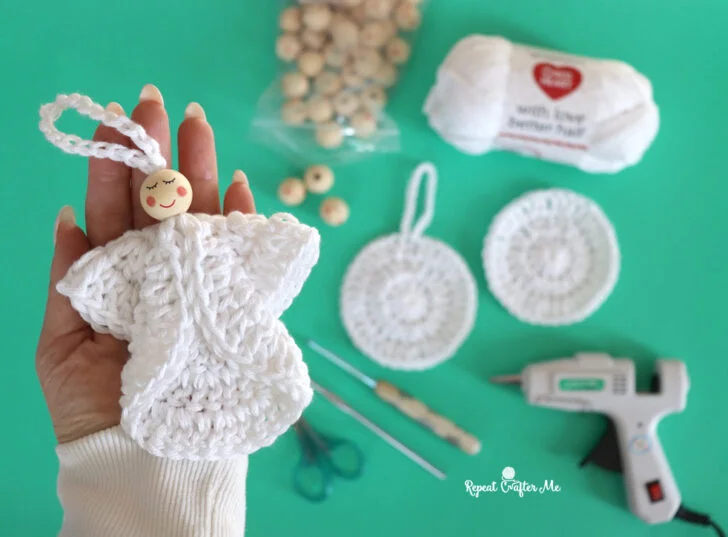
Magic Ring, chain 2, and make 12 DC in ring. Join to first DC, chain 2. (12 DC)
Round 2: 2 DC in each stitch around. Join, chain 2. (24 DC)
Round 3: 2 DC in first stitch, DC in next. Repeat around. Join. (36 DC)
Fasten off and weave in ends.
Second Circle (Body):
Magic Ring, chain 2, and make 12 DC in ring. Join to first DC, chain 2. (12 DC)
Round 2: 2 DC in each stitch around. Join, chain 2. (24 DC)
Round 3: 2 DC in first stitch, DC in next. Repeat around. Join. (36 DC)
Chain 20 and slip stitch back into the same stitch to create a hanging loop.
Fasten off and weave in ends.
Assembly
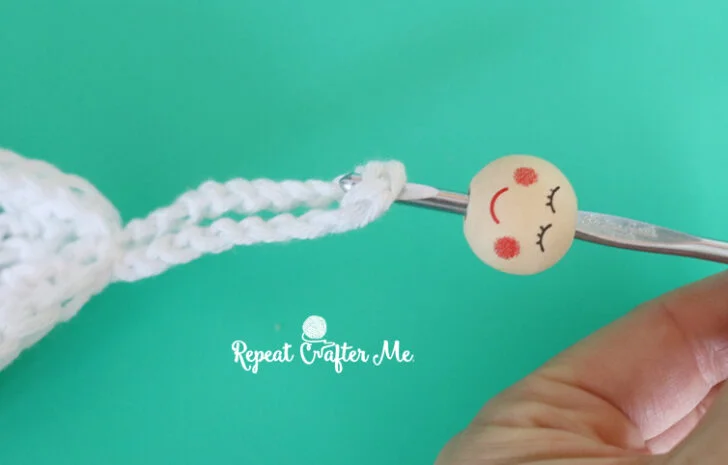
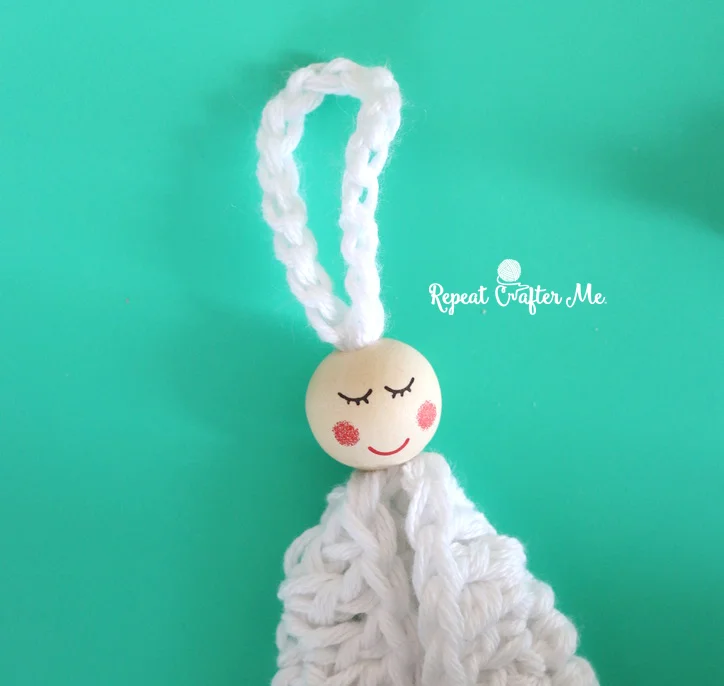
- Using a size F hook, insert the hook through the hole of the wooden bead and pull the chain loop through. The bead should fit snugly on top.
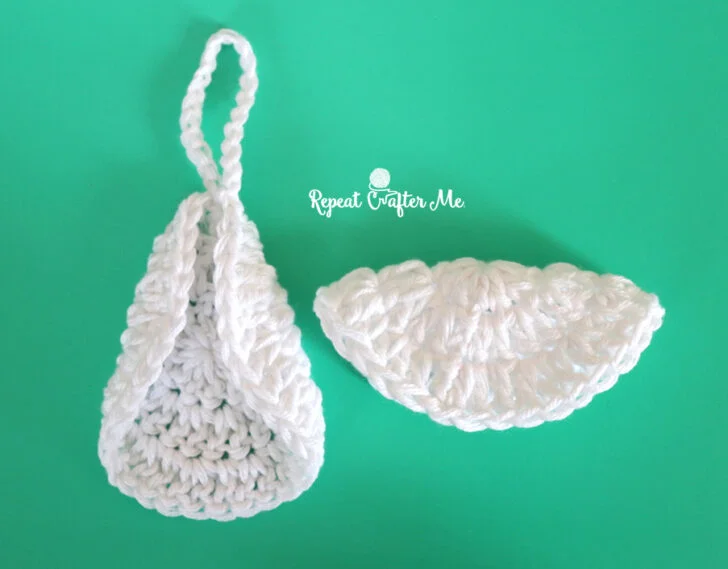
- Fold the first circle in half and glue the edges together — this forms the wings.
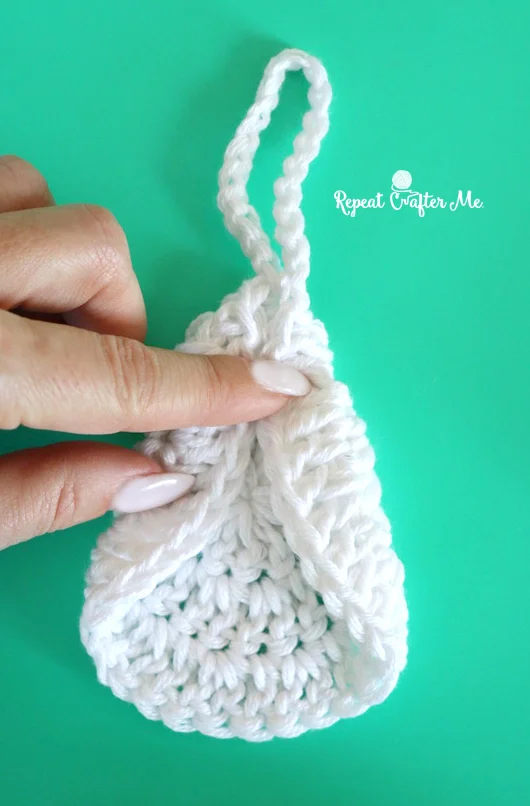
- Fold the second circle inward on both sides (like wrapping a cozy little bundle) with the loop extending upward. Hot glue the folds down to form the angel’s body.
Tip: When folding your circles, try to keep the back of your stitches on the inside of the fold so the front (prettier) side faces outward. It’s a small detail, but it gives the angel a nice polished look. - Glue the half circle (wings) behind the body.