Crochet Ombre Granny Cowl – Free Pattern
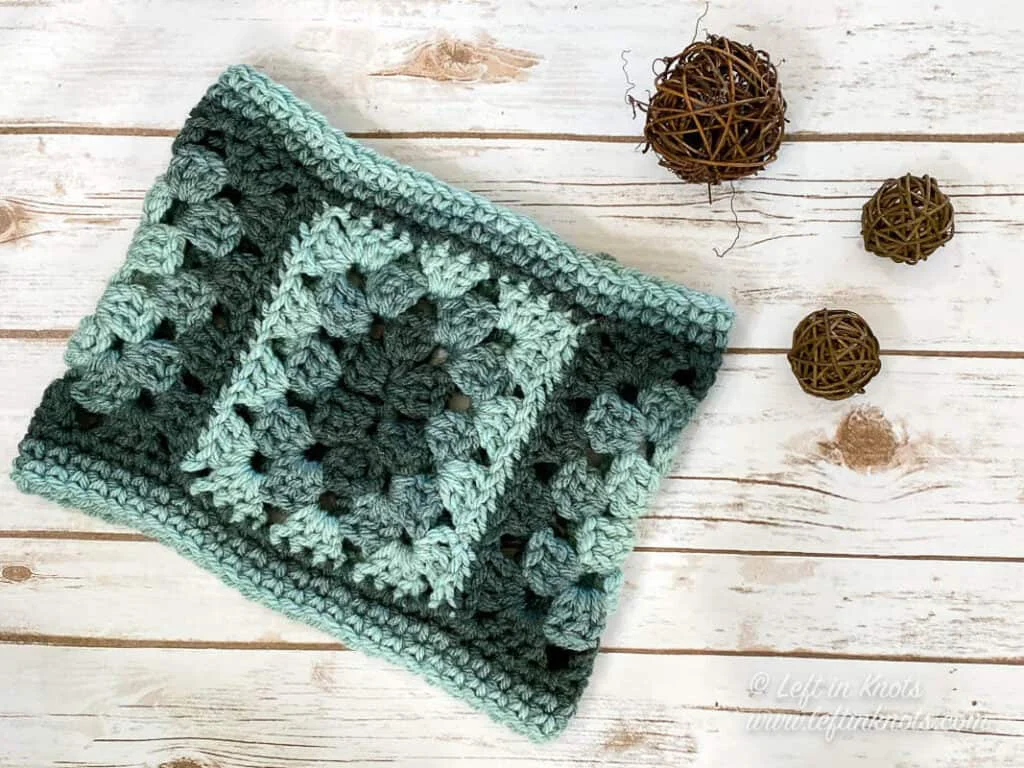
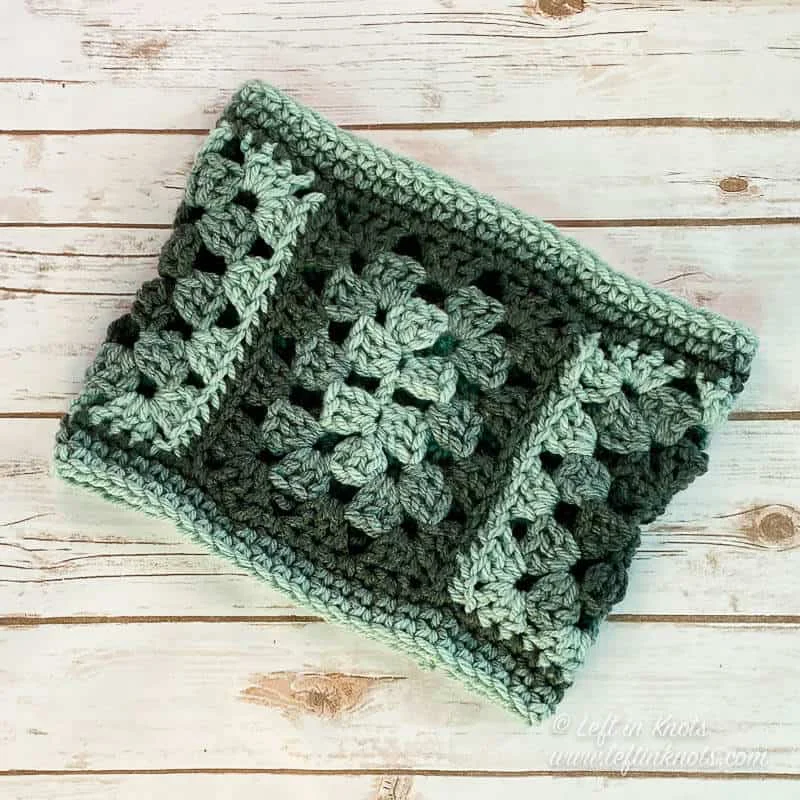
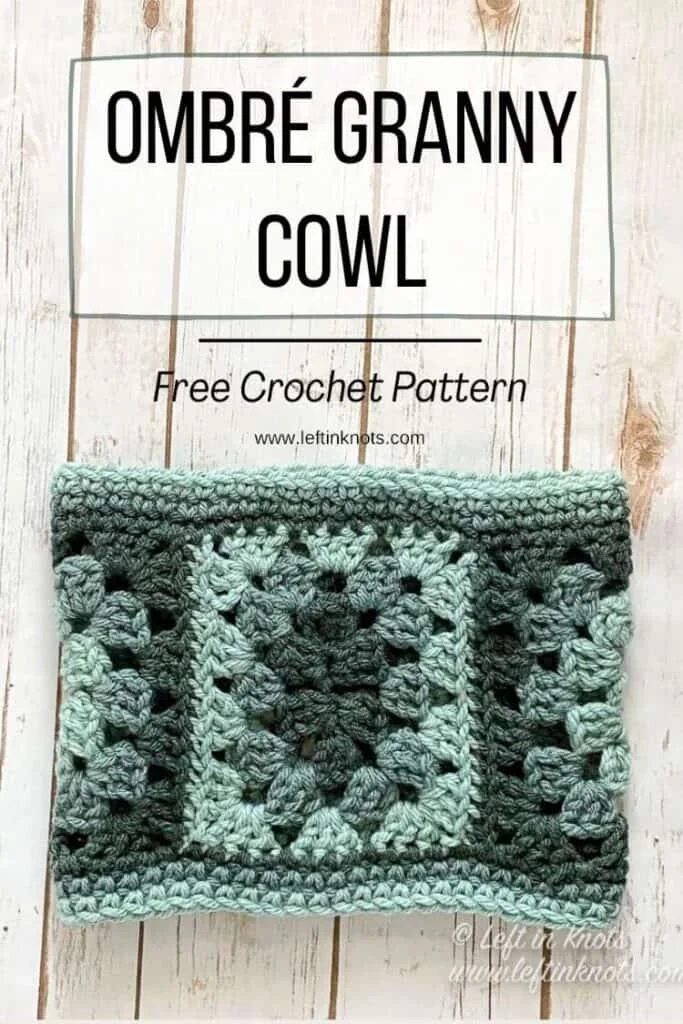
Welcome back to another delightful crochet project! Today, we have an absolutely stunning and wonderfully cozy pattern for you: the Crochet Ombre Granny Cowl! If you love crafting stylish, warm accessories that perfectly blend classic stitch textures with modern, beautiful color gradients, this lovely and totally unique cowl is going to be your next favorite make.
This pattern is wonderfully adaptable and perfect for quick handmade holiday gifts, allowing you to whip up beautiful and practical winter accessories in record time. While the instructions are tailored for their classic, comfortable fit, you can easily adjust the color variations depending on the ombre yarn used—swap out subtle tonals for vibrant, bright hues to match any winter coat! Grab your hooks, settle into your favorite crafting spot, and let’s dive into making this beautiful granny cowl creation!

Supplies:
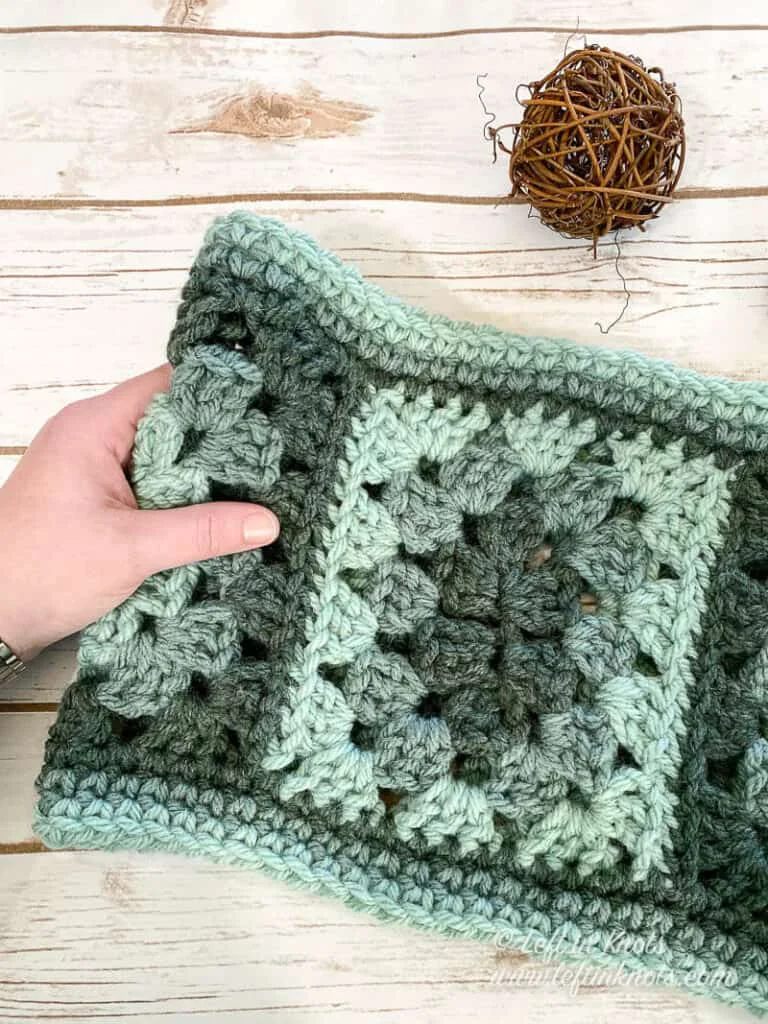
- 3 colors of Category 5 yarn (50 yards of each color). The yarn pictured is Lion Brand Hue and Me Yarn in colors ‘Juniper’, ‘Agave’ and ‘Sea Glass’
- 8.0mm Crochet Hook (I LOVE Clover Amour)
- Scissors – I always keep these travel scissors in my hook case
- Yarn needle
Abbreviations (written in U.S. terms):
- ch: chain
- st: stitch
- sk: skip
- sl st: slip stitch
- SC: single crochet
- DC: double crochet
Gauge:
Each granny rectangle is 8″ x 6″
Finished Size:
Width = 13.5”
Length = 10”
Pattern Notes
- The chain stitches at the beginning of each granny stitch round DO count as a stitch.
- In the pictured sample Color A: Sea Glass, Color B: Agave, Color C: Juniper
Instructions
Granny Rectangle 1 (make 2)
ch 8
Round 1 (color A): DC in 4th ch from the hook, add 2 more DC into that ch space, ch 2, 3 DC sts in next ch space, ch 1, sk 1, 3 DC sts in next ch space, ch 2, 3 DC sts in last ch, ch 2, 3 DC sts in back of next ch st, ch 1, sk 1, 3 DC sts in back of next ch st, ch 2, sl st to the ch 3 from the beginning of the round with a sl st.
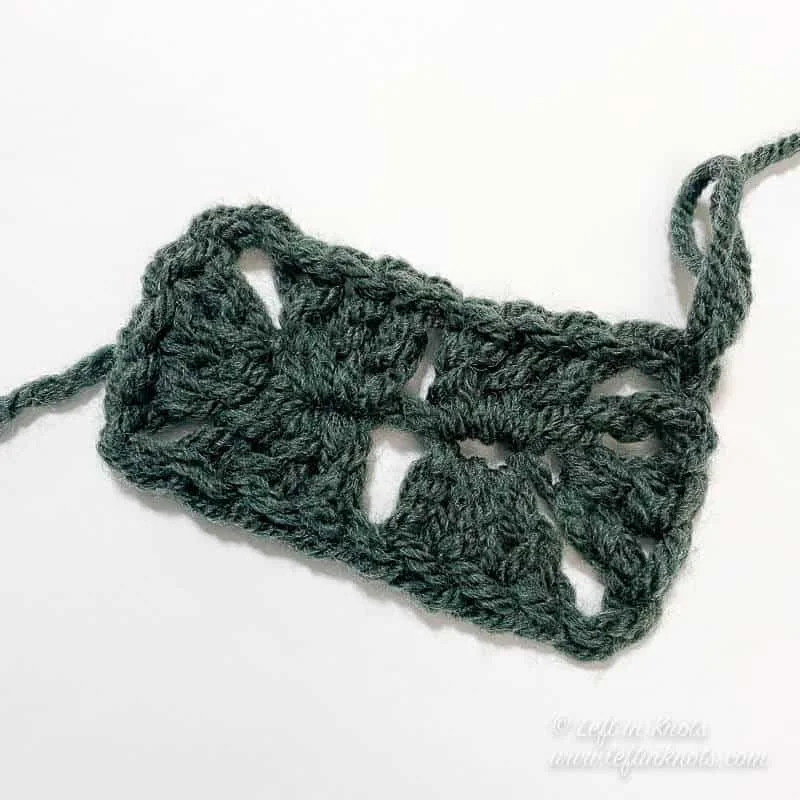
Round 2 (color B): attach yarn in a ch 2 corner, (ch 3, 2 DC, ch 2, 3 DC) in the ch 2 space, ch 1, (3 DC, ch 2, 3 DC) in the next ch 2 space, ch 1, 3 DC sts in the ch space from the previous round, ch 1, (3 DC, ch 2, 3 DC) in the next ch 2 space, (3 DC, ch 2, 3 DC) in the next ch 2 space, ch 1, 3 DC sts in the ch space from the previous round, ch 1, attach to the ch 3 from the beginning of the round with a sl st.
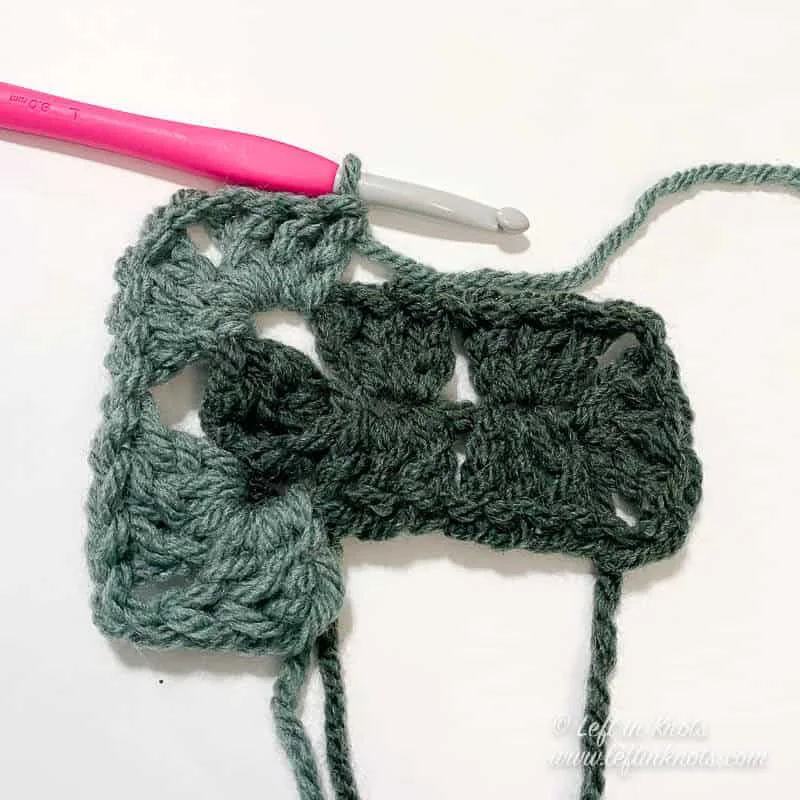
Round 3 (color C): attach yarn in a ch 2 corner, (ch 3, 2 DC, ch 2, 3 DC) in the ch 2 space, ch 1, 3 DC sts in the ch space from the previous round, ch 1, (3 DC, ch 2, 3 DC) in the next ch 2 space, *ch 1, 3 DC sts in the ch space from the previous round, repeat from * one more time, ch 1, (3 DC, ch 2, 3 DC) in the next ch 2 space, ch 1, 3 DC sts in the ch space from the previous round, ch 1, (3 DC, ch 2, 3 DC) in the next ch 2 space, *ch 1, 3 DC sts in the ch space from the previous round, repeat from * one more time, ch 1, attach to the ch 3 from the beginning of the round with a sl st.
Tie off yarn leaving approx. a 10” tail.
Granny Rectangle 2 (make 2)
Follow the same instructions as Granny Rectangle 1, except use Color C for Round 1 and Color A for Round 3.
Sewing the rectangles together