Crochet Doodle Keychains Free Pattern
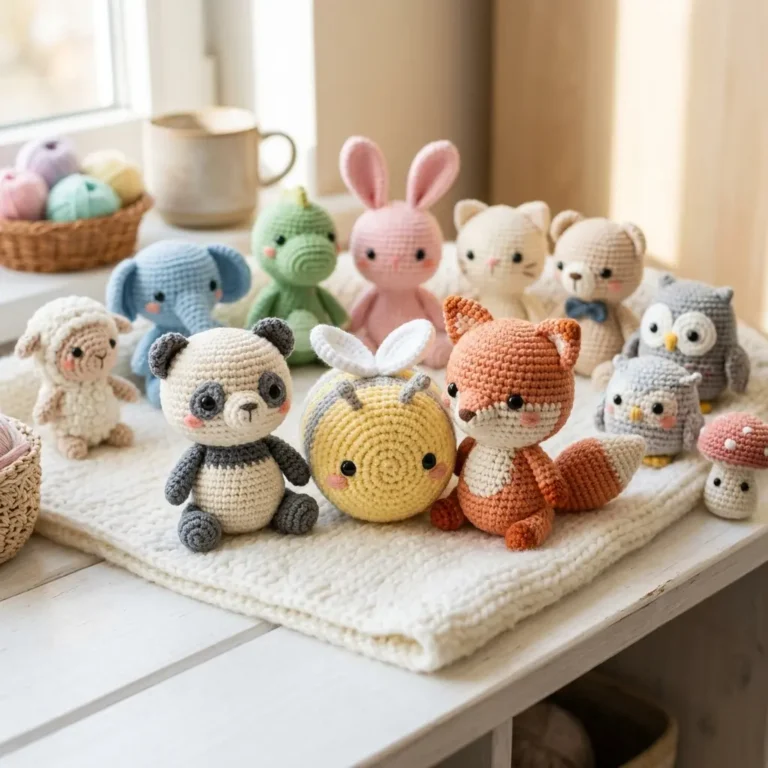
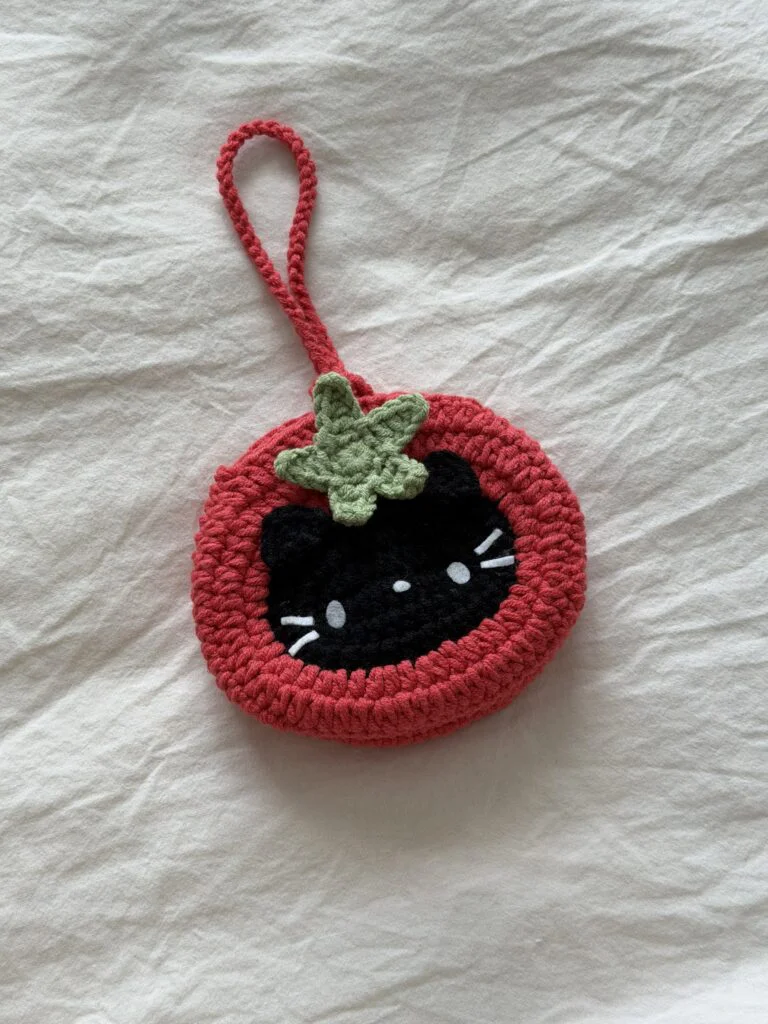
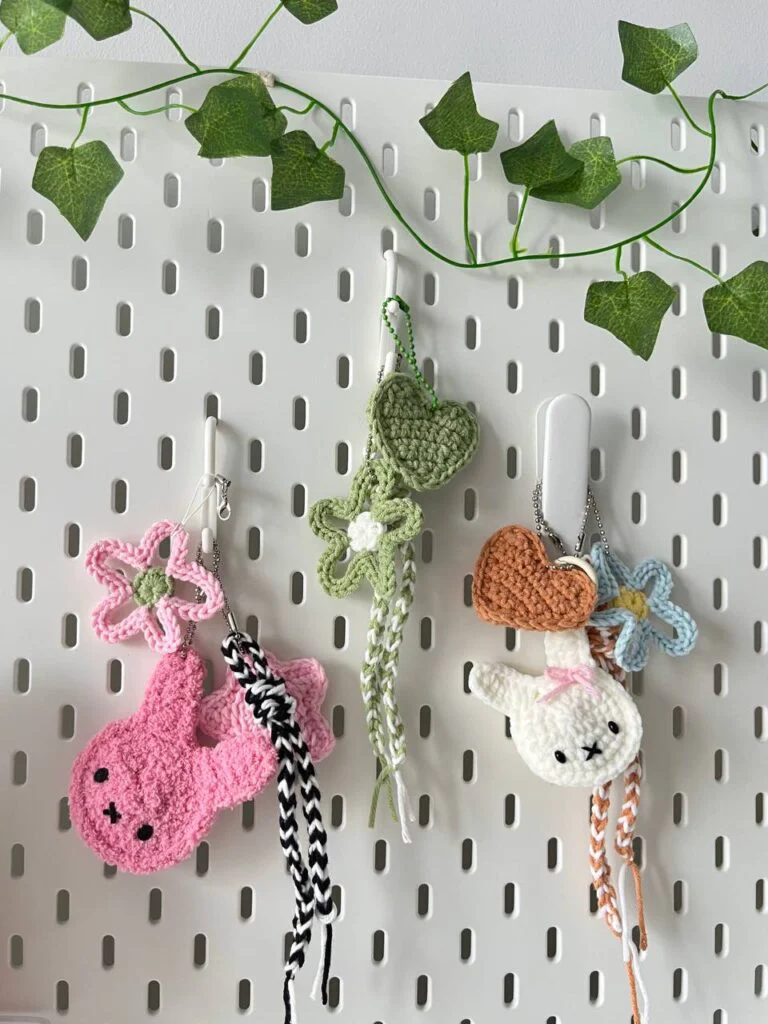
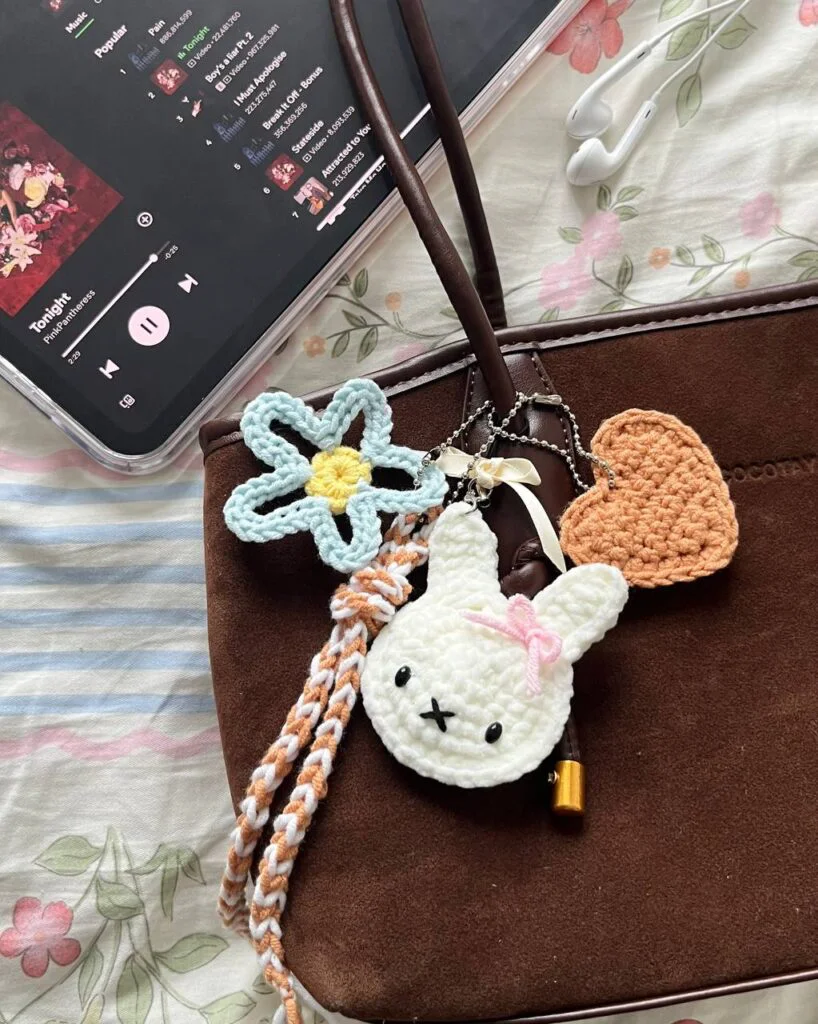
Welcome back to another delightful crochet project! Today, we have an absolutely adorable and incredibly quick pattern for you: Crochet Doodle Keychains! If you love crafting cute little items and need the perfect tiny gift or market prep stash builder, this fun and fluffy amigurumi keychain pattern is going to be your next favorite make.
This pattern is wonderfully adaptable and absolutely perfect for using up your scrap yarn. While the instructions are tailored for their tiny, classic keychain size, you can easily adjust the size variations depending on the yarn used—swap out fine cotton for super bulky blanket yarn to create a massive, huggable doodle plushie! Grab your hooks, settle into your favorite crafting spot, and let’s dive into making these adorable little doodle pups!
Materials Needed
- Cotton, Acrylic or Sports yarn (5ply size) in any color you prefer
- 3mm crochet hook
- Stitch markers, darning needle and scissors
Crochet Abbreviations
The abbreviations are in US terminology!
- R – round/row
- Ch – chain
- mr – magic ring
- st – stitch
- sc – single crochet
- inc – increase
- dec – decrease
- hdc – half double crochet
- dc – double crochet
- slst – slip stitch
- *- repeat
- [] – total stitch count in each round/row
- sk – skip
Star
Slst & ch1 are NOT included in total stitch count!
Start with a magic ring.
R1 10sc in mr, 1slst [10]
R2 Ch1, (1sc, 1inc)*5, 1slst [15]
R3 Ch1, (Ch4, 1sc, 1hdc, 1dc, sk2, 1slst) *5
- Cut the yarn and make the 2nd applique. Do not cut the yarn after the 2nd one.
Connecting the two pieces
- Place the two appliques together and connect each point with the following pattern.
- Watch this part of the tutorial for a more detailed explanation.
(3sc together, 2ch, 3sc together)*5
Heart
Start with a slip knot.
R1 3ch, 2sc [2]
R2 Ch1 &turn, 2inc [4]
R3 Ch1 & turn,1inc, 2sc, 1inc [6]
R4 Ch1 & turn,1inc, 4sc, 1inc [8]
R5 Ch1 & turn, 8sc [8]
R6 Ch1 & turn, 1inc, 6sc, 1inc [10]
R7 Ch1 & turn, 5sc (crochet only halfway) [5]
R8 Ch1 & turn, 1dec, 1sc, 1dec [3]
R9 Ch1 & turn, 1dec, 1sc [1]
- cut the yarn and start again from the stitches we left at R7.
- Watch this part of the tutorial for a more detailed explanation.
R1 Ch1, 4sc (leaving 1sc in middle) [4]
R2 Ch1 & turn, 2dec [2]
- Cut the yarn & make another one but do not cut the yarn after the 2nd one!
- Crochet the two appliques together with sc along the sides.
Miffy
Start with a slip knot and make 5ch.
Slst & ch1 are NOT included in total stitch count!
R1 Starting from 2nd ch from the hook,1inc, 2sc, 4sc in one, 2sc, 1inc, 1slst [12]
R2 Ch1, (1sc,1inc) *6, 1slst [18]
R3 Ch1, (1sc, 1inc, 1sc) *6, 1slst [24]
R4 Ch1, (3sc, 1inc) *3, 4sc, (Ear: 8ch,1hdc, 5dc), sk2, 2sc, (Ear: 8ch,1hdc, 5dc), sk2, 2sc,1slst
- Make two and join them with sc except for the ear part which will be joined with slst.
Flower
Start with a magic ring.
R1 10sc in mr, 1slst [10]
In the last sc of R10, change to a different color!
R2 (12ch, sk1, 1slst), (10ch, sk1, 1slst), (12ch, sk1, 1slst), (12ch, sk1, 1slst), (10ch, sk1, 1slst)
R3 1slst into each ch made in R2
- Cut the yarn and weave in the ends!
- Extra tip: cut the yarn tails short at the backside of the flower without weaving in, then glue a circle of felt cloth on top of the yarn tails. This way, we can avoid weaving in and can secure the yarn.
Two-colored String
- The string is made of using chains using the two colors in a different way than how we normally do chains. Then the string is tied to form a knot at the top using the snake knot method.
- Watch this part of the tutorial for the string.